Stop med at kigge på døråbningen og gør noget med den. At lære at installere en pull-up bar er en måde at få en god træning på. Du kan gøre dette, selvom du bor i en lejlighed eller en stor garage. En pull-up bar kan virkelig hjælpe dig med at styrke din ryg og dit greb. Så en god pull-up bar er alt, hvad du behøver for at komme i gang med din træning.
Det behøver ikke at være svært at få den stang i vater og fast. Med den rette plan og nogle pålidelige værktøjer af professionel kvalitet, kan du forvandle ethvert rum til en højtydende træningszone på under en time.
Vigtige værktøjer og forberedelse til din pull-up bar
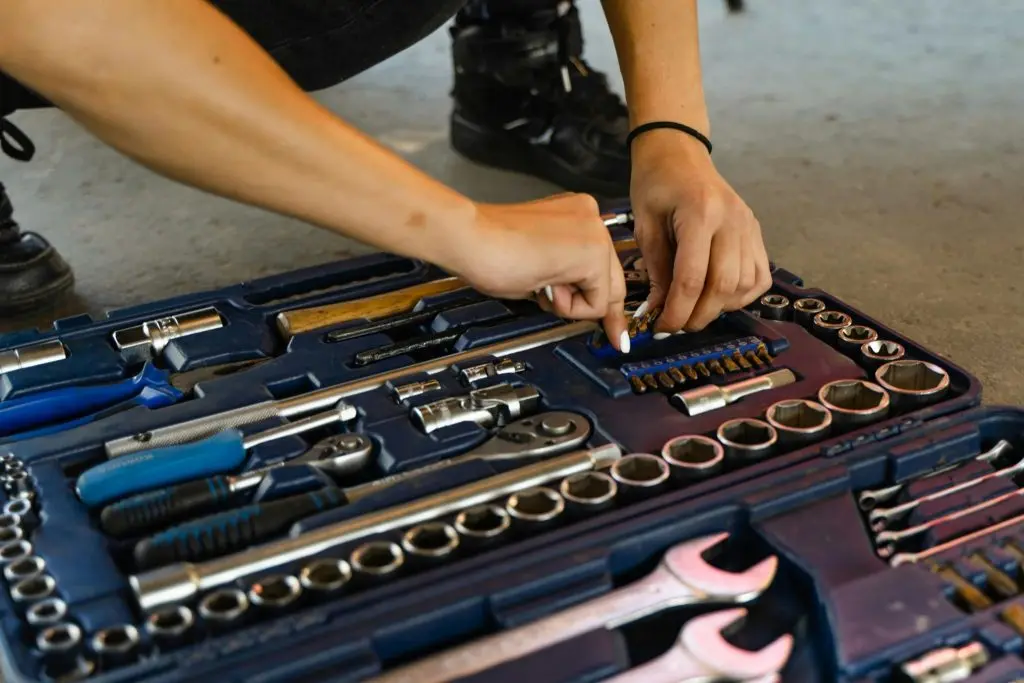
Før du begynder at svinge, skal du sørge for at have et fundament. Du ønsker ikke at ende i en mislykket video, bare fordi du ikke har forberedt dig ordentligt. Det tager kun et minut at tjekke dine overflader nu, men det vil redde dine vægge og din stolthed senere.
Overfladevurdering
Først skal du finde ud af, hvad du skal arbejde med. Hvis du ønsker en permanent montering, skal du bruge en træstolpe eller en murstensvæg. Dette er et glimrende tidspunkt at overveje. Ideer til garagerenovering på et budget for at optimere din plads.
Stol aldrig på gipsvægge alene til at bære din vægt. Brug en stolpesøger til at finde det nøjagtige centrum af dine bjælker. En god forbindelse er den eneste måde at holde dit hjemmegym sikkert og stabilt under tunge træningspas.
Højde og frihøjde
Monter ikke din stang så højt, at du brækker kraniet mod loftet. Fuld hagefrihed kræver omkring 15 cm plads. Mål to gange for at undgå kramper under din maksimale anstrengelse.
Når du hænger helt ned, skal dine fødder være fri af gulvet. Hvis du er høj, kan et loftsbeslag være mere passende. Den rette højde giver fuld bevægelsesfrihed, hvilket er afgørende for muskeludvikling.
Gør-det-selv-værktøjssættet
Et godt projekt er kun så hurtigt som dine værktøjer. Afhængigt af din opsætning skal du bruge et specifikt arsenal for at sikre, at stangen ikke rokker sig. Her er den ultimative tjekliste til alle installationstyper:
- Til døråbninger: A 48-delt bit- og skraldesæt er perfekt til at stramme indvendige bolte.
- Til væg/loft: En boremaskine med træ- eller murbor af høj kvalitet.
- Måling: Et 25-fods målebånd og et torpedovaterpas for at undgå en skrå stang.
- Tung pligt: A 65-delt slagtopnøglesæt til at drive store lagbolte.
- Sikkerhedsudstyr: Arbejdshandsker og sikkerhedsbriller til beskyttelse mod nedfaldende gips eller træskår.
Sådan monterer du en pull-up bar på en dørkarm
Dørkarmen er en traditionel hurtig løsning til pull-ups derhjemme. Den er ideel til mænd, der gerne vil lave et par gentagelser mellem møder. Sørg blot for, at din dørbeklædning er god nok til opgaven.
- Inspicer trimmen: Sørg for, at din dørliste er forsvarligt fastgjort til væggen og mindst en halv tomme tyk.
- Breddemål: Sørg for, at din dørstang passer til bredden på din dør; de fleste standarddørstænger passer til åbninger på 24 til 36 cm.
- Positionering: Placer hovedstangen på tværs af rammens forside og den bageste støttestang over toppen af den bageste beklædning.
- Spænding: For teleskopmodeller skal du dreje den midterste stang for at udvide enderne, indtil de trykker fast mod træet.
- Endelig tilspænding: Brug en lille skruenøgle eller en 90-delt skraldeværktøjssæt for at fastgøre eventuelle sikkerhedsbeslag, der fulgte med sættet.
- Slæbeprøven: Hæng først med cirka 20% af din vægt, og øg derefter gradvist til fuld vægt for at kontrollere, om den glider.
Disse tremmer er ideelle, fordi de ikke optager permanent plads. Hvis din døråbning er for smal eller vakkelvorn, kan du overveje en multifunktionelt krafttårn som en gulvbaseret mulighed.
Sådan monterer du en pull-up bar uden skruer
Overvejer du at leje din bolig? Du kan stadig lære at installere en pull-up bar uden skruer. Disse stænger bruger friktion og sofistikeret fysik til at holde sig oprejst uden at efterlade en eneste ridse på væggene.
- Rengør overfladen: Tør dørkarmen af med en fugtig klud for at fjerne støv. Friktion fungerer bedst på rene, tørre overflader.
- Juster puderne: De fleste stænger uden skruer har store gummifødder. Sørg for, at de er centrerede og fladt mod væggen eller rammen.
- Påfør tryk: Drej stangen i henhold til producentens anvisninger. Du skal have den stram nok til, at den ikke bevæger sig, når du trykker på den, men ikke så stram, at du revner dørkarmen.
- Gearingkontrol: For modeller over døren skal du sørge for, at plastikstangen, der hviler mod væggen, sidder på stolperne, ikke kun den hule gipsvæg.
- Test og efterspænd: Efter dine første tre gentagelser, tjek spændingen igen. Friktionsstænger kan nogle gange sætte sig og løsne sig lidt efter første brug.
Når du bruger disse stænger, skal du huske, at de ikke kan bære lige så meget vægt som dem, der er fastmonterede. De er gode til at lave pull-ups, men du bør ikke lave den slags pull-ups, hvor du svinger din krop rigtig hurtigt. Du vil have, at stangen bliver, hvor den er, og ikke falder med dig.
Sådan monterer du en pull-up bar på væggen
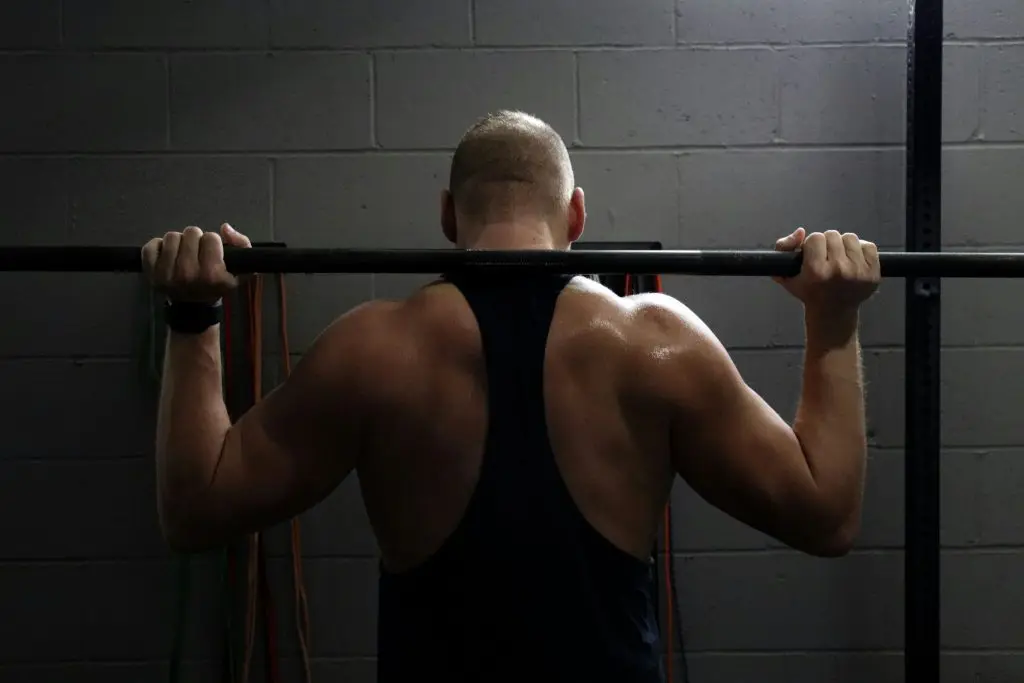
Hvis du vil træne som en professionel, skal du bruge et permanent anker. Sådan monterer du en pull-up bar på væggen for optimal levetid. En vægmonteret bar giver mulighed for større greb og mere vægt.
- Find stifterne: Brug en stolpesøger til at finde to parallelle lodrette stolper. Normalt er disse placeret med en afstand på 16 eller 24 cm.
- Skabelonmarkeringer: Hold stangens monteringsbeslag mod væggen i den ønskede højde. Brug et vaterpas til at sikre, at de er helt vandrette.
- Bor pilothuller: Brug et bor, der er lidt mindre end dine hængselbolte. Dette forhindrer træet i at flække og gør det nemmere at iskrue boltene.
- Monteringsbeslag: Justér beslagene og spænd boltene i hånden. Brug en 3/4-tommer drevsæt for maksimal gearing ved brug af kraftigt strukturelt beslag.
- Spænd det til: Brug en slagnøgle eller en 34-delt metrisk sæt at stramme boltene, indtil beslaget flugter med væggen.
- Afsluttende samling: Fastgør den vandrette pull-up-stang til beslagene, og fastgør den med de medfølgende møtrikker og bolte.
Dette system kan klare alt, hvad du giver det. Det er fantastisk til at tilføje vægtveste eller elastikker til din træningsrutine. Du behøver ikke bekymre dig om, at stangen knækker. Det er perfekt til træning med vægte.
Sådan installeres en pull-up bar i loftet
Når du har hylder eller vinduer på dine vægge, så tænk på pladsen over dem. At hænge ting op i loftet er, hvad professionelle gør. Det giver dig stor bevægelsesfrihed. Denne monteringsmetode er også virkelig stærk. Den vil holde længe i de fleste hjem.
- Identificér bjælker: Brug din stolpesøger i loftet til at finde de tykke støttebjælker (bjælker).
- Klareringstjek: Sørg for, at der er nok plads til, at dit hoved kan nå stangen uden at ramme loftet. Du skal bruge mindst 10 cm drop.
- Boring: Bor dine forboringshuller direkte i midten af bjælkerne. Præcision er afgørende her; hvis du ikke rammer midten, kan bolten rive træet af.
- Bolt montering: Brug dyb topnøglesæt at drive hængeboltene gennem beslagene og ind i bjælken.
- Metriske overvejelser: Hvis din bar bruger europæiske størrelser, a 26-delt dybt metrisk sæt vil sikre en perfekt pasform uden at beskadige bolthovederne.
- Vægttest: Hæng langsomt fra stangen. Lyt efter eventuelle knirkelyde. Hvis det lyder fast, er du klar til træning.
Sikkerhedstjek og langsigtet vedligeholdelse
Installationen af din bar er kun begyndelsen. For at beskytte den mod at blive en fare, skal du vedligeholde den regelmæssigt. Godt Tips til vedligeholdelse af fitnessudstyr gælder for alt fra baren til bænken. Så her er de:
- Stram månedligt: Brug 33-delt slagsæt at spænde boltene igen efter den første måneds brug.
- Inspicer overflader: Kig efter revner i dørkarmen eller spændingsmærker i gipsvæggen omkring vægbeslagene.
- Rengør grebet: Tør sved af for at forhindre rust og opretholde en sikker, skridsikker overflade for dine hænder.
- Boltkontrol: For dem med større bolte, der har en 23-delt slagtopnøglesæt ved hånden gør vedligeholdelsen hurtig.
Træning er hårdt nok i sig selv, uden at man behøver at tænke over, om ens udstyr fungerer korrekt. Hvis man tjekker sit udstyr hver måned, kan man fokusere på at lave sine træningsøvelser, og man ender ikke på skadestuen.
Ofte Stillede Spørgsmål
Kan jeg installere en pull-up bar på en huldør?
Absolut ikke. Huldøre har ikke en stærk ramme til at holde vægten. Hvis du forsøger at placere en pull-up bar på en af de tynde overflader, vil den sandsynligvis blive beskadiget. Hold dig til trærammer eller vægbeslag for en sikkerheds skyld. De er meget bedre til at holde en pull-up bar.
Hvad skal jeg gøre, hvis mine vægstolper er af metal i stedet for træ?
Standard metalstolper i moderne lejligheder er ikke designet til tunge belastninger. Du skal først montere en træoverbræt på tværs af flere stolper. Brug en 90-delt skraldeværktøjssæt for at fastgøre brættet godt, før du fastgør din stang til træet.
Hvordan forhindrer jeg, at en pull-up bar beskadiger tapetet i min lejebolig?
Trykmonterede stænger er notorisk kendt for at blive slidt. For at beskytte din aflejring kan du placere et lille stykke tynd kork eller en tyk mikrofiberklud mellem stængens puder og væggen. Dette fordeler trykket og forhindrer gummiet i at "smelte sammen" med tapetet eller malingen.
Er det sikkert at hænge en pull-up bar fra en kælderbjælke?
Ja, dette er ofte den mest robuste løsning i et hjem. Da bjælker er tykt konstruktionstræ, giver de fremragende støtte. Brug en dyb topnøglesæt at drive lagbolte ind i midten af bjælken for en finish i fitnesskvalitet.
Konklusion
At lære at montere en pull-up bar er det første skridt til at blive stærkere. Uanset om du har valgt en døråbningsstang, der ikke kræver skruer eller et stærkt vægbeslag, har du nu sat dig op til fremskridt. En god træning starter med en opsætning.
Brug af produkter og følg disse trin vil hjælpe dig med at slippe af med undskyldninger og skabe et solidt sted at træne. Grib fat i stangen nu. Få hver gentagelse til at tælle!