

Har du någonsin gått in i din källare eller krypgrund bara för att träffas av den omisskännliga lukten av en unken gymväska? Det är lukten av fukt som lurar inuti ditt hus och fräter på den, och det är en strid du inte kan förlora. Att använda rätt ångspärr är ditt ultimata försvar mot en sådan fiende.
I den här guiden får du lära dig hur fuktspärren skyddar din vägg mot fuktskador, hur du väljer rätt tjocklek och hur enkel den är att installera. Att skydda din byggnad börjar med att använda en otroligt stark polyliner som hindrar fukt från att stiga upp från marken. Vi kommer nu att starta den här processen direkt.
Vad är en ångspärr?
En ångspärr är något som används för att minska hastigheten med vilken vattenånga färdas inom konstruktioner i dina väggar, golv och tak. Det kan liknas vid en absorberande regnrock som skyddar ditt hem från dold träröta samtidigt som det låter konstruktionen andas.
Om det inte fanns något skydd skulle vattenångans konstanta flöde få den att tränga in i gipsskivor, isolering och till och med in i träkonstruktionen. Så snart ångan möter väggens kallare yta bildas vattendroppar på grund av kondens. Retardern hjälper dig att hantera luftfuktigheten inomhus.
Ångspärr kontra ångspärr
Många använder dessa fraser synonymt, men det finns viktiga skillnader som kan avgöra om ett renoveringsprojekt blir avgjort eller inte. Den viktigaste skillnaden är "permanentitetsgraden", som avgör hur mycket vattenånga som får färdas genom ett ämne under en given tidsperiod.
Vad är perm-värdet? Ett perm-värde beskriver masshastigheten för vattenångflödet genom en kvadratmeter material. Ju lägre perm-värde, desto mindre fukt kan tränga in i arket.
För att hjälpa dig att välja rätt material för din specifika miljö och ditt projekt, överväg hur en enkel ångspärr kontra en ångspärr står sig sida vid sida.
| Leverans | Vapor retarder | Ångspärr |
| Permanent betyg | Vanligtvis större än 0.1 perms (möjliggör kontrollerad andning) | 0.1 permanent eller mindre (praktiskt taget ingen fukt passerar) |
| Primärt mål | Saktar ner ångrörelsen så att materialen kan torka ut på ett säkert sätt | Hindrar all vattenånga från att komma in i byggnadens skal |
| Vanliga material | Latexfärg på gips, kraftpappersbeklädnad, smarta membran | Tjock polyetenfolie (10-14 mil), plåt, folie |
| Bästa klimatet för | Blandade eller måttliga klimat med tydliga säsongsväxlingar | Extremt kalla nordliga regioner eller varma, fuktiga kustzoner |
| Typisk projektanvändning | Vardagsrumsväggar, färdiga vindar och övre våningar | Under betongplattor, grundmurar och krypgrunder |
Den traditionella barriären hindrar det mesta av fukten från att passera igenom, vilket ger ett utmärkt sätt att hantera markfukt. Tvärtom fördröjer den flexibla barriären, men hindrar inte helt, fukten från att passera igenom; detta ger din vägg en chans att ventilera ut fukt om den skulle bli instängd på grund av vattenläckor eller kraftigt regn.
De tre skyddsklasserna

Byggregler grupperar fuktskydd i tre tydliga kategorier baserat på deras prestandanivåer. Att välja rätt klass beror helt på din lokala klimatzon, ditt hems byggstil och dina specifika projektmål.
- Klass 1 (Ogenomtränglig): Material med en perm-klassning på 0.1 eller mindre, såsom glas, plåt eller tjocka polyetenplastark som blockerar nästan all ånga.
- Klass 2 (halvpermeabel): Material med en perm-klassning mellan 0.1 och 1.0, som kraftbelagda glasfiberisoleringsbats som vanligtvis finns i detaljhandelshus.
- Klass 3 (permeabel): Material med en permanentklassning mellan 1.0 och 10, som fungerar som andningsbara alternativ och möjliggör långsam, kontrollerad torkning över tid.
Vad är en ångspärr av klass 3?
Ett exempel på en ångspärr av klass 3 är applicering av vanlig latexfärg på gipsskivor med en tjocklek på 1,5 cm. Denna ångspärr fungerar bra under måttliga förhållanden där väggarna behöver torka ut mot konstruktionens inre del och inte permanent ackumulera fukt i vägghåligheterna.
När man ska använda en smart ångspärr
Den smarta ångspärren justerar sin permeabilitet efter fuktighetsnivån i omgivningen. Den förhindrar att ånga tränger in under sommaren på grund av hög luftfuktighet utomhus, samtidigt som den tillåter fukt att passera igenom under vintern på grund av låga fuktighetsnivåer utomhus.
Matcha projektets behov med tjockleken.
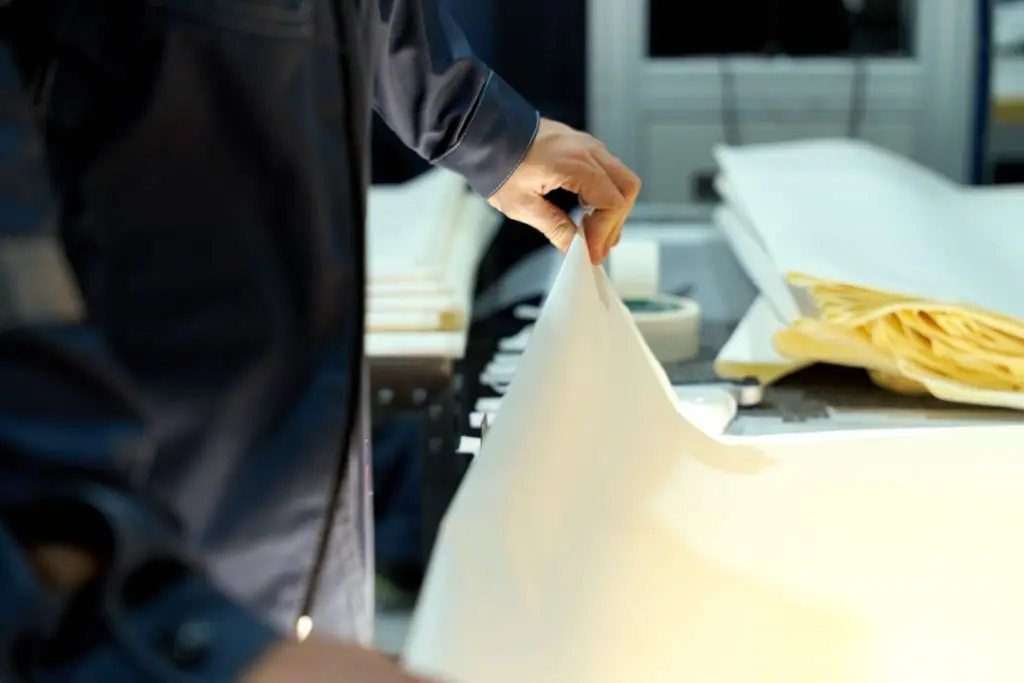
Att välja rätt materialtjocklek håller ditt hem säkert utan att slösa bort din surt förvärvade budget. Polyetenfolierullar finns i specifika tjocklekar skräddarsydda för olika hushållsuppgifter, från målning av överdrag till kraftigt grundskydd.
Lätta applikationer (4 Mil och 6 Mil)
För vertikala väggkonstruktioner, takfästen och snabba dammskydd vid renoveringar, lätt skyddsrulle är perfekt. Den är väldigt lätt, lätt att häfta fast på reglarna och blockerar enkelt luftflöde. Liknande material används också flitigt av trädgårdsmästare som bygger enkla skyddsanläggningar, även om de måste vara uppmärksamma på ljusgenomsläppet – ett ämne som beskrivs i vår guide om att välja det bästa klar växthusplast.
För att täta av ett golv i en krypgrund i en bostadsmiljö eller täcka en vind, tjockare, kraftigare skyddsrulle är rätt val. Det ger maximal flexibilitet och rivmotstånd för bästa prestanda. Rätt tjocklek överensstämmer med föreskrifter för installation av ångspärr i krypgrunder och hanterar fuktiga jordförhållanden väl.
Kraftiga belastningar och fundamentbehov (10 mil och 14 mil)
När man installerar betongplattor eller kryper omkring i krypgrunder med hög trafik behöver man en mycket tåligare yta som klarar av rejäl friktion. En tuff, punkteringssäkert underläggsskikt ser till att inga revor bildas när arbetare går över den eller tappar sina verktyg under gjutningen av betongplattan.
Om du har professionella krav eller behöver förvara varor på ett industriellt sätt, behöver du investera i en industriellt foder med maximal styrka som garanterar permanent punkteringsskydd, så att ingenting under golvet någonsin skadar din fuktspärr.
Tips för utomhusbruk: Om du vill installera fuktspärrar utomhus utanför dina grundmurar, eller i närliggande trädgårdsbäddar, då en Andningsbart permeabelt markskyddsfoder är ett utmärkt sätt att hantera markdränering utan att ogräset störs.
När du väljer mellan alternativ för externa projekt är det bra att läsa vår sammanfattning av landskapsplast vs tyg att välja den perfekta passformen. Att hantera markfuktighet och temperatur med dessa lager är också en utmärkt strategi när man lär sig hur man förhindrar frost på växter på vintern eller skydda ett gör-det-själv-projekt trädgårdsbädd växthus struktur från köldöverföring från marknivå.
Hur man installerar en ångspärr korrekt
Korrekt installation kräver tålamod, rena linjer och noggrann uppmärksamhet på detaljer. En dåligt tätad barriär är nästan lika ineffektiv som att inte ha någon barriär alls, eftersom ånga alltid hittar minsta motståndets väg. Följ dessa enkla steg för att säkerställa att ditt projekt förblir helt lufttätt och torrt:
1. Förberedelse.
Ta bort alla vassa stenar, pinnar, byggavfall och gamla spikar från golvet eller väggytan. Ett rent och slätt golv förhindrar oavsiktliga punkteringar när du rullar ut dina nya kraftiga plastark.
2. Skiktning.
Rulla ut plastfolien jämnt över utrymmet. När du sammanfogar två separata plastbitar, överlappa alltid kanterna med minst 12 cm för att förhindra att fukt smyger sig igenom de överlappande skarvarna.
3 . Tejpning.
Applicera kraftig vattentät polytejp längs varje skarvlinje. Tryck ordentligt över hela den tejpade ytan med en roller eller handen för att eliminera luftbubblor och säkerställa en kontinuerlig fukttät bindning.
4. Omkrets.
Dra ut plastfolien 6 till 12 cm uppför dina grundmurar eller kantreglar. Fäst kanterna ordentligt med högkvalitativt akustiskt tätningsmedel av polyuretan och mekaniska murankare för att förhindra att den glider ner med tiden.
Installationsmisstag att undvika
Även erfarna gör-det-självare kan göra mindre misstag som leder till stora fuktproblem längre fram. Ha dessa kritiska fel i åtanke för att hålla ditt projekt felfritt:
- Placering på fel sida: Att installera membranet på fel sida av isoleringslagret fångar skadlig fukt inuti väggkonstruktionen istället för att hålla den ute. Installera det alltid på sidan som vetter mot det varma, luftkonditionerade bostadsutrymmet i kalla klimat.
- Använda billig tejp: Vanlig brun frakttejp eller vanlig silvertejp kommer att brytas ner, torka ut och förlora sin klibbighet snabbt när den utsätts för svala, fuktiga markförhållanden under ett hus. Använd alltid avsedd polyetentejp för skarv.
- Lämna mellanrum runt rör: Om man inte skär till specialanpassade kragar och tätar runt VVS-rör eller elledningar kan stora mängder fuktig luft stiga fritt in i dina bostadsutrymmen via kapillärverkan.
Långsiktigt underhåll och inspektion
När din ångspärr väl är installerad är den utom synhåll, men den bör inte vara helt utom minnet. Att underhålla ditt hems fuktskyddsbarriär kräver regelbundna kontroller för att upptäcka problem innan de leder till strukturella skador.
- Kontrollera årligen: Titta in i krypgrunden eller vinden en gång om året med en stark ficklampa. Leta noga efter tecken på hängande plast, stående vattenpölar ovanpå lakanen eller lösa skarvar.
- Snabb uppdatering: Täta oväntade revor omedelbart. Om en elektriker eller rörmokare punkterar din plastfilm när du drar nya ledningar, klipp av en plastbit som är 6 cm större än hålet på alla sidor, placera den över revan och tejpa fast den ordentligt.
- Övervaka luftfuktighet inomhus: Ha en enkel digital hygrometer i dina huvudsakliga bostadsutrymmen. Om luftfuktigheten regelbundet stiger över 50 % under årstidsväxlingar kan det tyda på att en yttre tätning har lossnat.
FAQ
Behöver jag en retarder i ökenklimat?
Ja. Även om luften utomhus kan kännas otroligt torr, innehåller jorden under ditt hus betongplatta dold vattenånga som kontinuerligt stiger upp i din husgrund över tid genom avdunstning.
Kan jag använda vanlig tejp på mina plastskarvar?
Nej. Vanlig tejp använder ett gummibaserat lim som snabbt bryts ner när det utsätts för konstant fuktighet och svala marktemperaturer, vilket gör att dina sömmar går sönder inom ett år.
Vad händer om jag hoppar över väggöverlappningen under installationen?
Genom att hoppa över 12 cm överlappning kan fuktig markluft helt kringgå dina plastark, färdas upp genom de otätade springorna och sippra direkt in i dina trägolvbjälkar.
Hur vet jag om jag behöver en klass 1- eller klass 3-barriär?
Detta beror starkt på dina lokala byggregler och klimatzon. Kalla norra regioner kräver vanligtvis en strikt klass 1- eller klass 2-barriär, medan varma, fuktiga södra zoner ofta gynnas av en andningsbar klass 3-metod.
Kan jag lägga ett nytt lager direkt ovanpå ett gammalt, skadat?
Ja, så länge du först tar bort allt stående vatten eller ruttnande material. Att lägga en ren, ny kraftig duk över ett gammalt, sprött lager är ett utmärkt sätt att återställa en kontinuerlig fukttätning.
Slutsats
Aldrig mer kommer den där lukten från din gymväska att förstöra din dag. Med en pålitlig ångspärr får du inte bara frisk inomhusluft utan slipper även kostsamma reparationer på grund av röta och strukturella problem orsakade av fukt.
Genom att välja rätt tjocklek för dina behov, ha tillräckligt med överlappning mellan arken och se till att täta skarvarna ordentligt, kommer du att ha många års glädje framför dig. Så kavla upp ärmarna och gör dig redo att skydda ditt hem!




