
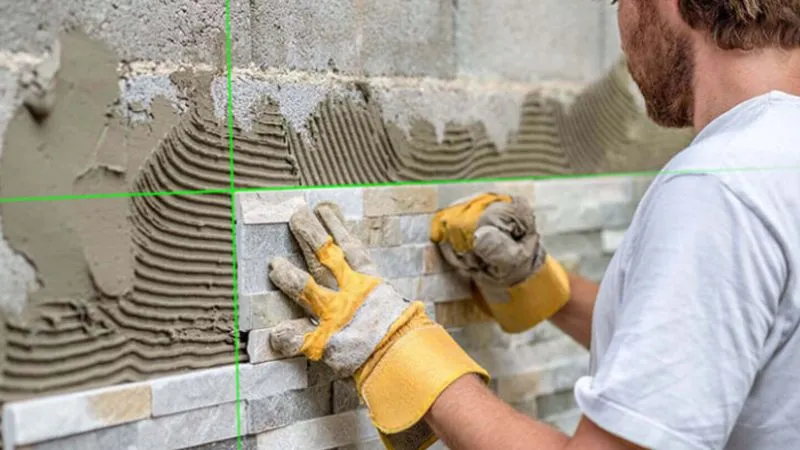
Níveis de laser emit a laser beam to provide a reference line or point for measuring, aligning, or positioning. They help keep heights and straight lines consistent, whether you are doing a home improvement project or working on a construction site. Understanding what laser leveling is and how it works helps you grasp the principles and use laser leveling equipment correctly. Depending on the job, different types of laser levels handle different tasks, such as installing cabinets, laying tile, or checking outdoor elevations. With the right equipment and proper methods, you can reduce repeat measurements and get more consistent results. This guide covers the basics of laser levels, how to use them, how to select them, and how to maintain them.
Conteúdo
What Is Laser Leveling and How Does It Work?
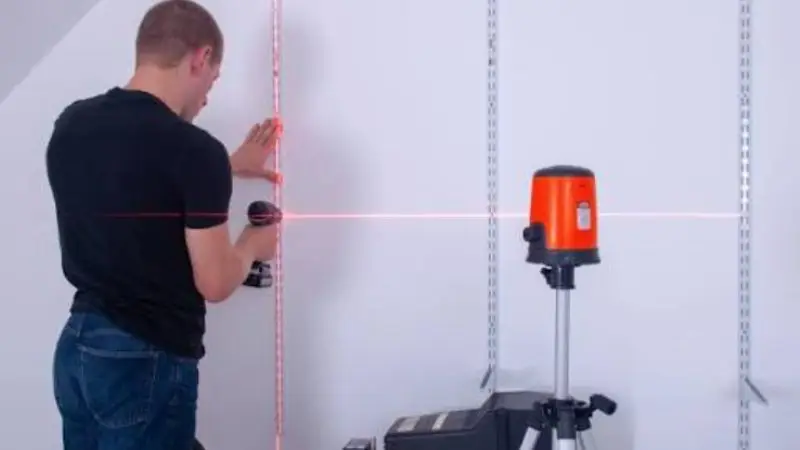
Laser leveling is a new technology used to establish a horizontal, vertical, or angled reference line across a work area. It uses a laser beam, visible to others, to help align, measure, and position objects accurately.
Understanding what laser leveling is and how it works helps you choose the best option for construction, renovation, landscaping, or other projects. The concept is straightforward: the laser establishes a constant reference line or point, so you can measure and compare surfaces and locations to the same level.
Recomendado para o seu projeto
O que é um nível de laser?
A nível laser creates a level reference line or point by sending out one or more laser beams. It can display horizontal, vertical, or cross lines or a beam 360 degrees around a room depending on the model. Some advanced models can also project multiple planes for more complex layout jobs.
The laser level will normally have a built-in leveling system, either a pendulum or electronic sensors, to maintain the beam’s alignment. With the tool in place, you can use the beam to install cabinets, line up walls, set floor heights, or position fixtures. This makes a laser level quicker and easier to use than repeatedly using a traditional spirit level.
How Does Laser Leveling Work?
Laser leveling works by projecting a focused beam onto a surface or work area. The tool’s built-in leveling system ensures beam alignment to the correct horizontal or vertical plane.
In simple leveling applications, the laser level is simply set on a stable surface or attached to a tripod. The device then levels the beam automatically. The projected line or point can be used as a permanent reference when measuring or positioning materials. Níveis de laser rotativo have the ability to project a beam over a very large area, which is ideal for work on the outside. Here’s how laser leveling works and why it is thought to be consistent over long distances.
What Is a Laser Level Used For?
A nível laser is a tool with a variety of applications for accurate alignment, height measurement, and positioning. It can be used to straighten walls, floors, ceilings, doors, windows, cabinets, tiles, and electrical fixtures in construction and renovations. Outdoor uses include grinding, landscaping, foundation work, and setting elevations.
Moreover, the tool is also helpful for DIY projects as it minimizes the need for taking repeated measurements. You can set a single reference line, rather than checking multiple points separately. The specific applications will vary based on the type and range of the laser level. For outdoor projects, larger rotary models may be acceptable, and for the interior, line and cross-line models may be adequate.
Laser Leveling vs. Traditional Leveling
Traditional leveling methods may use spirit leveling or string lines, measuring tapes, or other manual techniques. These can be effective for smaller jobs, but may require repetition and more measurements over larger areas.
Laser leveling allows for real-time visual alignment and elevation checks, which can be helpful. For instance, you can project a laser beam throughout a room or building site and compare multiple points to it. This can help to enhance consistency and minimize measurement errors. But there’s always a time for the old-school tools, especially when you’re doing something simple and don’t need to use a laser level anyway. The best method depends on the project size, the accuracy needed, and the conditions under which the work will be done.
Como usar um nível de laser
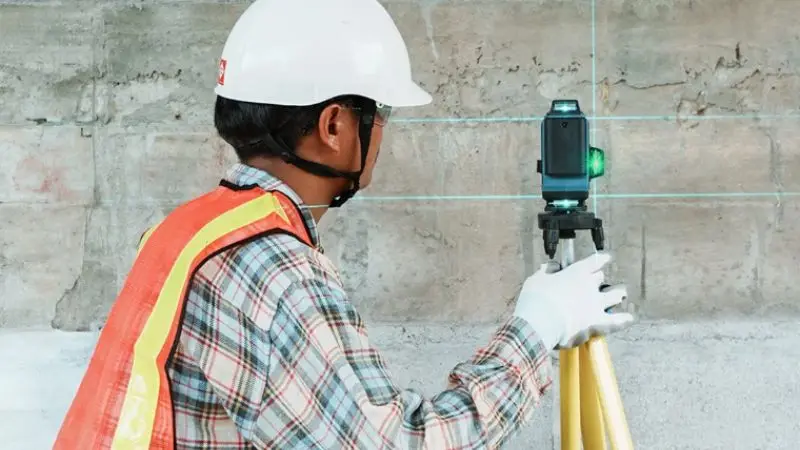
When you have a clear process to follow, it’s much easier to learn como usar um nível de laser. The basic process is to prepare the tool, level it, align the beam, mark your measurements, and check the results.
If you’re working on a small home project or a larger construction job, these steps can help you use the laser effectively. Mastering the usage of a laser leveling system can additionally aid you in achieving much more uniform results among different surfaces and work areas.
Step 1: Set Up the Laser Level
Firstly, select a fixed point for your nível laser. Set it on a flat surface or securely on a tripod, depending on the project you’re working on. Place the tool where the beam can reach the area you need to measure or align.
Be sure to clear the laser’s path and ensure that it is not obstructed by furniture, equipment, or anything else. If mounted on a tripod, move it up and down, and out and in, so that the tripod is in an appropriate position. It is important to set up the instrument in a stable position, as even slight movement of the instrument can alter the reference line and impact measurement.
Step 2: Level and Position the Tool
If the laser level has self-leveling, switch it on. Allow it a few seconds to even out and find the correct reference plane. Manual leveling may be necessary for your model, in which case you should use its own bubble vials to level the tool.
Before taking measurements, please refer to the manufacturer’s leveling range specifications. If the device flashes or gives a warning, it may not be level. After the tool is stable, set the height and location to meet the needs of your project.
Step 3: Select and Align the Laser Beam
Select the appropriate laser pattern for your job. Depending on the model, you can choose horizontal, vertical, cross-line, or point options. Use the selected beam and point towards the surface to make a reference.
Slide the tool until the cast line/cast point is in the desired position. For example, use a horizontal beam to place shelves or cabinets, and a vertical beam to position wall fixtures. Ensure the beam remains visible and no object is in the way during measurement.
Etapa 4: Marque suas medidas
When the laser beam is properly aligned, use it to mark your measurements. Mark the necessary points or lines in the surface with a pencil, chalk, or a marking tool of your choice.
You can use the beam to mark cabinet heights, tile positions, wall fixtures, ceiling lines, etc. Try not to move the laser level while making multiple marks. This keeps the tool at the same position, thus ensuring a consistent reference during the project.
Etapa 5: Conclua a instalação
Align materials or finish work using marks made using the laser beam. Remember to keep verifying the projected line as items are mounted to ensure that they are installed in line with the original reference.
If you need to cover another section, move the tool only if necessary. If repositioning is needed, be careful in setting and leveling the laser before continuing. This is particularly critical when installing cabinets, tiles, walls, flooring, ceilings, or other parts that might show a slight gap.
Step 6: Check the Final Alignment
Once finished, check the level with the laser. Check the completed work against the horizontal, vertical, or cross-line reference the tool has generated.
Check for any irregular height, slope, gap, or other obvious misalignment. If a problem arises, correct the problem before completing the project. In larger areas, the laser can be moved, and more sections can be checked to ensure the laser is always aligned.
How to Use a Laser Level Outdoors
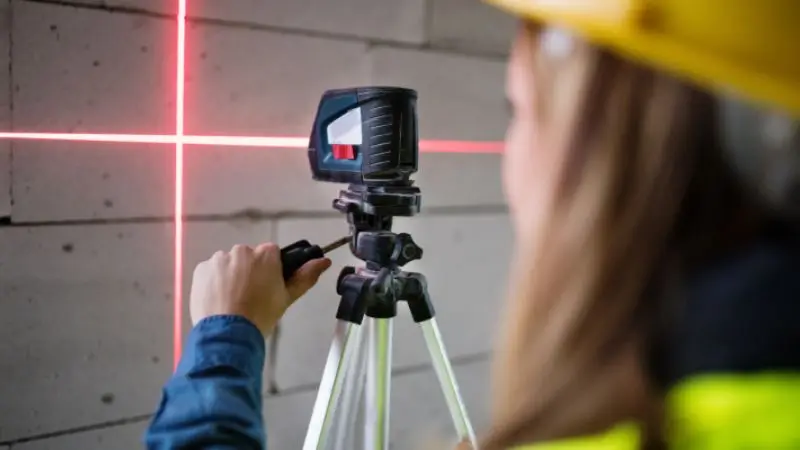
Although much of the procedure is the same when using a nível laser outdoors, bright sunlight may make it harder to see the beam. If you’re working outdoors, use a tripod to secure the tool and ensure the beam can move freely over the work area.
For longer range or in bright light, a compatible laser receiver/detector can be used to help identify the laser beam. Rotary laser levels are usually better for larger outdoor applications where they can establish a reference plane over a large area. Laser leveling for construction can be applied in foundation, grading, posts, elevation, and many more, and laser leveling for agriculture can be used for land grading and drainage.
Como escolher o nível de laser correto
The right laser level depends on the project, working distance, accuracy, and environment. Other models offer other beam patterns, ranges, and features.
When selecting an instrument, think about what you will use it for and where you will be working. Together, these factors can help you choose a laser level that offers the most accuracy, convenience, and durability for you.
Match the Laser Level to Your Project
First, think about what type of work you usually do. For simple tasks like shelving, cabinets, picture hanging, or indoor tiling, a simple line laser might be enough. A cross-line laser can give horizontal and vertical references for more detailed installation work.
A laser rotativo might be more suitable in construction, landscaping, or for larger outdoor projects, as it will give a reference for longer distances. Consider the need for horizontal lines, vertical lines, multiple planes, or elevation measurements before selecting a model.
Check Accuracy and Working Range
Consider specifications such as accuracy and working range. The accuracy is an indication of how close the laser beam is to the reference beam, and the working range is an indication of the maximum distance the laser beam can be used.
If you’re doing a small project around the house, you might not need a working range that is quite so long. But if you need to do a longer-range construction project, or a project outdoors, you might need a longer-range model. If you plan to use a laser receiver, check the manufacturer’s stated range when the receiver is being used. Select a model with an accuracy and range that is appropriate for your work.
Choose Between Red and Green Lasers
Geralmente, níveis de laser come as red or green laser lights. Red beams are also very useful and can be used inside in normal lighting conditions, and are ubiquitous on a wide variety of laser levels. Generally, the brighter the area, the easier it will be to see green beams, but that depends on the conditions.
However, if you spend a lot of time inside, a red laser might be adequate. For those who work mainly in bright work areas, a green beam might be more convenient. But beam color should not be the only thing you look at. The accuracy, range, beam pattern, durability, and battery life can also play a significant role in the performance.
Look for Self-Leveling Features
Lasers do not need to be as difficult and slow to use if they have a self-leveling feature. The mechanism within the tool automatically adjusts the tool to establish a level reference within the specified range without having to manually adjust the tool every time it is positioned.
This will help if you move the tool between various locations often. But self-leveling does not imply that the tool can be placed anywhere. It must still be in its range of level and on a reasonably stable surface. If you’re looking to learn how laser leveling works and to take repeated measurements, you may find a self-leveling model particularly helpful.
Consider Battery Life and Durability
When you require the use of a nível laser for long periods, battery life is important. Look at the length of operation and whether they are rechargeable or replaceable batteries. Extended battery life can minimize disruptions on bigger projects.
If you are working on construction job sites or outside, durability is also important. If you will be operating your model outdoors, choose one engineered to withstand conditions like dust and moisture, if applicable. A protective carrying case also can make transportation simpler. Selecting appropriate battery performance and durability can ensure that the tool is reliable while operating.
Check Mounting Options and Accessories
Níveis de laser can be easier to mount at the proper height thanks to mounting options. Some models can be mounted on a tripod, wall mount, magnetic bracket, or other compatible mounting system.
It’s also worth being aware of what add-ons are contained or offered separately. A tripod can be used for stable positioning, and a compatible laser detector can enhance the beam detection capability over a long distance and in bright outdoor lighting. When purchasing, ensure that the mounting system and accessories are suitable for the intended applications. This can make the laser leveling system more convenient and practical to use again.
Laser Leveling Uses, Benefits, and Maintenance
Níveis de laser can come in handy for more than just alignment. They can be used to set up common reference lines and levels in both indoor and outdoor work locations.
The use will depend on the type of laser level and the nature and scale of the project and the required precision. Good maintenance will also help to ensure that the tool will be reliable over time.
Laser Leveling for Construction
Laser leveling can create leveling points that provide horizontal and vertical references for various phases of construction. Laser levels are appropriate for setting out foundations, framing, grading, elevation, and other alignment jobs. Rotary laser levels can be especially useful on larger sites because they project a reference plane over a wide working area, particularly when used with a compatible receiver. For indoor construction and finishing, line and cross-line models might be more appropriate. Laser leveling provides a standard reference that minimizes manual measurements and simplifies maintaining multiple points in line. The model should match the project’s range, accuracy, and operating conditions.
Laser Leveling for Flooring and Tiling
Laser levels can be useful for flooring and tiling jobs as they will allow checking that the floor is level and correctly aligned. Before starting, keep the tool stable and select the right horizontal or cross-line beam to be positioned on the work area. The beam may be used for setting tile courses, to check floor transitions, or to maintain level in a room. A horizontal line can be used when tiling a wall to make sure each row is level, and a vertical line could be used as a starting point to position tiles. If the project is large, it may be necessary to relocate the tool, and the level is to be checked every time. With a laser, it is possible to make the surface more aesthetically pleasing and minimise uneven rows.
Laser Leveling for Cabinets and Walls
Laser levels can be used to install cabinets, shelving, wall panels and other features that require alignment. A horizontal laser line can display the correct installation height, and a vertical beam can be utilized in straightening cabinets or fixtures. If two or more cabinets are to be installed, the same reference line can be used to ensure even cabinet heights. A Cross-line laser can be used for wall work to give both horizontal and vertical references simultaneously. Hold the tool firmly in place, mark and inspect the beam during installation. This can make layout tasks easier and reduce the chance of any minor alignment issues being obvious when installing over a wide wall or cabinet.
Laser Leveling for Landscaping
Laser leveling can also be beneficial for landscaping jobs that necessitate uniform elevation or incline. Use a laser level that is appropriate to set outdoor reference heights for patios, walkways, retaining walls, drainage areas, etc. For larger areas, a rotary laser level may be adequate, as it can be used to create a reference plane throughout a large area. The beam may be more visible in bright outdoor lighting by using a compatible receiver. Projects that require drainage or grading may use the laser reference to compare points on the project. The type of equipment needed will depend on the size and precision required for the project; select a model with a suitable working range and leveling capability.
Benefits of Laser Leveling
The benefits of laser leveling are that it can provide one reference point at multiple points. They can be checked individually by a traditional level, but can also be checked by one projected line, point, or plane. This can enable layout and alignment to be quicker and easier particularly if in a large work area. The other advantage is versatility. Laser Levels are available in different models that will provide horizontal, vertical, cross-line, or rotary indication to serve different applications. Laser leveling has numerous advantages that are particularly noticeable when accuracy and leveling are essential. However, so much of the performance of the product is determined by selecting the correct model and setting the model for the project.
How to Maintain a Laser Level
nível do laser accuracy and reliability can be obtained with a bit of regular maintenance. The laser’s outer surface must be cleaned of dust and dirt after each use using a suitable soft cloth; the laser windows must be kept clean. Avoid strong cleaners and abrading materials that could damage the surfaces. Store within the tool’s protective case, particularly when carrying to construction sites, when not in use. If the tool is going to be stored for a long period of time, remove replaceable batteries to prevent deterioration, and test batteries as specified by the manufacturer. Check for damage to other items such as housing, mounting points, and more. Have the tool calibrated according to the manufacturer’s instructions if it is no longer used, dropped, or suspected of being improper.
Embrulhar
Laser leveling is an effective method for establishing uniform reference lines, points, and elevations for a variety of indoor/outdoor applications. The proper nível laser can make the job of aligning and measuring simpler, whether it’s building, landscaping, or laying flooring, tiling, cabinets, or walls. By knowing how laser leveling works, you can make the right selection of your beam type, range, and leveling features. Knowing how to use a laser level correctly is also essential, as the proper use of the laser level will result in accurate measurements. Careful storage, appropriate calibration, and regular cleaning can also help to maintain reliable performance. With the right model and the proper setup procedure, laser leveling can be a valuable tool in your measuring and laying out repertoire.
Perguntas frequentes
So, what are some uses for laser leveling?
Laser leveling is employed for accurate alignment, height checking, grading, flooring, tiling, cabinet installation, landscaping, construction layouts and setting horizontal and vertical reference lines.
Como funciona um nível de laser?
A laser level is used to shoot a laser beam, and it has a built-in leveling mechanism to ensure that the leveling line is parallel. Self-leveling models automatically make fine adjustments within their operating range.
Can a Laser Level be Used Outside?
Yes, laser levels can be used outside. Rotary models and compatible receivers can detect and provide reference beams over a wide area and in bright light.
But which is better, green or red laser levels?
A green laser beam is typically visible in bright lighting, and a red laser beam can be effective indoors. The best choice depends on the project, visibility, range, and accuracy needs.
How to keep a laser level level?
Regularly clean laser windows and exterior, store in a protective case, check batteries, do not impact, and follow the manufacturer’s recommendations for calibration and servicing.




