
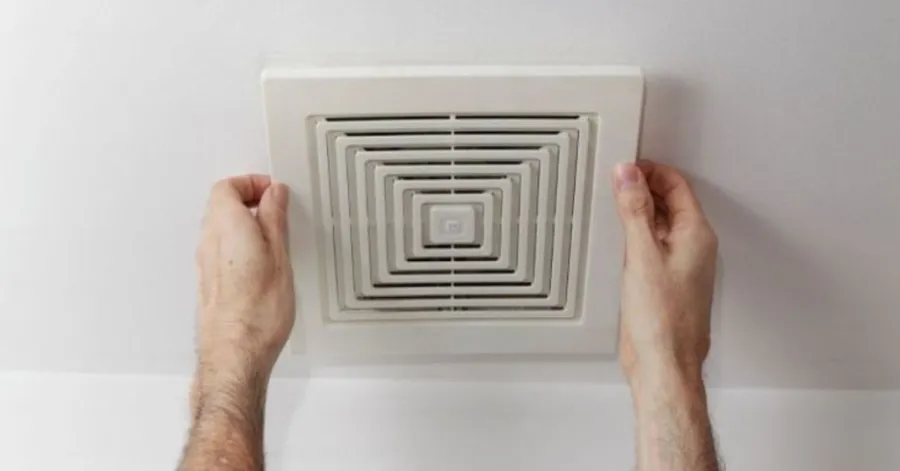
Μπορείτε να εγκαταστήσετε ένα ανεμιστήρας εξαερισμού για τοποθέτηση σε τοίχοελέγξτε τον εαυτό σας με τα σωστά εργαλεία και την κατάλληλη προετοιμασία. Όταν εργάζεστε με έναν επιτοίχιο ανεμιστήρα εξαερισμού, η ασφάλεια είναι η ύψιστη προτεραιότητα, ειδικά όταν πρόκειται για ηλεκτρικές καλωδιώσεις. Αφιερώστε χρόνο για να σχεδιάσετε το έργο σας και να συγκεντρώσετε όλα όσα χρειάζεστε για την εγκατάσταση του επιτοίχιου ανεμιστήρα εξαερισμού σας. Να διαβάζετε πάντα κάθε βήμα πριν ξεκινήσετε την εγκατάσταση του επιτοίχιου ανεμιστήρα εξαερισμού σας. Αυτό σας βοηθά να αποφύγετε λάθη και να διατηρείτε την εργασία σας ασφαλή.
- Φοράτε προστατευτικό εξοπλισμό για να παραμείνετε ασφαλείς κατά την εγκατάσταση του επιτοίχιου ανεμιστήρα εξαερισμού.
- Ελέγξτε ξανά τις μετρήσεις πριν από την κοπή ή το τρύπημα για τον επιτοίχιο ανεμιστήρα εξαερισμού.
- Ζητήστε βοήθεια εάν δεν είστε σίγουροι για οποιοδήποτε μέρος της εγκατάστασης του επιτοίχιου ανεμιστήρα εξαερισμού.
Εργαλεία και υλικά που απαιτούνται για την εγκατάσταση ενός Ανεμιστήρας εξαερισμού τοίχου
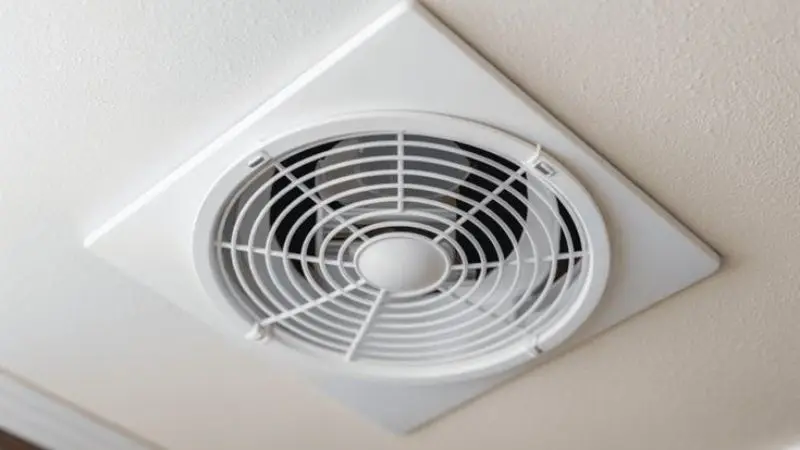
Βασικά εργαλεία εγκατάστασης
Χρειάζεστε τα κατάλληλα εργαλεία για να εγκαταστήσετε έναν επιτοίχιο ανεμιστήρα εξαερισμού. Συγκεντρώστε αυτά τα αντικείμενα πριν ξεκινήσετε:
- Μετροταινία
- Μολύβι ή μαρκαδόρος
- Μελετητής Stud
- Επίπεδο
- Τρυπάνι με μύτες
- Παζλ ή παλινδρομικό πριόνι
- σετ κατσαβίδι
- Απογυμνωτής συρμάτων και κόφτης
Χρησιμοποιήστε μια μεζούρα για να σημειώσετε το ακριβές σημείο για τον ανεμιστήρα σας. Χρησιμοποιήστε έναν ανιχνευτή καρφιών για να μην κόψετε μια καρφίτσα τοίχου. Ένα αλφάδι διατηρεί τον ανεμιστήρα εξαγωγής σε επίπεδο. Θα χρειαστείτε ένα πριόνι και ένα τρυπάνι για να σκαλίσετε το άνοιγμα για τον ανεμιστήρα. Οι απογυμνωτές καλωδίων σας βοηθούν να κάνετε τις ηλεκτρικές συνδέσεις ευκολότερες.
Απαιτούμενα Υλικά
Πρέπει να έχετε όλα αυτά τα είδη διαθέσιμα για να εξασφαλίσετε μια ομαλή εγκατάσταση. Ένα εξωτερικό κάλυμμα απαγωγής μπορεί να αφήσει τον αέρα από την εξάτμιση να διαφύγει από την περιοχή σας. Τόσο οι αγκύρια όσο και οι βίδες βοηθούν στη στερέωση του ανεμιστήρα στη θέση του. Το στεγανοποιητικό υλικό χρησιμοποιείται για τη στεγανοποίηση διαρροών αέρα και για να εμποδίζει την είσοδο υγρασίας στην περιοχή.
Εξοπλισμός ασφαλείας που πρέπει να χρησιμοποιείτε
Η ασφάλεια έχει σημασία όταν εγκαθιστάτε έναν ανεμιστήρα εξαγωγής. Προστατέψτε τον εαυτό σας με αυτά τα είδη:
- Γυαλιά ασφαλείας
- Γάντια εργασίας
- Μάσκα σκόνης
- Προστασία ακοής
Είναι σημαντικό να προστατεύετε τα μάτια σας από τη σκόνη και τα σωματίδια φορώντας προστατευτικά γυαλιά. Εάν πρόκειται να κόψετε κάτι ή να χειριστείτε κάτι αιχμηρό, θα πρέπει να φοράτε γάντια. Φορώντας μάσκα σκόνης, εμποδίζετε την είσοδο σωματιδίων στους πνεύμονές σας. Η χρήση προστατευτικών ακοής είναι ωφέλιμη όταν εργάζεστε με θορυβώδη εργαλεία.
Πώς να επιλέξετε το σωστό Ανεμιστήρας εξαερισμού τοίχου
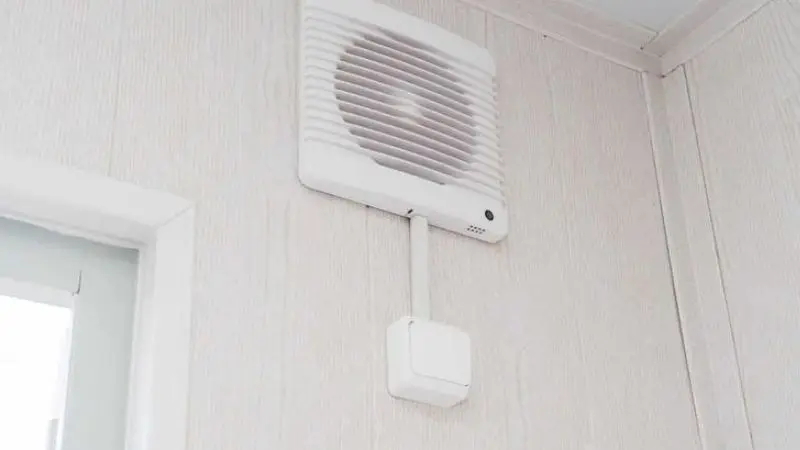
Προσδιορισμός του σωστού μεγέθους ανεμιστήρα και ροής αέρα (CFM)
Πρέπει να επιλέξετε το σωστό μέγεθος για το δικό σας ανεμιστήρας εξαερισμού για τοποθέτηση σε τοίχοΤο μέγεθος είναι συνάρτηση του δωματίου και της ποσότητας αέρα που θέλετε να μετακινήσετε. Αναζητήστε την βαθμολογία CFM (κυβικά πόδια ανά λεπτό). Το CFM υποδεικνύει πόσο αέρα μπορεί να μετακινήσει ο ανεμιστήρας. Τα περισσότερα μπάνια χρειάζονται έναν ανεμιστήρα που μετακινεί 50 έως 100 CFM. Οι κουζίνες ή οι χώροι πλυντηρίων απαιτούν περισσότερο CFM. Μετρήστε το δωμάτιό σας και ανατρέξτε στις συμβουλές του κατασκευαστή για τη βέλτιστη εφαρμογή.
Χαρακτηριστικά ενεργειακά αποδοτικού ανεμιστήρα εξαερισμού που πρέπει να αναζητήσετε
Αν βρείτε έναν ανεμιστήρα με έξυπνες λειτουργίες, μπορείτε να εξοικονομήσετε χρήματα και ενέργεια. Θα πρέπει να αναζητήσετε μοντέλα που έχουν λάβει την πιστοποίηση ENERGY STAR. Αυτοί οι ανεμιστήρες καταναλώνουν λιγότερη ενέργεια και είναι πιο αθόρυβοι. Οι ανεμιστήρες μπορεί να διαθέτουν χρονοδιακόπτες ή αισθητήρες κίνησης. Αυτές οι δεξιότητες σάς παρέχουν τη δυνατότητα να αλλάζετε τον χρονισμό του ανεμιστήρα. Μερικοί διαθέτουν φώτα LED που παρέχουν καλύτερο φωτισμό.
Εσωτερικοί έναντι εξωτερικών ανεμιστήρων εξαερισμού με ονομαστική τιμή
Πρέπει να προσδιορίσετε εάν ο επιτοίχιος ανεμιστήρας απαγωγής έχει σχεδιαστεί για εσωτερική ή εξωτερική χρήση. Τα μπάνια, οι κουζίνες και τα πλυσταριό είναι οι ιδανικές τοποθεσίες για την εγκατάσταση εσωτερικών ανεμιστήρων. Οι εξωτερικοί ανεμιστήρες αντέχουν τόσο στις καιρικές συνθήκες όσο και στις υγρές συνθήκες. Για γκαράζ ή υπόστεγα, χρησιμοποιήστε εξωτερικούς ανεμιστήρες. Πριν κάνετε μια αγορά, θα πρέπει πάντα να διαβάζετε την ετικέτα.
Δημοφιλής Ανεμιστήρας εξαερισμού τοίχου Τύποι
Υπάρχουν άπειροι διαφορετικοί ανεμιστήρες εξαγωγής για να διαλέξετε. Μερικοί ανεμιστήρες περιλαμβάνουν φώτα εγκατεστημένα απευθείας μέσα στον ανεμιστήρα. Μερικοί άλλοι διαθέτουν αισθητήρες που μετρούν την υγρασία. Μπορείτε να αγοράσετε ανεμιστήρες με ήδη τοποθετημένα τηλεχειριστήρια. Επιλέξτε έναν ανεμιστήρα που είναι κατάλληλος για τον χώρο που έχετε διαθέσιμο και τις ανάγκες σας.
- Τυπικός ανεμιστήρας εξάτμισης
- Ανεμιστήρας με φως
- Ανεμιστήρας με αισθητήρα υγρασίας
- Τηλεχειριζόμενος ανεμιστήρας
Πώς να εγκαταστήσετε ένα Ανεμιστήρας εξαερισμού τοίχου: Οδηγίες βήμα προς βήμα
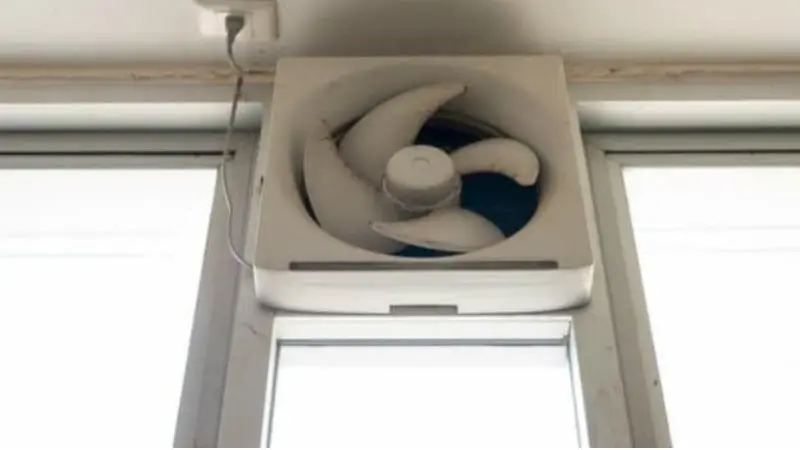
Βήμα 1: Σημειώστε την περιοχή εγκατάστασης του ανεμιστήρα εξαερισμού
Ξεκινήστε επιλέγοντας το καλύτερο σημείο για εσάς ανεμιστήρας εξαερισμού για τοποθέτηση σε τοίχοΧρησιμοποιήστε μια μεζούρα και ένα μολύβι για να σημειώσετε το περίγραμμα όπου θέλετε να εγκαταστήσετε τον ανεμιστήρα εξαγωγής σε έναν τοίχο. Βεβαιωθείτε ότι η περιοχή δεν έχει καλώδια και σωλήνες. Ελέγξτε για καρφιά με έναν ανιχνευτή καρφιών. Αυτό το βήμα σας βοηθά να αποφύγετε λάθη αργότερα.
Βήμα 2: Κόψτε το άνοιγμα στον τοίχο
Τα γάντια και τα γυαλιά ασφαλείας είναι απαραίτητα. Μην ξεχάσετε τα δικά σας! Συνιστάται να ανοίξετε τρύπες εκκίνησης στις γωνίες του περιγράμματος της σχεδίας σας. Χρησιμοποιήστε ένα παζλ για να κόψετε κατά μήκος των γραμμών. Κόψτε το κομμάτι που κόπηκε. Σε αυτό το στάδιο, έχετε χώρο για τον ανεμιστήρα εξαγωγής.
Βήμα 3: Εγκαταστήστε την εξωτερική κουκούλα εξαερισμού
Ο εξωτερικός απορροφητήρας εξαερισμού θα πρέπει να τοποθετηθεί πάνω από το άνοιγμα μόλις βγείτε έξω. Το εξωτερικό τετράγωνο περίβλημα εξαερισμού θα πρέπει να βιδωθεί σταθερά στον τοίχο. Ο εξαγόμενος αέρας επιτρέπεται να διαφύγει από το δωμάτιό σας μέσω αυτού του εξαερισμού. Ελέγξτε ότι ο απορροφητήρας εξαερισμού είναι στο ίδιο επίπεδο με τον τοίχο πριν τον εγκαταστήσετε.
Βήμα 4: Τοποθετήστε και ασφαλίστε το Ανεμιστήρας εξαερισμού τοίχου
Μπείτε ξανά στο κτίριο. Όταν το περίβλημα είναι έτοιμο, ο ανεμιστήρας θα πρέπει να τοποθετηθεί μέσα σε αυτό. Χρησιμοποιήστε βίδες για να στερεώσετε τον ανεμιστήρα με ασφάλεια στη θέση του. Βεβαιωθείτε ότι ο ανεμιστήρας είναι τοποθετημένος σε επίπεδη επιφάνεια. Αυτό το βήμα είναι ζωτικής σημασίας για την ασφαλή και σωστή τοποθέτηση ενός ανεμιστήρα απαγωγής.
Βήμα 5: Συνδέστε την ηλεκτρική καλωδίωση
Απενεργοποιήστε την παροχή ρεύματος στον διακόπτη. Χρησιμοποιήστε απογυμνωτές καλωδίων για να προετοιμάσετε τα καλώδια. Τα καλώδια από τον ανεμιστήρα συνδέονται με την καλωδίωση του σπιτιού χρησιμοποιώντας παξιμάδια καλωδίων. Ακολουθήστε τις οδηγίες που παρέχονται από τον κατασκευαστή. Αυτό είναι ένα από τα πιο σημαντικά βήματα στην εγκατάσταση ενός ανεμιστήρα εξαγωγής, γι' αυτό ακολουθήστε αυτό το βήμα.
Βήμα 6: Σφραγίστε γύρω από τον ανεμιστήρα και τον εξωτερικό αεραγωγό
Συνιστάται η τοποθέτηση στεγανωτικού ή στεγανωτικού υλικού σε όλη την περιφέρεια του καλύμματος εξαερισμού και της εξωτερικής περιμέτρου της μονάδας ανεμιστήρα. Εξαιτίας αυτού, δεν υπάρχει πιθανότητα διαφυγής του εξαγόμενου αέρα και δεν υπάρχει πιθανότητα εισχώρησης υγρασίας. Το στεγανωτικό πρέπει να αφεθεί να στεγνώσει.
Βήμα 7: Επαναφορά ρεύματος και δοκιμή του ανεμιστήρα
Αποκαταστήστε την πρόσβαση του συστήματος στην ηλεκτρική παροχή. Συμπεριλάβετε το κάλυμμα του ανεμιστήρα στο αντικείμενο. Συνιστάται να ελέγξετε τον ανεμιστήρα ενεργοποιώντας τον. Είναι σημαντικό να προσέχετε για ομαλή λειτουργία, εκτός από το να διασφαλίζετε ότι ο αέρας εξαγωγής ρέει σωστά σε εξωτερικούς χώρους. Εάν όλα λειτουργούν όπως πρέπει, η διαδικασία εγκατάστασης έχει ολοκληρωθεί με επιτυχία χωρίς προβλήματα.
Καλωδίωση ενός Ανεμιστήρας εξαερισμού τοίχου Ασφαλής
Βασικές ηλεκτρικές απαιτήσεις
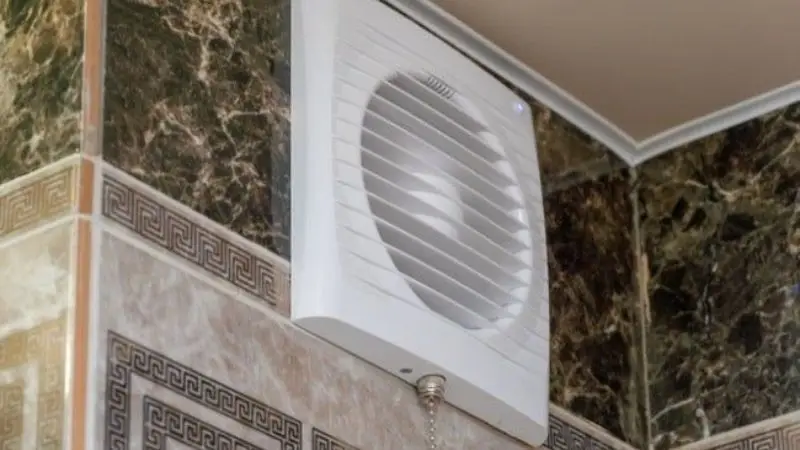
Πρέπει να ελέγξετε την ηλεκτρική σας εγκατάσταση πριν συνδέσετε την καλωδίωση ανεμιστήρας εξαερισμού για τοποθέτηση σε τοίχοΒεβαιωθείτε ότι το κύκλωμα μπορεί να αντέξει το νέο φορτίο. Οι περισσότεροι ανεμιστήρες εξαγωγής χρησιμοποιούν ένα τυπικό κύκλωμα 120 βολτ. Θα πρέπει να χρησιμοποιείτε καλώδιο 14 gauge για τις περισσότερες εγκαταστάσεις. Πάντα να απενεργοποιείτε την παροχή ρεύματος από το κουτί ασφαλειών. Χρησιμοποιήστε έναν ελεγκτή τάσης για να επιβεβαιώσετε ότι το κύκλωμα είναι απενεργοποιημένο. Η ασφάλεια προέχει όταν εργάζεστε με ηλεκτρικό ρεύμα.
Σύνδεση του ανεμιστήρα σε διακόπτη
Μπορείτε να συνδέσετε τον ανεμιστήρα εξαγωγής σε έναν διακόπτη τοίχου για εύκολο έλεγχο. Περάστε τα καλώδια από τον ανεμιστήρα στο κουτί διακοπτών. Απογυμνώστε τα άκρα των καλωδίων και ενώστε τα με παξιμάδια καλωδίων. Συνδέστε το καλώδιο γείωσης στη βίδα γείωσης. Ασφαλίστε τον διακόπτη στο κουτί και καλύψτε τον με μια πλάκα. Επαναφέρετε την τροφοδοσία και δοκιμάστε τον διακόπτη. Ο ανεμιστήρας θα πρέπει να ξεκινά και να σταματά με τον διακόπτη.
Συνηθισμένα λάθη καλωδίωσης που πρέπει να αποφεύγετε
Θα πρέπει να αποφύγετε τα ακόλουθα λάθη κατά την καλωδίωση ενός ανεμιστήρα εξαγωγής:
- Ξεχνώντας να απενεργοποιήσετε την παροχή ρεύματος
- Χρήση λάθος διαμέτρου σύρματος
- Δεν ασφαλίζονται καλά τα παξιμάδια του σύρματος
- Ανάμειξη θερμών και ουδέτερων καλωδίων
- Αφήνοντας εκτεθειμένα καλώδια
Πότε να καλέσετε έναν αδειούχο ηλεκτρολόγο
Εάν δεν είστε σίγουροι για κάποιο από τα βήματα, θα πρέπει να επικοινωνήσετε με έναν πιστοποιημένο ηλεκτρολόγο. Η εργασία με ηλεκτρικό ρεύμα μπορεί πάντα να είναι επικίνδυνη. Εάν η καλωδίωσή σας φαίνεται κατεστραμμένη ή παλιά, θα πρέπει να ζητήσετε επαγγελματική βοήθεια. Συνιστάται επίσης μια επίσκεψη σε έναν ηλεκτρολόγο εάν ο ανεμιστήρας απαγωγής σας απαιτεί ειδικό κύκλωμα ή εάν ανακαλύψετε καλώδια που δεν αναμένονται πίσω από τον τοίχο.
Συμπέρασμα
Μάθατε πώς να εγκαταστήσετε έναν επιτοίχιο ανεμιστήρα εξαερισμού βήμα προς βήμα. Πριν ολοκληρώσετε το έργο, πρέπει να ελέγξετε τις διαστάσεις, την καλωδίωση και τις στεγανοποιήσεις για ακρίβεια. Εάν έχετε να κάνετε με καλώδια, πρέπει να έχετε εξοπλισμό ασφαλείας ΚΑΙ να έχετε απενεργοποιήσει την πηγή ρεύματος ενώ εργάζεστε σε αυτό. Σε περιπτώσεις όπου δεν είστε σίγουροι για κάτι, είναι καλύτερο να ζητήσετε τη βοήθεια ενός ηλεκτρολόγου που είναι ειδικός στον τομέα του προβλήματος.
- Εξετάστε κάθε βήμα πριν ξεκινήσετε.
- Δοκιμάστε τον ανεμιστήρα αφού τελειώσετε.
- Απολαύστε καθαρό αέρα και καλύτερο αερισμό.
Η ασφάλεια προέχει. Ελέγξτε ξανά την εργασία σας για τα καλύτερα δυνατά αποτελέσματα.
Συχνές Ερωτήσεις
Πόσο χρόνο χρειάζεται για να εγκαταστήσω έναν επιτοίχιο ανεμιστήρα εξαερισμού;
Οι περισσότερες εγκαταστάσεις διαρκούν δύο έως τέσσερις ώρες. Μπορείτε να ολοκληρώσετε πιο γρήγορα αν έχετε εμπειρία και όλα τα εργαλεία είναι έτοιμα. Προγραμματίστε επιπλέον χρόνο για ηλεκτρολογικές εργασίες και στεγανοποίηση.
Μπορείτε να εγκαταστήσετε έναν ανεμιστήρα χωρίς επαγγελματική βοήθεια;
Μπορείτε να εγκαταστήσετε μόνοι σας έναν ανεμιστήρα εξαερισμού, ακολουθώντας τις οδηγίες και χρησιμοποιώντας εξοπλισμό ασφαλείας. Ζητήστε βοήθεια από έναν ηλεκτρολόγο εάν δεν είστε σίγουροι για την καλωδίωση.
Τι πρέπει να κάνετε εάν ο ανεμιστήρας κάνει θόρυβο;
Ελέγξτε για χαλαρές βίδες ή υπολείμματα. Σφίξτε όλα τα στοιχεία στερέωσης. Καθαρίστε τα πτερύγια του ανεμιστήρα. Εάν ο θόρυβος συνεχίζεται, ανατρέξτε στον οδηγό αντιμετώπισης προβλημάτων του κατασκευαστή.
Χρειάζεστε άδεια για να εγκαταστήσετε έναν επιτοίχιο ανεμιστήρα εξαερισμού;
Ορισμένες πόλεις απαιτούν άδειες για ηλεκτρολογικές εργασίες. Ελέγξτε τους τοπικούς οικοδομικούς κανονισμούς πριν ξεκινήσετε. Μπορείτε να καλέσετε το γραφείο της πόλης σας για λεπτομέρειες.




