
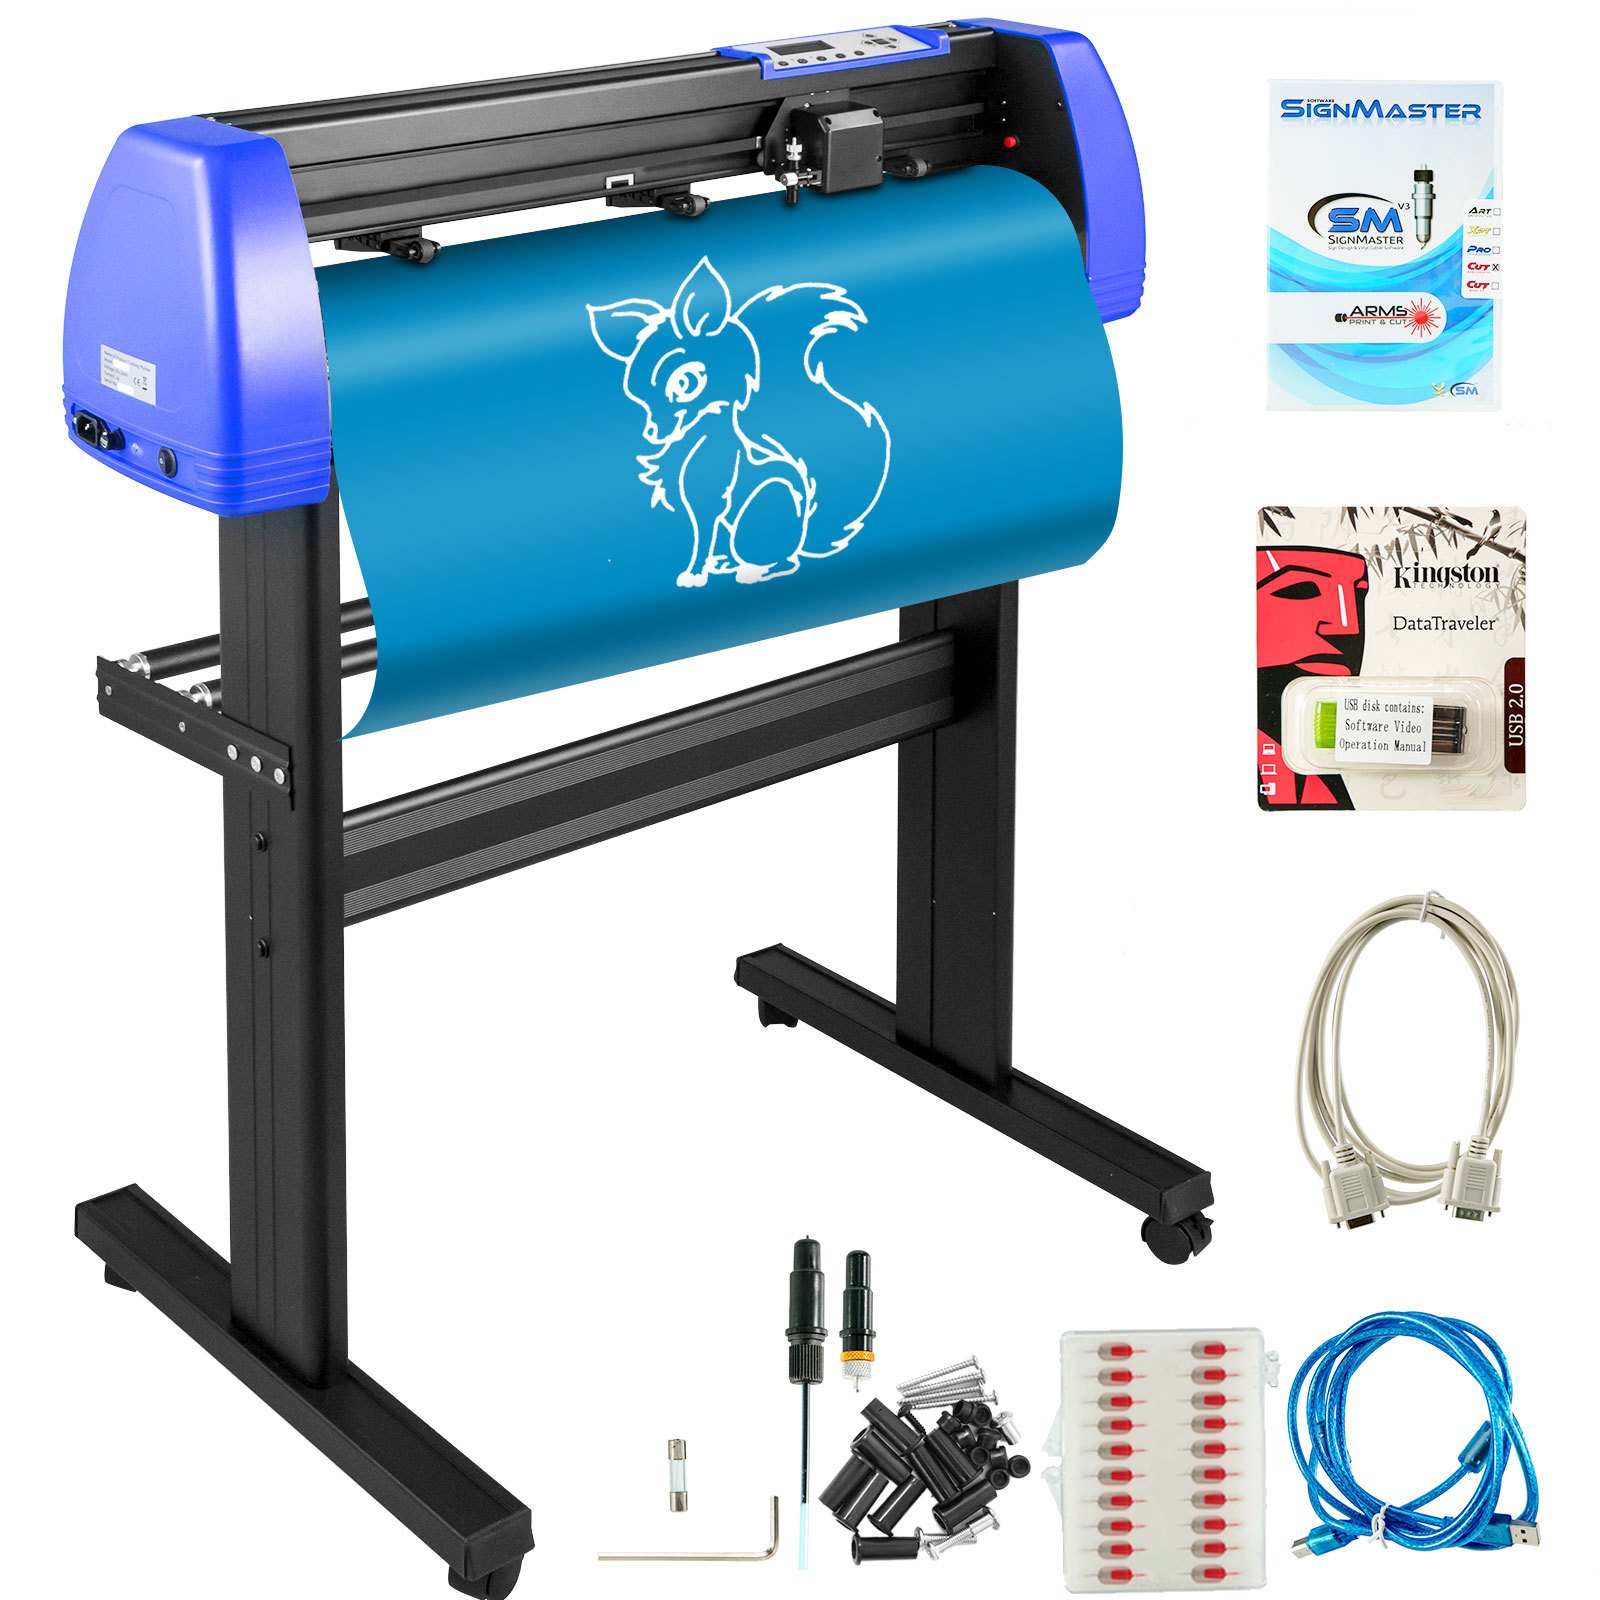
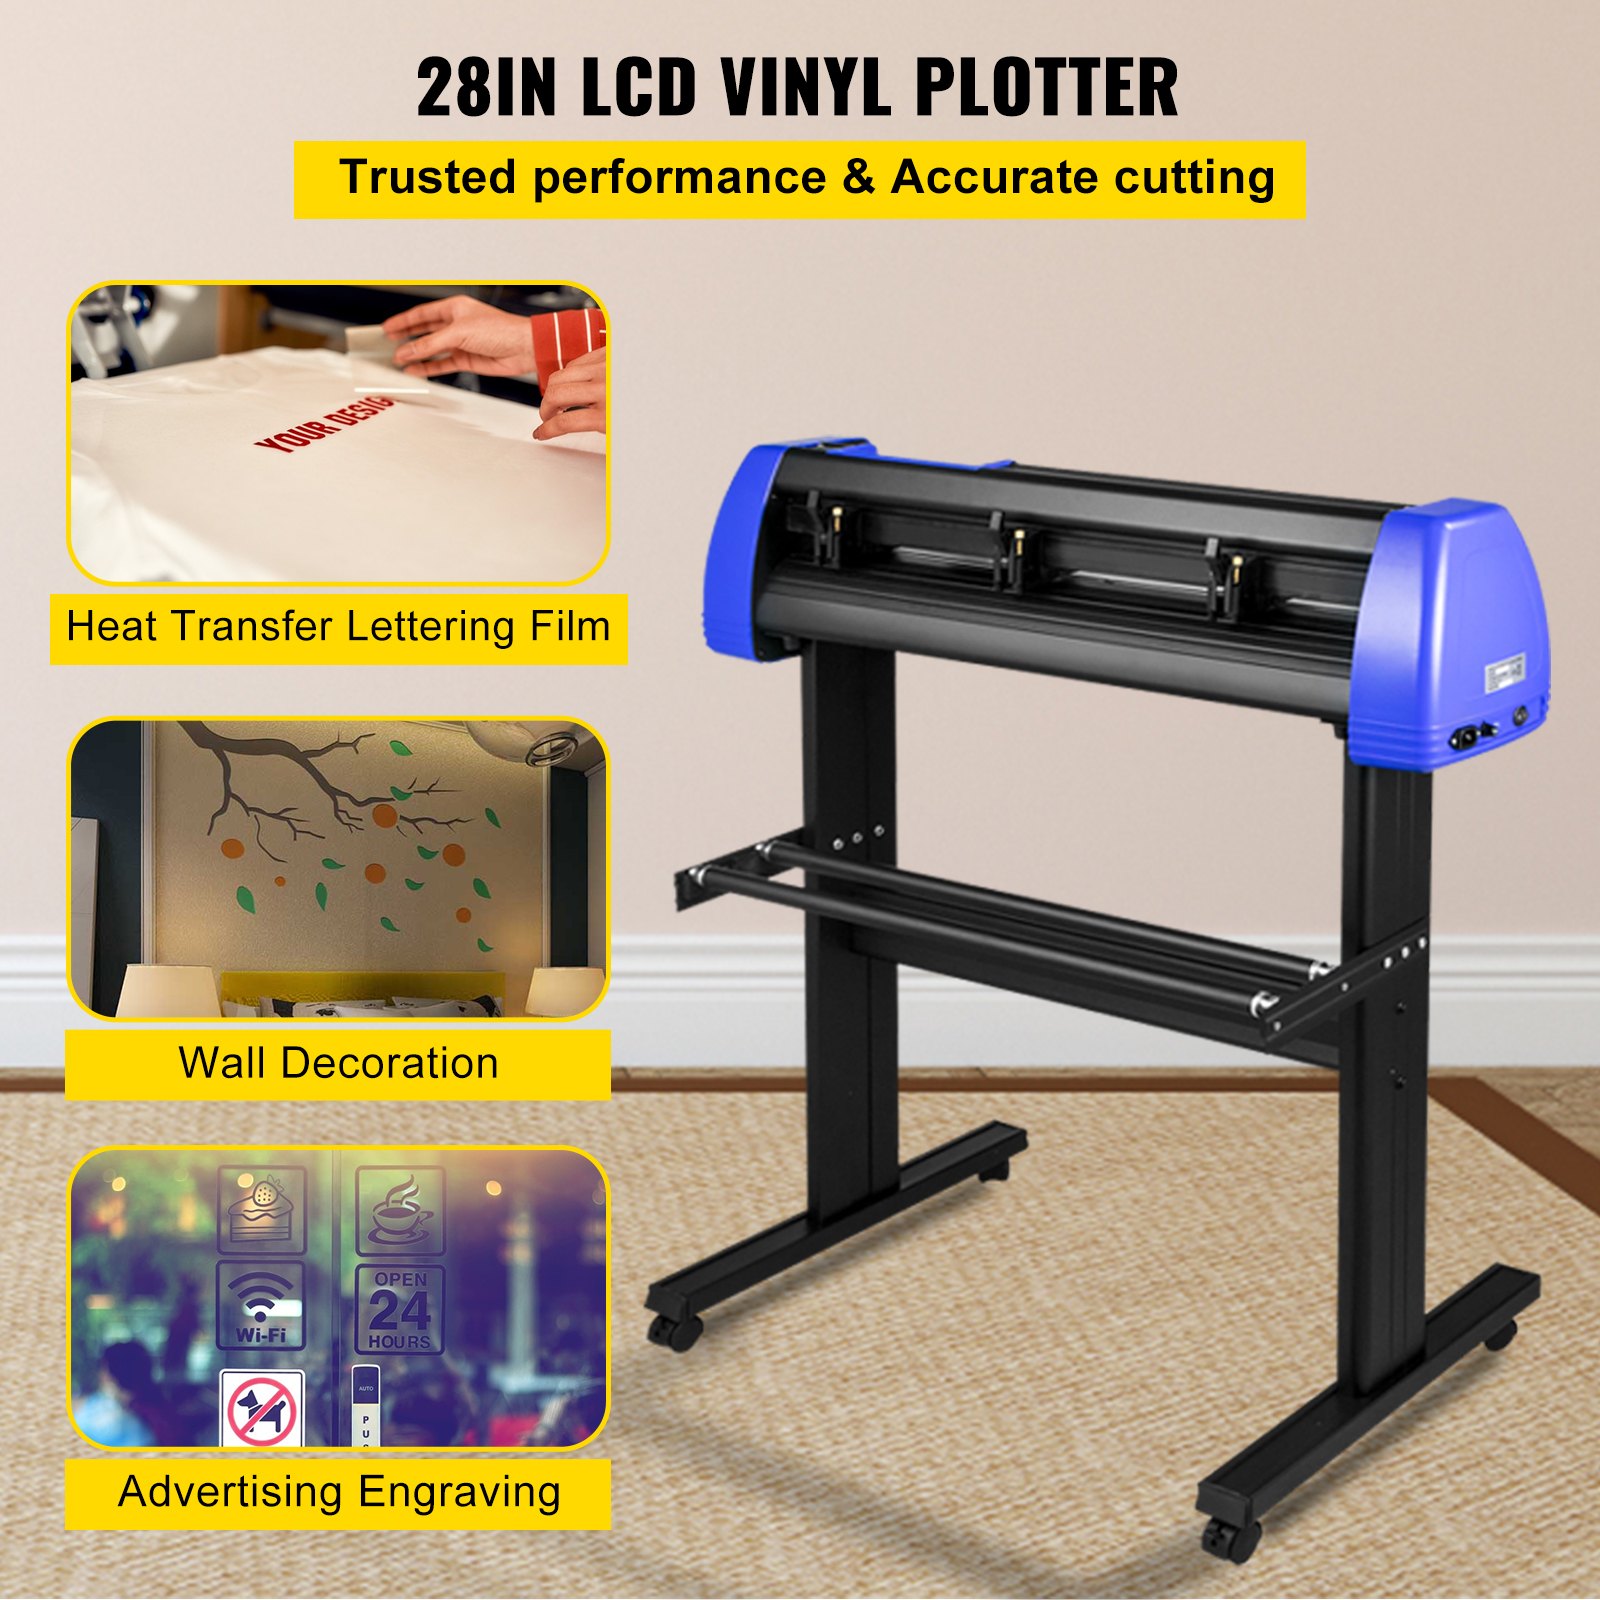
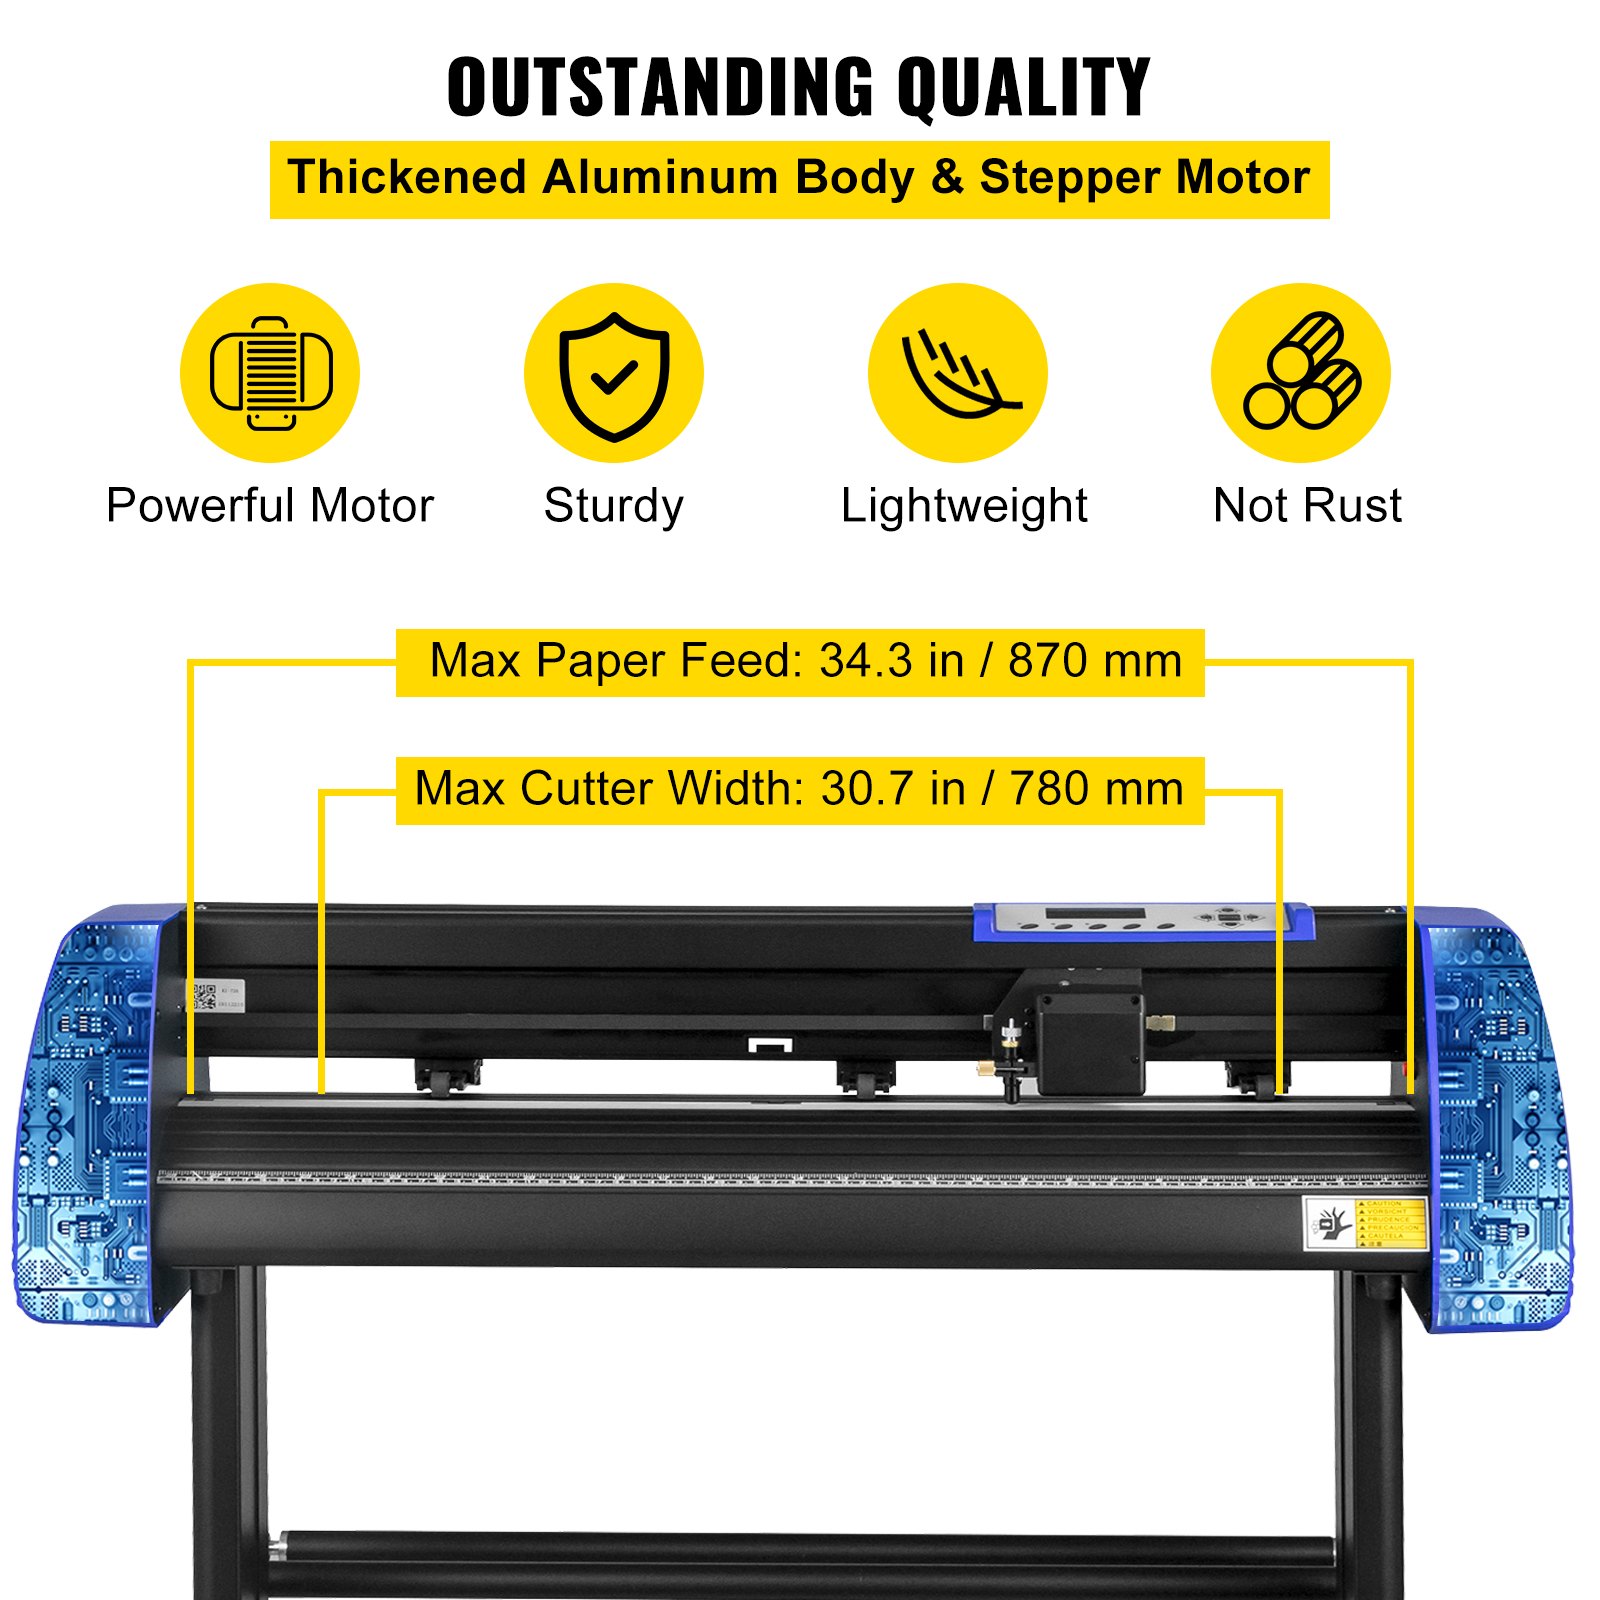
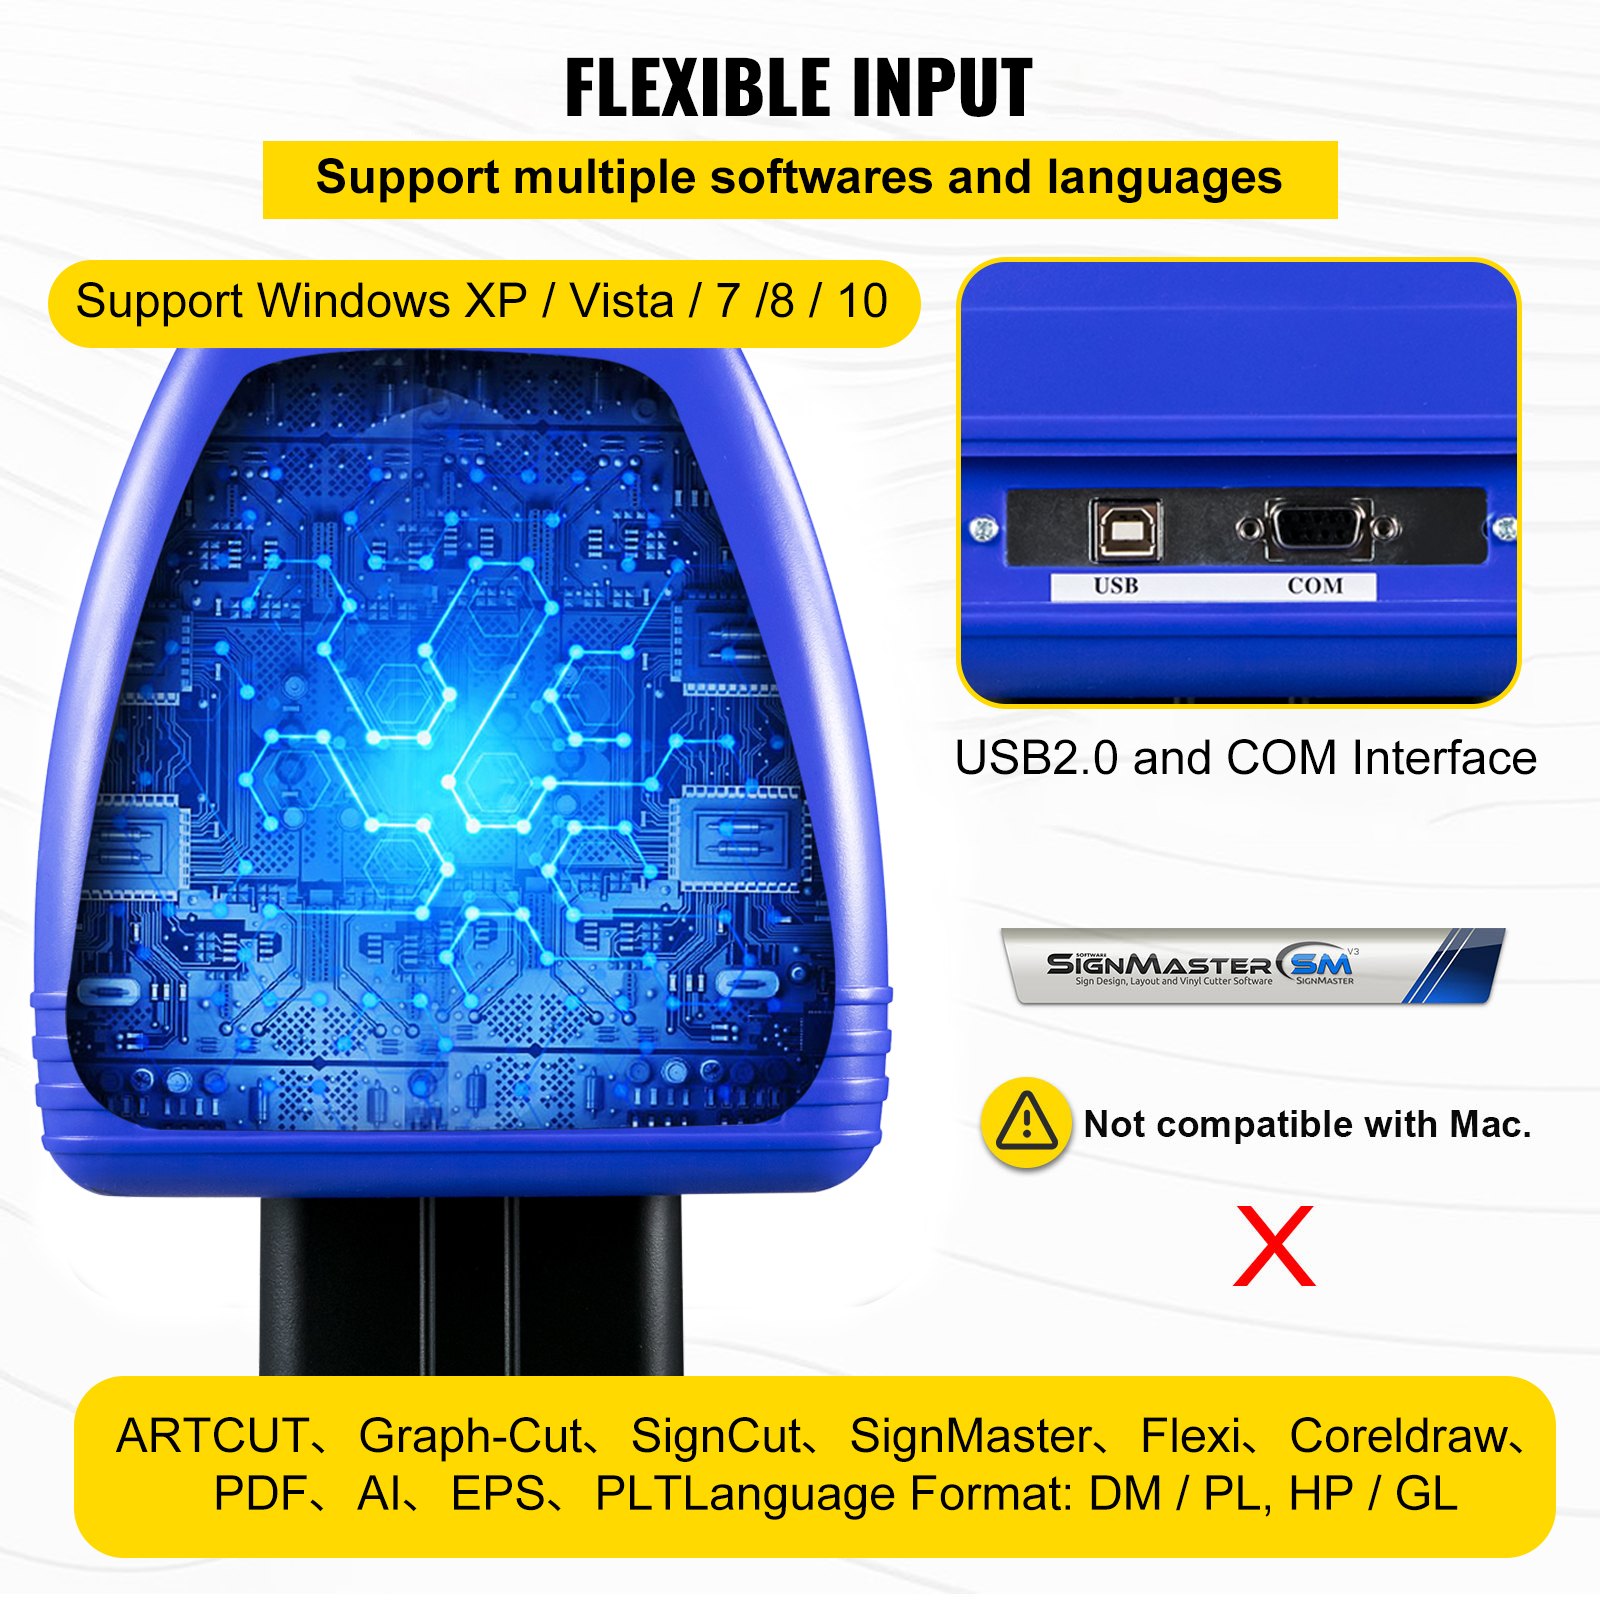
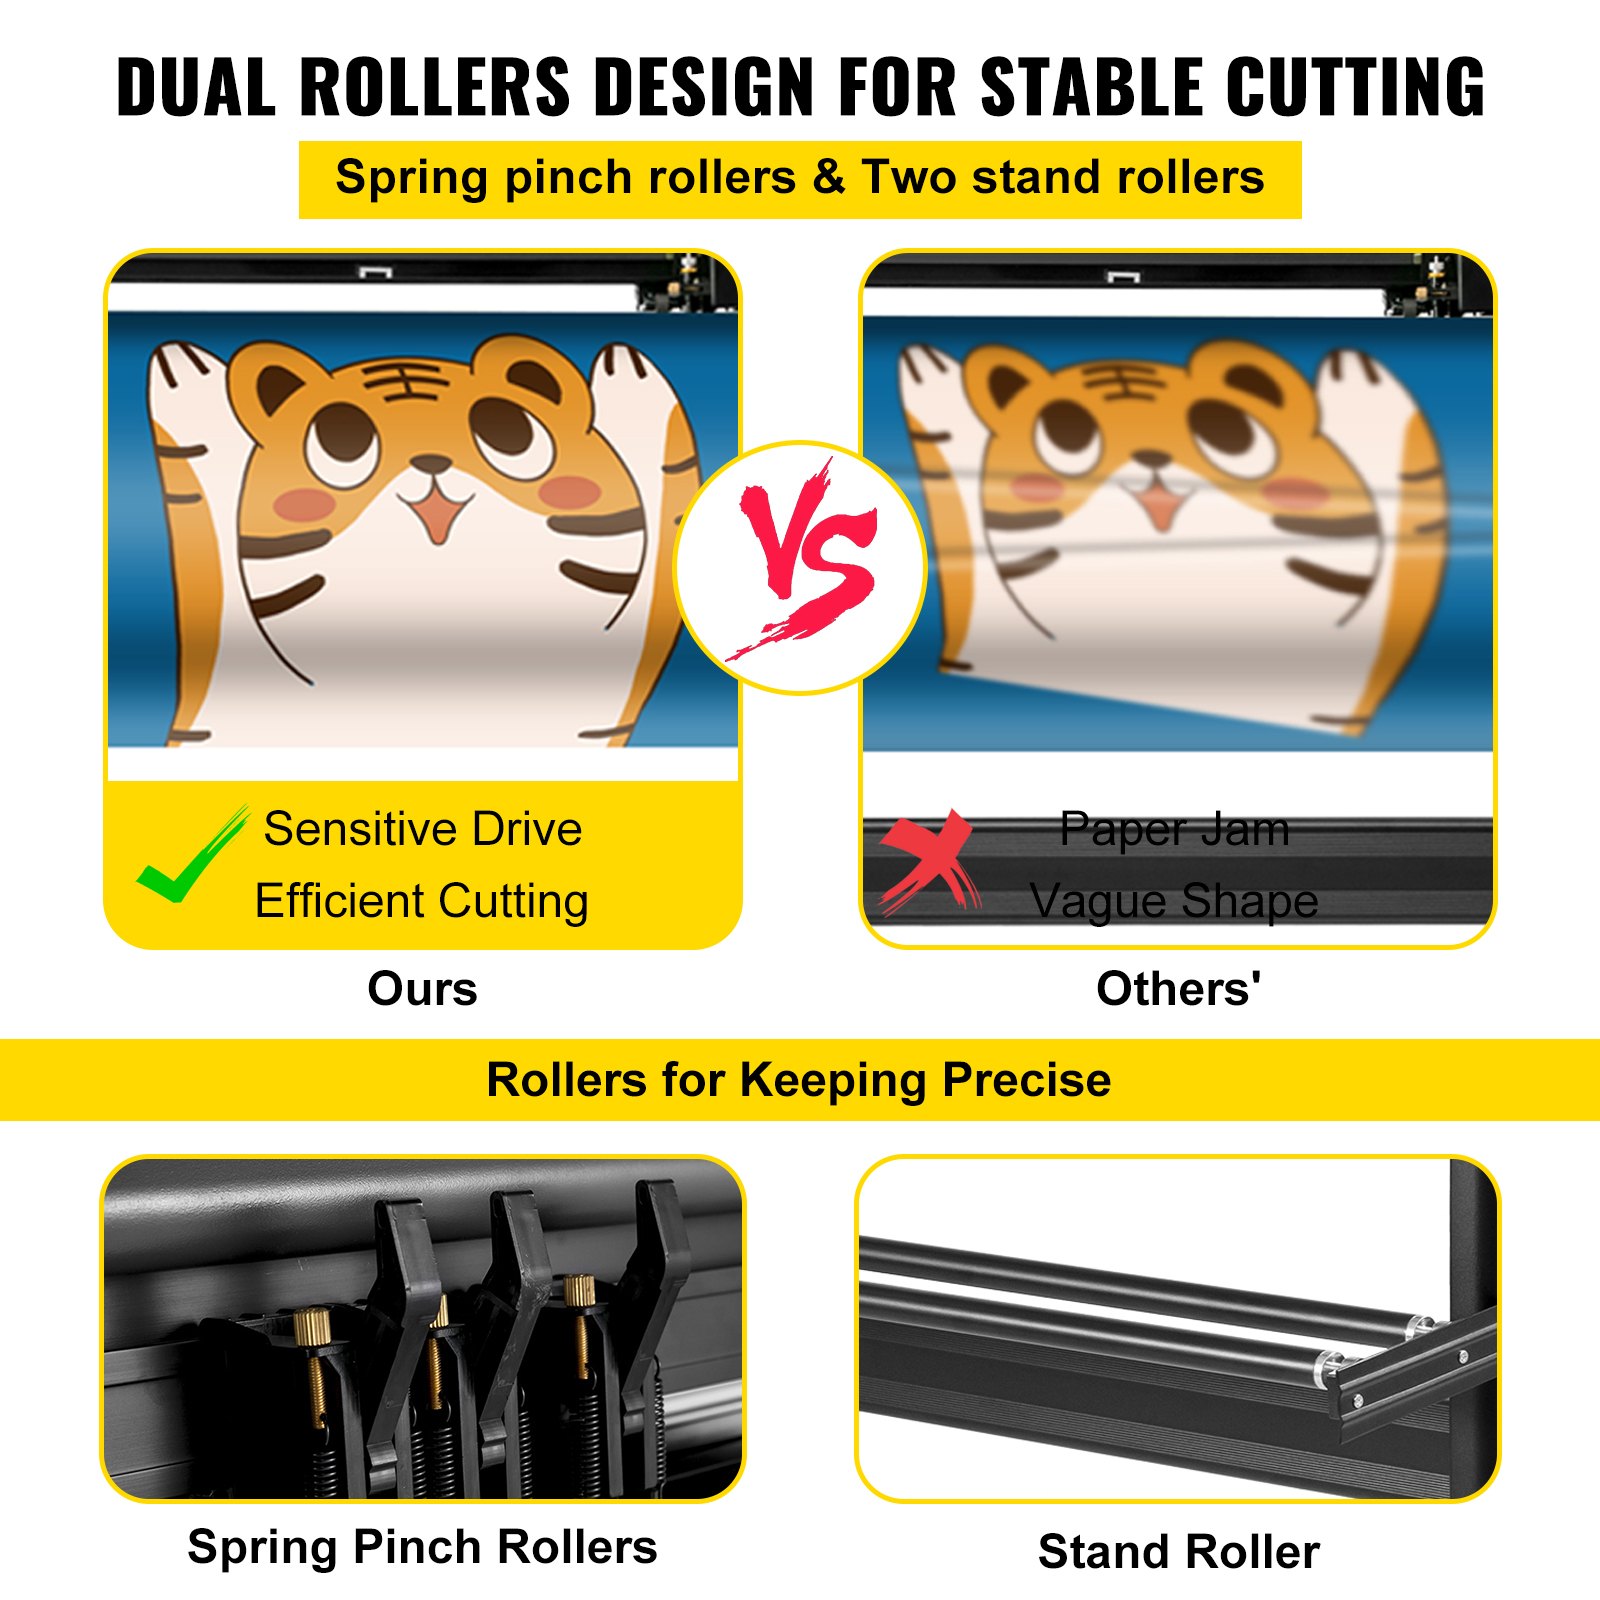
Unlock the full potential of your VEVOR Vinyl Cutter 34 Inch Vinyl Cutter Machine with our comprehensive product manual. This in-depth guide covers every aspect of your vinyl plotter cutter, from initial setup to advanced troubleshooting. It ensures you can make the most of its 870 mm maximum paper feed, 20 blades, and adjustable force and speed features.
Whether you’re a novice or a seasoned professional, our manual is designed to help you optimize your machine’s performance for sign-making and other creative projects.
With clear, step-by-step instructions and detailed diagrams, you’ll find it easy to get started and keep your machine running smoothly. Download the VEVOR Vinyl Cutter Manual today and streamline your workflow with this invaluable resource.
34 Inch Vinyl Cutter Machine User Manual
Precautions
- Protective material must be removed before turning on the cutting plotter.
- Check the label on the back side of the plotter to confirm that the rated voltage required by the plotter matches the voltage of the power base.
- First, ensure the power switch is off, then plug the power supply into a grounded power outlet.
- Please do not touch the power cord with wet hands to avoid electric shock.
- Please only use this product’s power cord, data cable, or manufacturer-approved replacements.
- Please do not drop metal objects and liquids into the machine to avoid malfunction.
- After shutting down, you must wait another 5 seconds to turn on the cutting plotter again; otherwise, it will be damaged.
- In thunderstorms, turn the power switch to OFF and unplug the power cord.
- Please do not privately change the manufacturer’s components.
- The manufacturer reserves the right to change product specifications without prior notice.
- The manufacturer only bears the legal obligations of the product itself sold to the users and does not bear other losses caused by the product’s malfunction.
- Without our company’s permission, no part of this manual can be copied or transmitted under any name.
- Do NOT drag the carriage by hand.
- If the Vinyl Cutter Machine makes an abnormal sound after being powered on, please turn off the power immediately and contact the after-sales department for feedback.
Introduction to The Main Parts
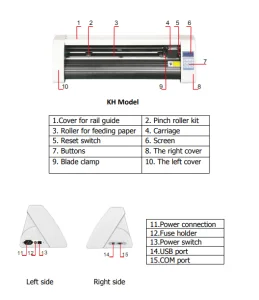
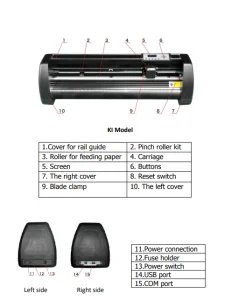
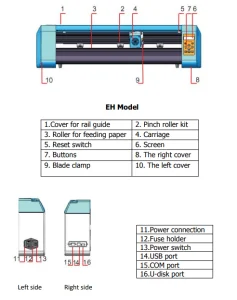
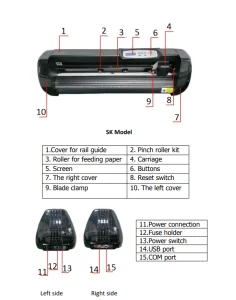
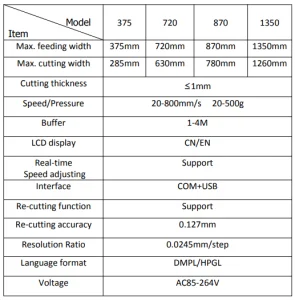
34 Inch Vinyl Cutter Machine Technical Parameters
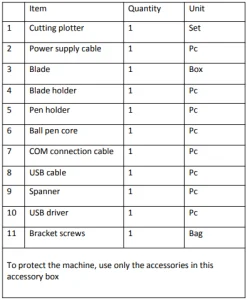
Accessory Box
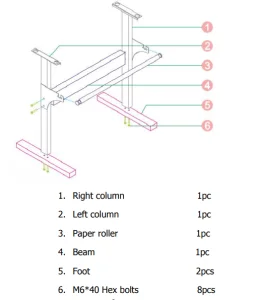
Bracket Assembly Diagram
Iron Bracket Assembly Diagram
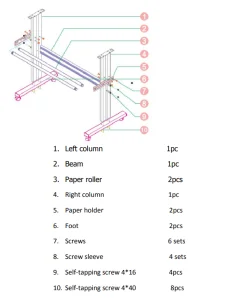
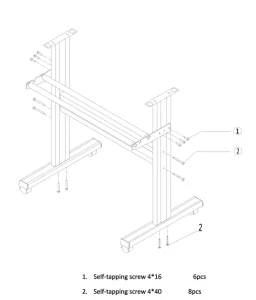
Al Bracket Assembly Diagram
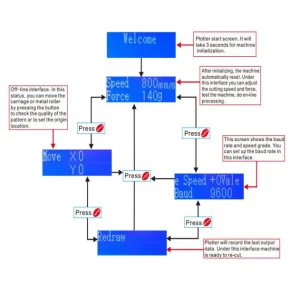
Control Buttons Description and Operation Instructions
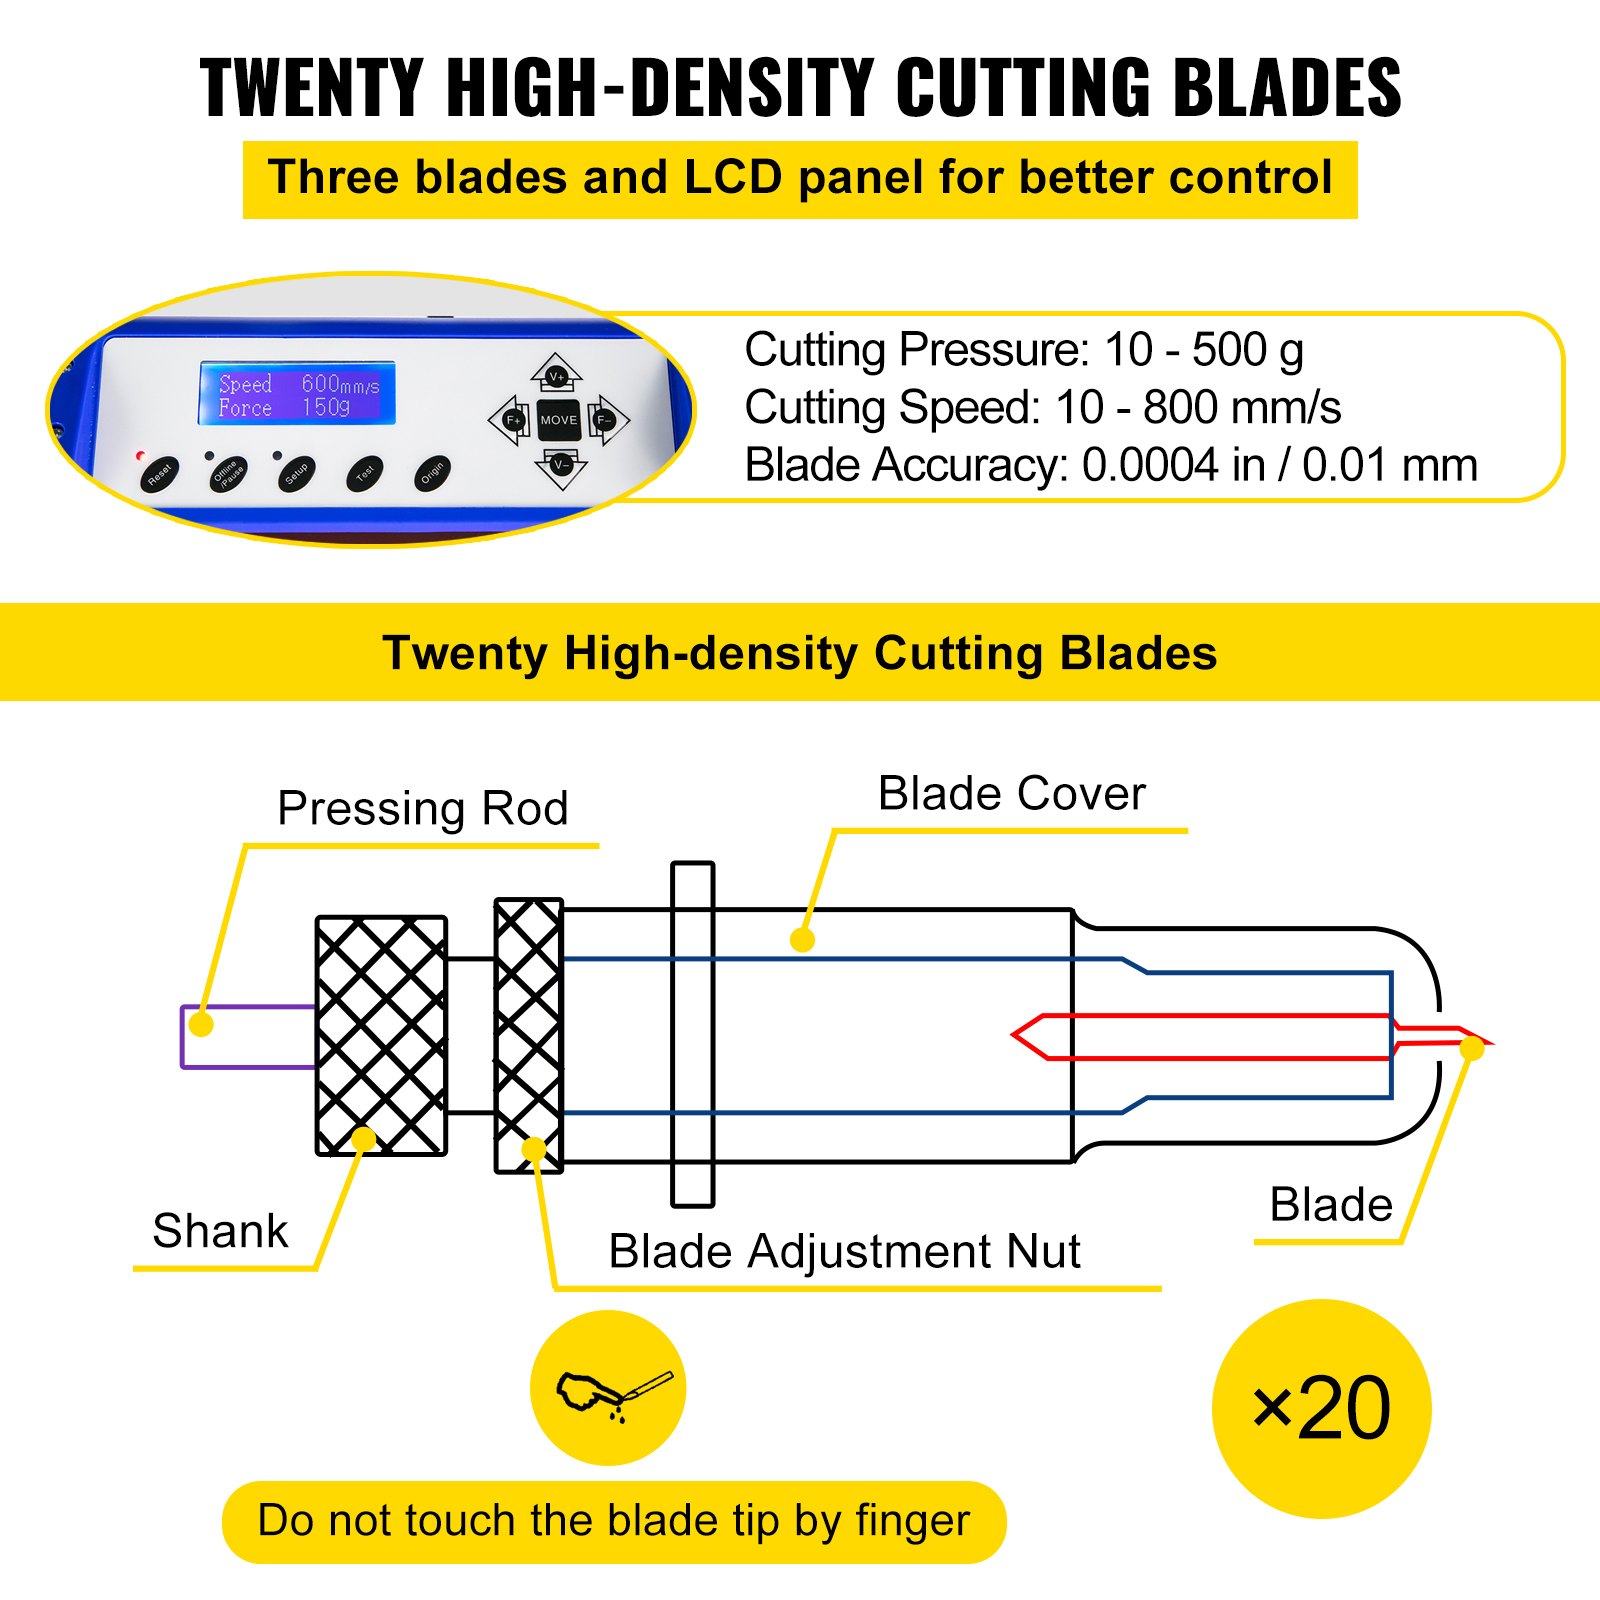
34 Inch Vinyl Cutter Machine Blade Assembly
Assemble the blade into the holder, as seen below:
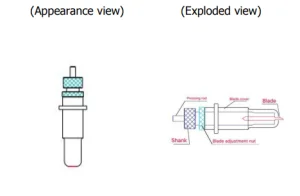
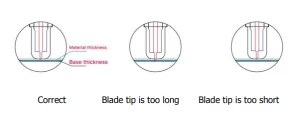
Loosen the blade adjustment nut and rotate the shank to adjust the length of the exposed blade tip. The tip length should be determined according to the thickness of the material.
Press the pressing rod when you want to change the blade; remove it when exposed.
Assemble the blade holder into the wagon:
- Loosen the fixed screw on the tool holder
- Put the blade holder into the tool holder
- Tighten and fix the blade holder when it arrives at the correct position
Tips:
Do not touch the blade tip with your finger; otherwise, your finger will be injured, and the tip will be blunt.
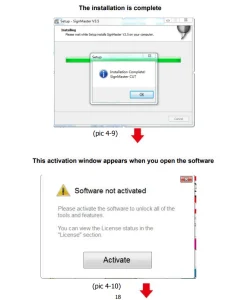
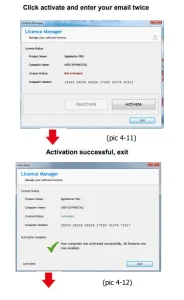
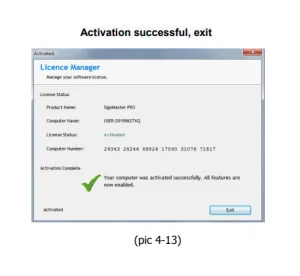
Software and Driver Installation
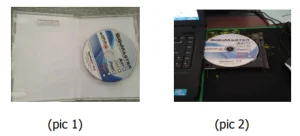
Open the software box (pic 1), take the disk and put it into the CD optical drive (pic 2)
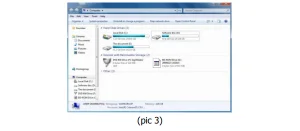
Open the computer, double-click or right-click the optical drive to install the software. (pic 3)
After opening the optical drive, click Install Software (pic4)
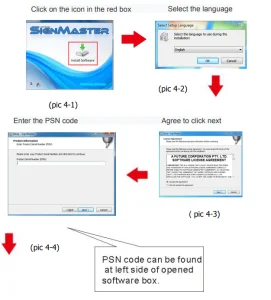
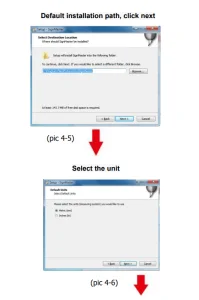
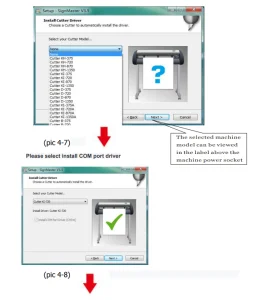
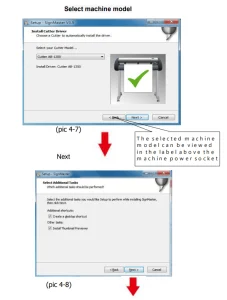
Connection of Software and Machine
Open the software, select cut content, and click send to the cutting plotter.
Click the carving knife icon in the red box.
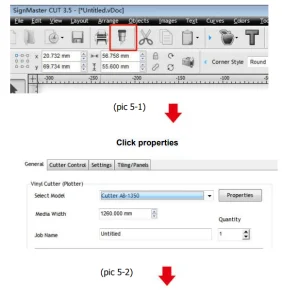
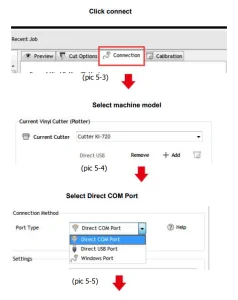
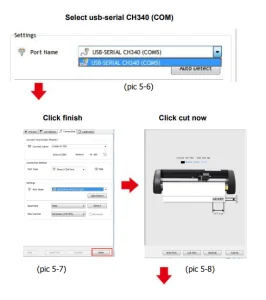
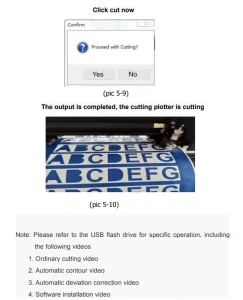
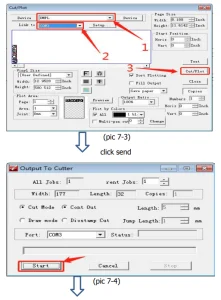
Graph-cut software operation instructions: select the cut file and click Cut
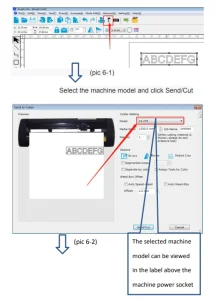
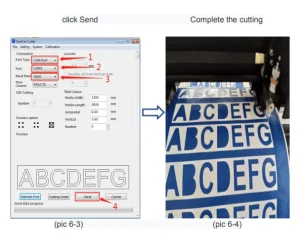
Artcut software operation instructions: select the cut file and click Cut
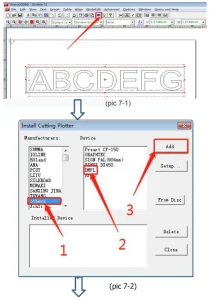
Please click cut after following the settings below
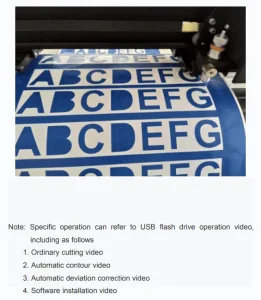
Complete the Cutting
Recommended For Your Project
VEVOR Vinyl Cutter 34 Inch Vinyl Cutter Machine with 20 Blades Maximum Paper Manual

Reviews
There are no reviews yet.