
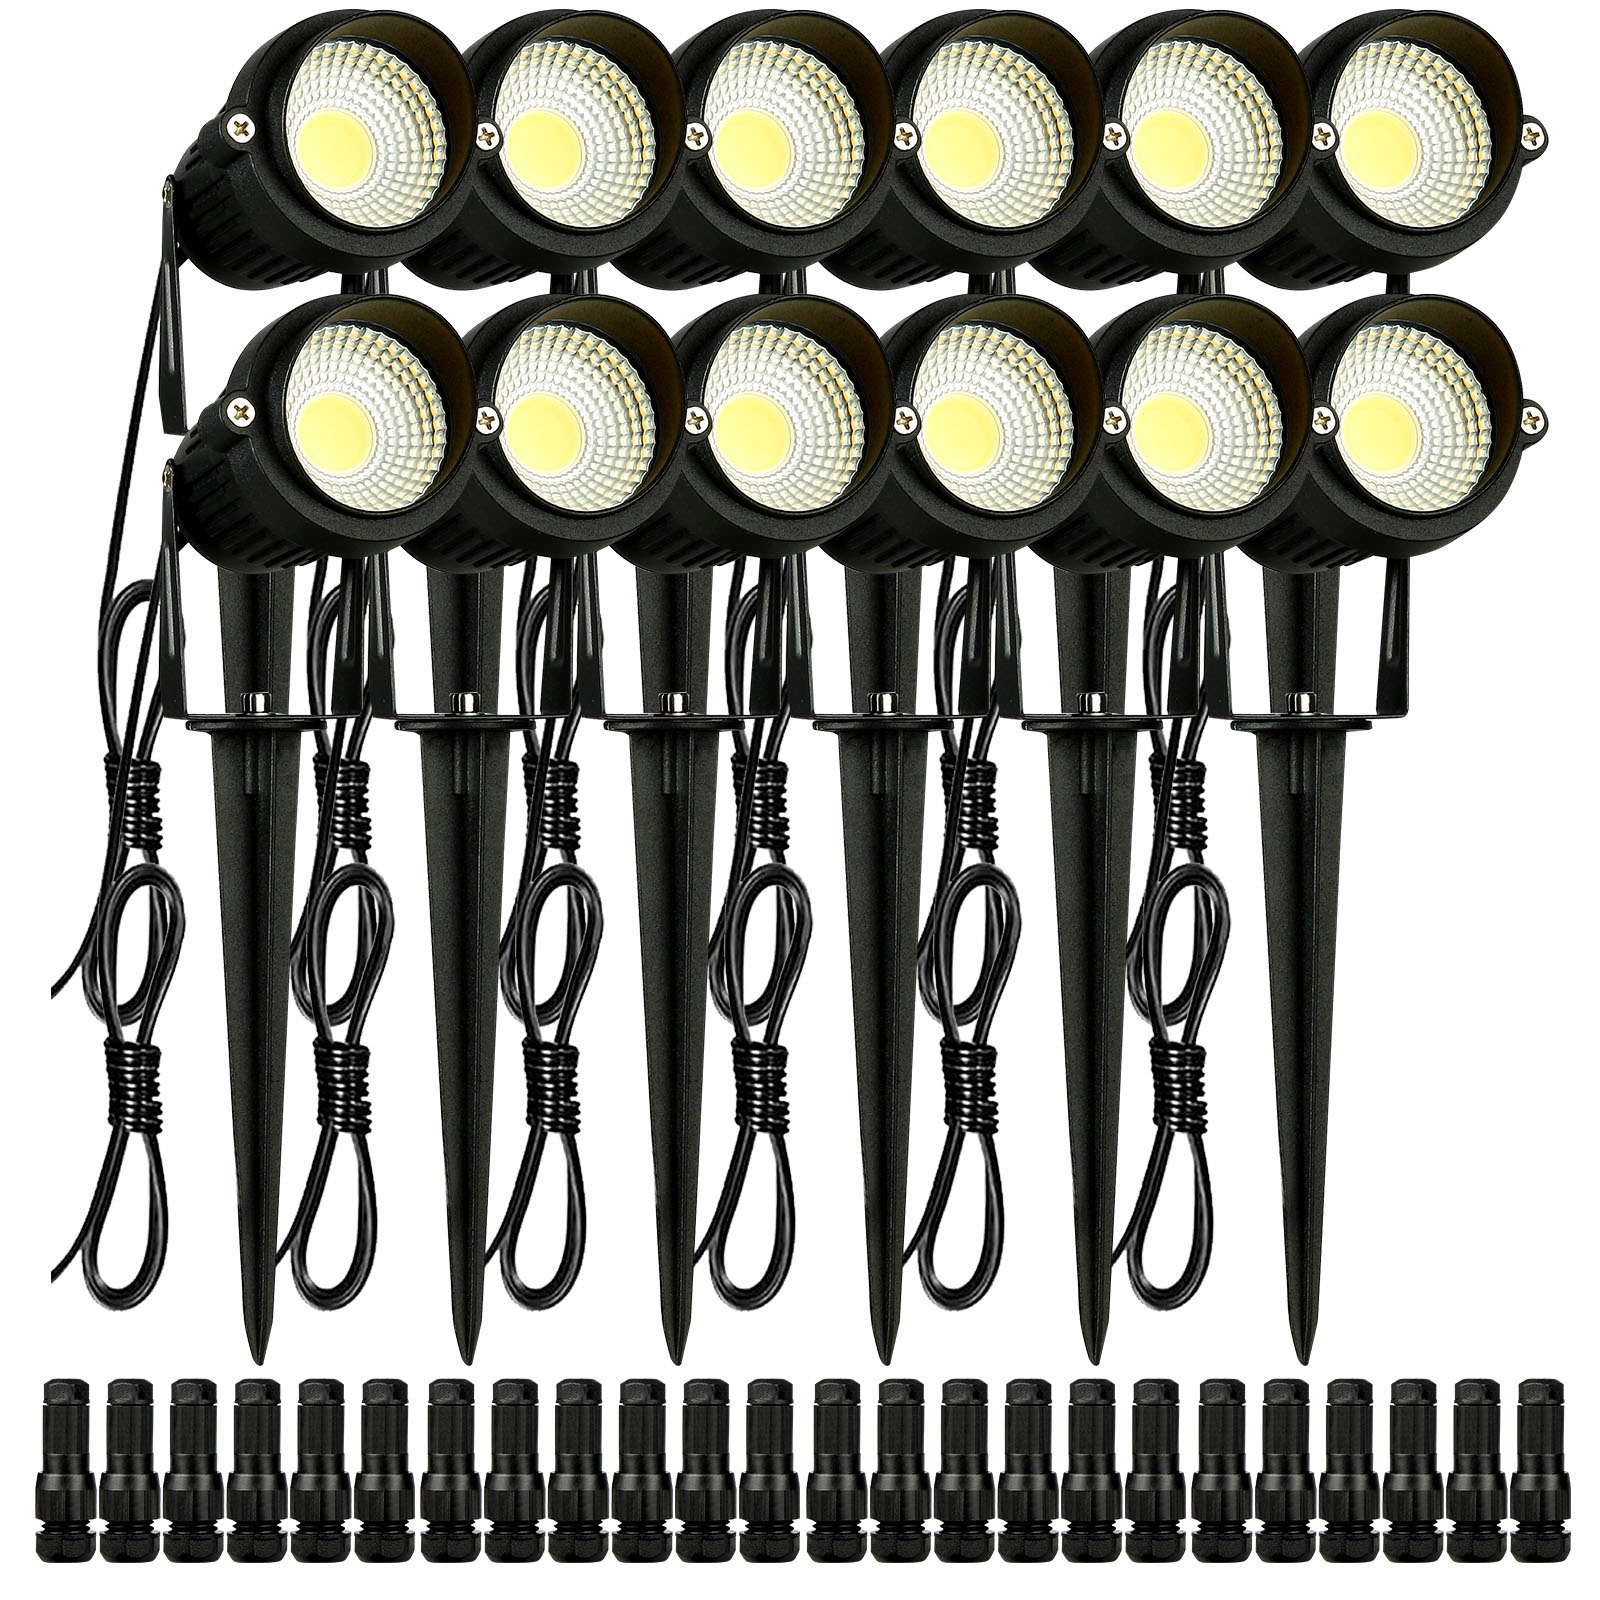
Unlock the full potential of your outdoor lighting with the comprehensive VEVOR Landscape Lighting Manual. Designed specifically for the 6W Low Voltage LED Landscape Lights, this manual is your ultimate guide to setup, troubleshooting, and optimization. Whether you are illuminating your yard, garden, pathway, or lawn, our step-by-step instructions ensure a smooth installation process, saving you time and effort.
The IP66 Waterproof Landscape Spotlights are built to withstand the elements, providing reliable performance in any weather. With the manual, you will find detailed explanations and visual aids that make understanding the 12V/24V system straightforward, even if you are not a lighting expert. Learn how to achieve the perfect warm white 3000,K ambiance and optimize the 450LM brightness to highlight your outdoor spaces beautifully.
This manual covers everything from initial setup to advanced troubleshooting and maintenance tips, ensuring your 12-pack of spotlights with connectors performs at its best. Enhance your outdoor lighting experience with our user-friendly and professionally crafted VEVOR Landscape Lighting Manual, designed to help you illuminate your outdoor spaces effortlessly.
Landscape Lighting Manual
Model: JS-CDD002
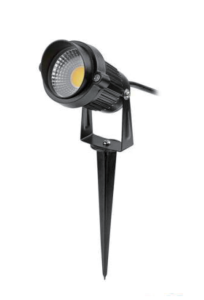
IMPORTANT SAFEGUARDS
Please read and understand this entire manual before attempting to assemble, operate or install the product.
WARNING:
Be careful to open the carton, contact us if there is any damage.
Non-professional technicians, please do not repair or modify this product without authorization.
To ensure the product’s lifetime, please do not use it in a place with strong acid mist.
The luminaire should be positioned so that prolonged staring into the luminaire at a distance closer than 0.5m is not expected
To reduce the risk of fire, electric shock, or injury:
- Turn off the circuit breaker before installing this fixture.
- This product should be installed by someone familiar with the construction and operation of the product and the hazards involved. Safety eyeglasses and gloves are recommended.
- Abide by related regional and local laws or regulations.
- Proper grounding is required to ensure safety.
- This fixture was designed for daisy chains only. Using it for other purposes will void the warranty.
- Check for shipping damage before installing. If the product is damaged, do not use it.
- Keep the fixture away from corrosive substances.
- Suitable for damp locations at temperatures ranging from 4°F to 113°F. Not for use where directly exposed to water.
- Clean the fixture regularly to ensure proper operation. Do not clean with harsh solvents.
- Use safety precautions and abide by regional and local laws or regulations.
SAVE THESE INSTRUCTIONS
FCC INFORMATION
CAUTION: Changes or modifications not expressly approved by the party responsible for compliance could void the user’s authority to operate the equipment!
This device complies with Part 15 of the FCC Rules. Operation is subject to the following two conditions:
- This product may cause harmful interference.
- This product must accept any interference received, including interference that may cause undesired operation.
WARNING: The party does not expressly approve changes or modifications to this product. Responsible for compliance could void the user’s authority to operate the product.
Note: This product has been tested and found to comply with the limits for a Class B digital device according to Part 15 of the FCC Rules. These limits are designed to protect reasonably against harmful interference in a residential installation.
This product generates, uses, and can radiate radio frequency energy, and if not installed and used per the instructions, it may cause harmful interference to radio communications. However, there is no guarantee that interference will not occur in a particular installation.
If this product does cause harmful interference to radio or television reception, which can be determined by turning the product off and on, the user is encouraged to try to correct the interference by one or more of the following measures.
- Reorient or relocate the receiving antenna.
- Increase the distance between the product and the receiver.
- Connect the product to an outlet on a circuit different from that to which the receiver is connected.
- Consult the dealer or an experienced radio/TV technician for assistance.
PACKING LIST
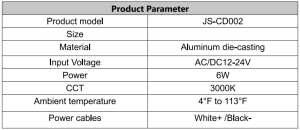 PURCHASING INSTRUCTIONS
- Outdoor installation must use a waterproof power supply
- Be sure to use with 12 or 24V power supply
- White positive, black negative, shall not be reversed
- Do not directly connect 220V electricity, otherwise it will directly burn the drive and light source
- Lighting equipment must be disassembled, connected and tested by qualified technicians
- The light source of this lamp is not replaceable; when the light source reaches the end, the entire lamp should be replaced.
- Such as misuse or not per the use of specifications, the result is not within the scope of warranty returns (AC or DC power supply must be purchased separately)
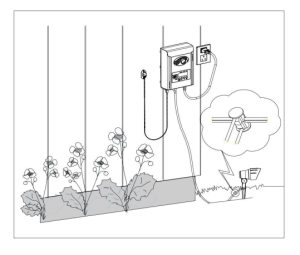
Landscape Lighting Installation Diagram
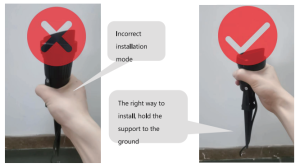
Wiring Diagram
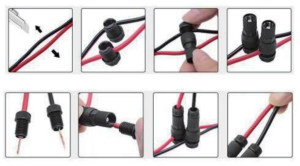
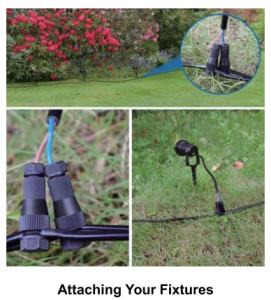
Turn the transformer on. Attach your fixtures to the cable using cable connectors as shown. Place one connector on each cable side, then press together to lock. Prongs will pierce the cable to make contact, and your fixtures should light up.
Turn the transformer on. Attach your fixtures to the cable using the cable connectors as shown. Press the connector tightly onto the cable until the prongs pierce the cable insulation. The fixture should light up.

Reviews
There are no reviews yet.