
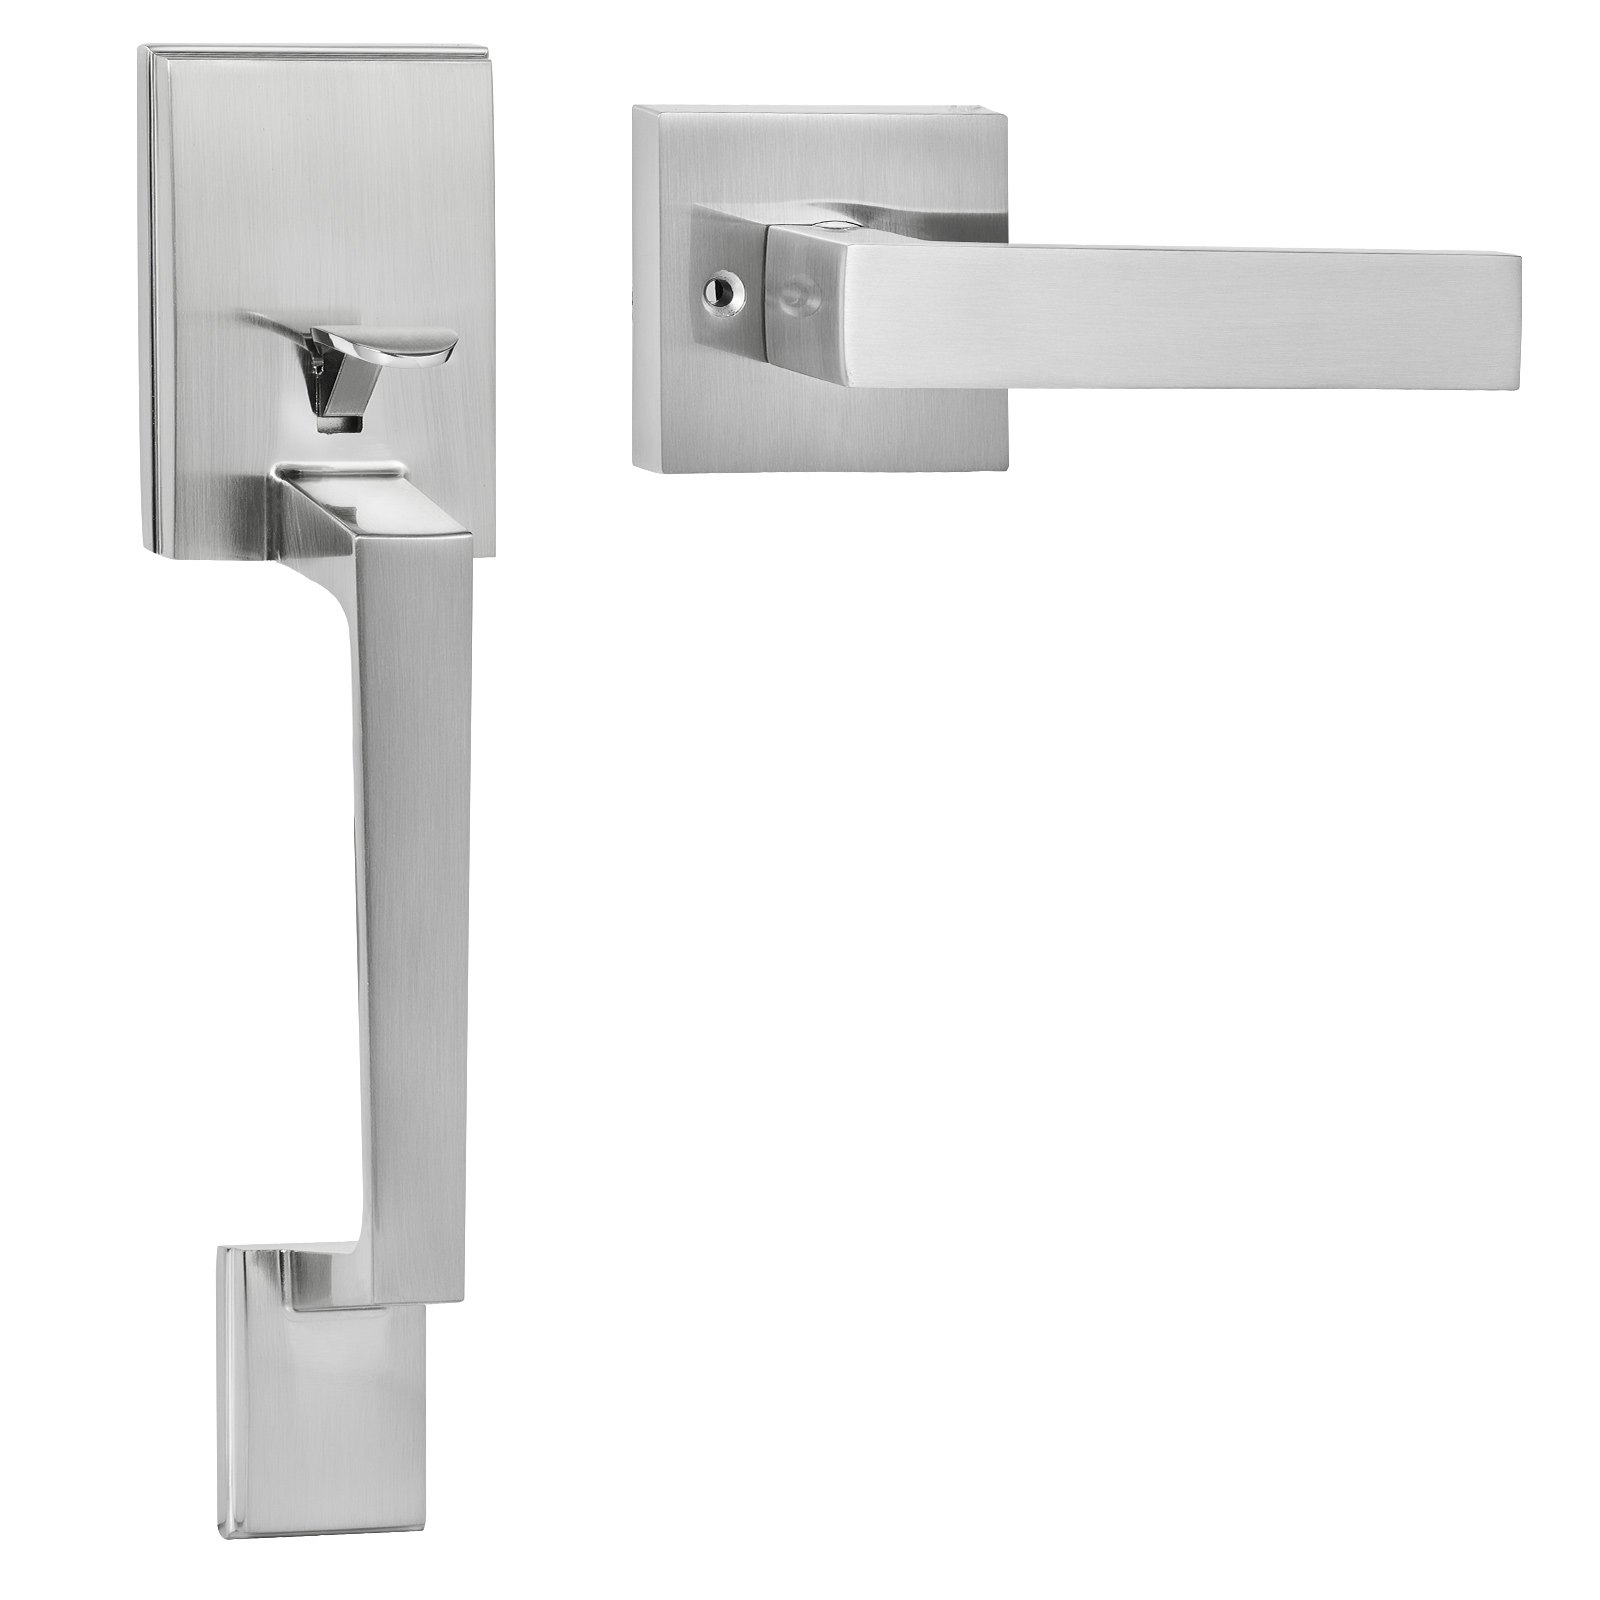
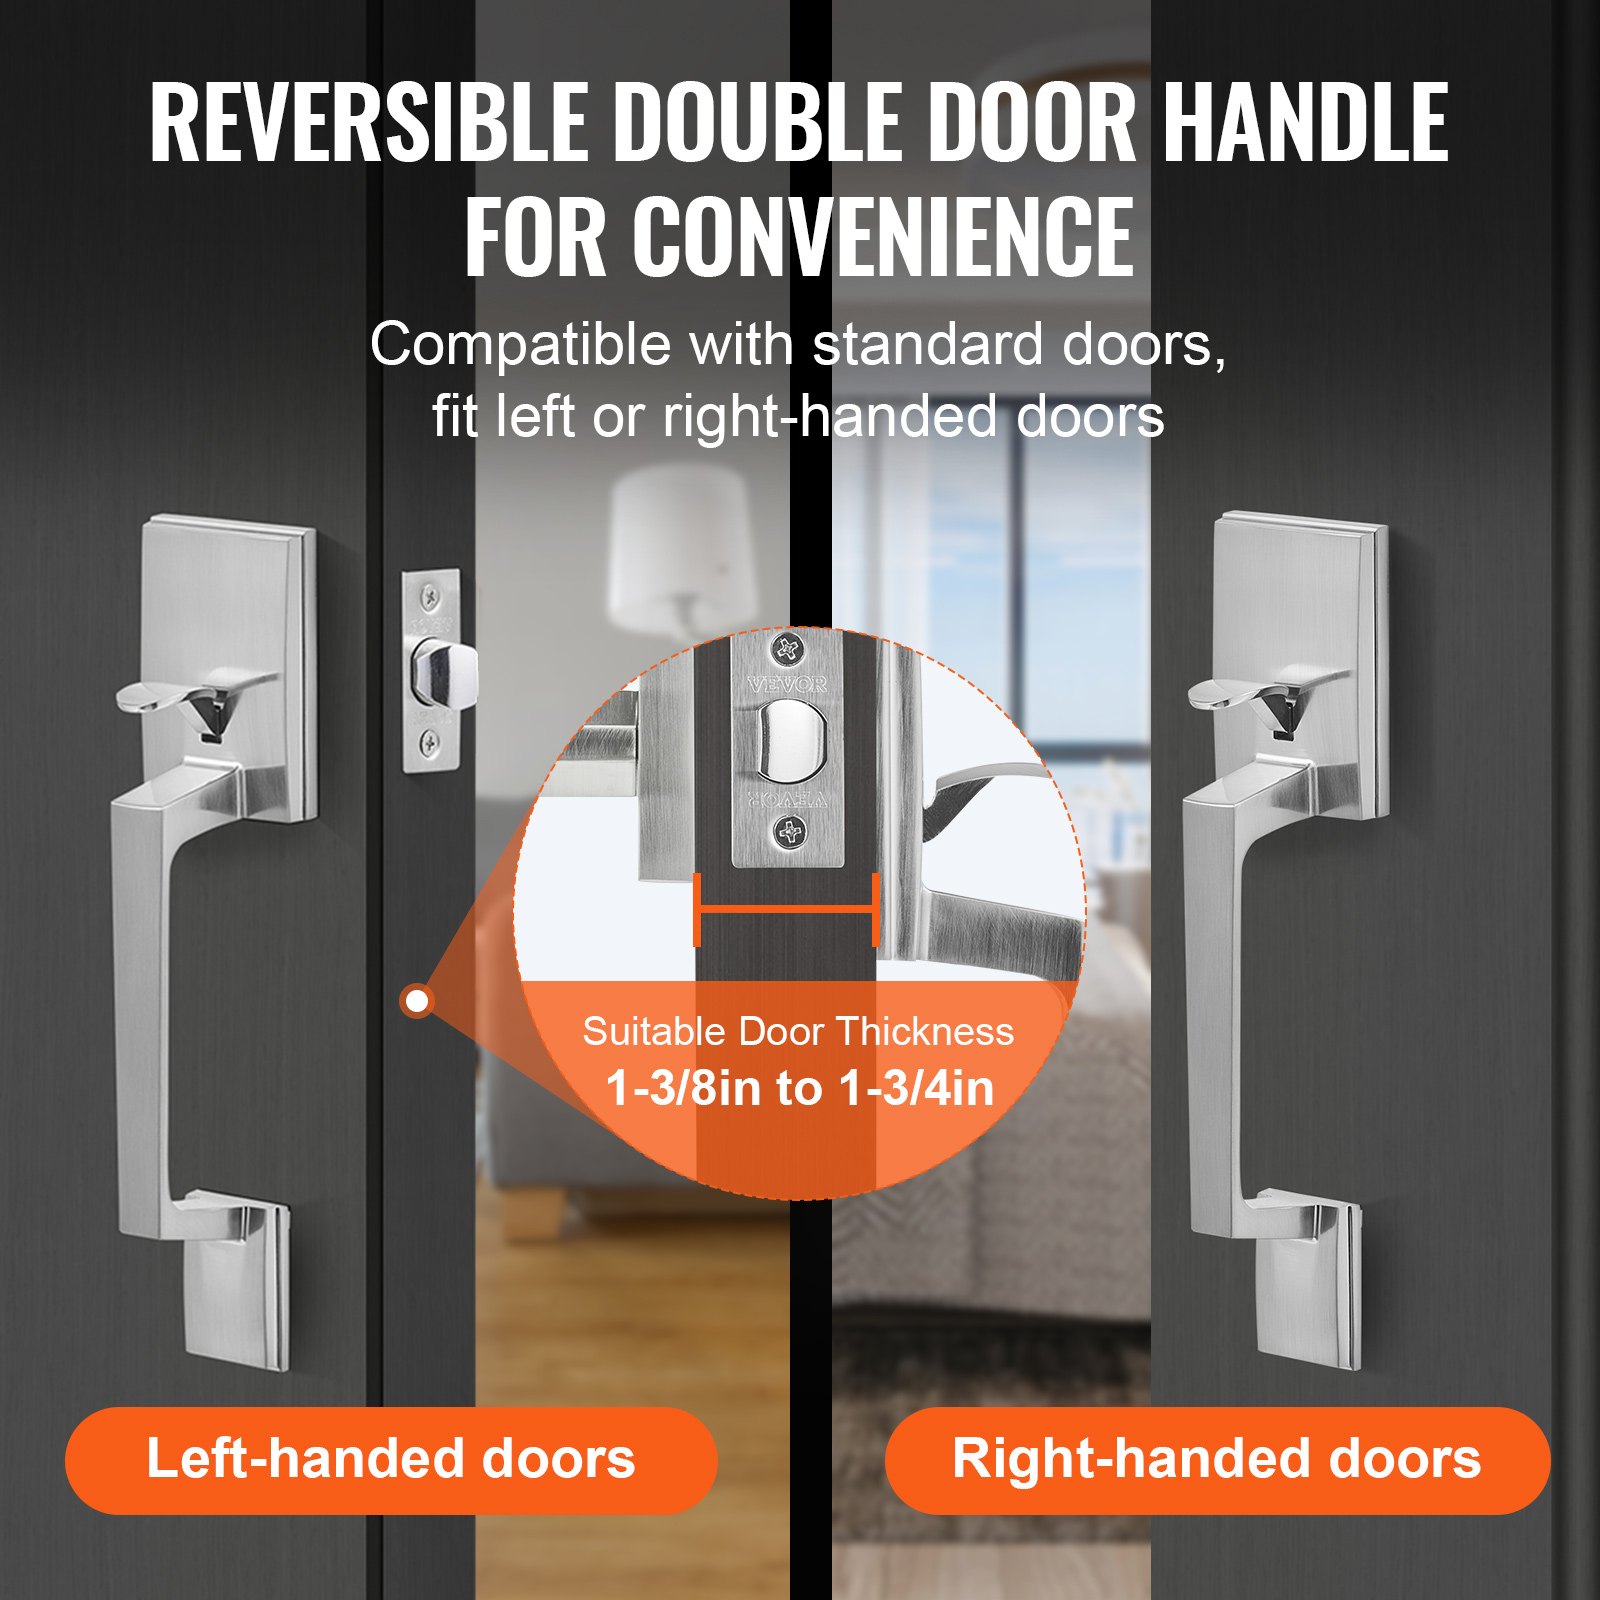
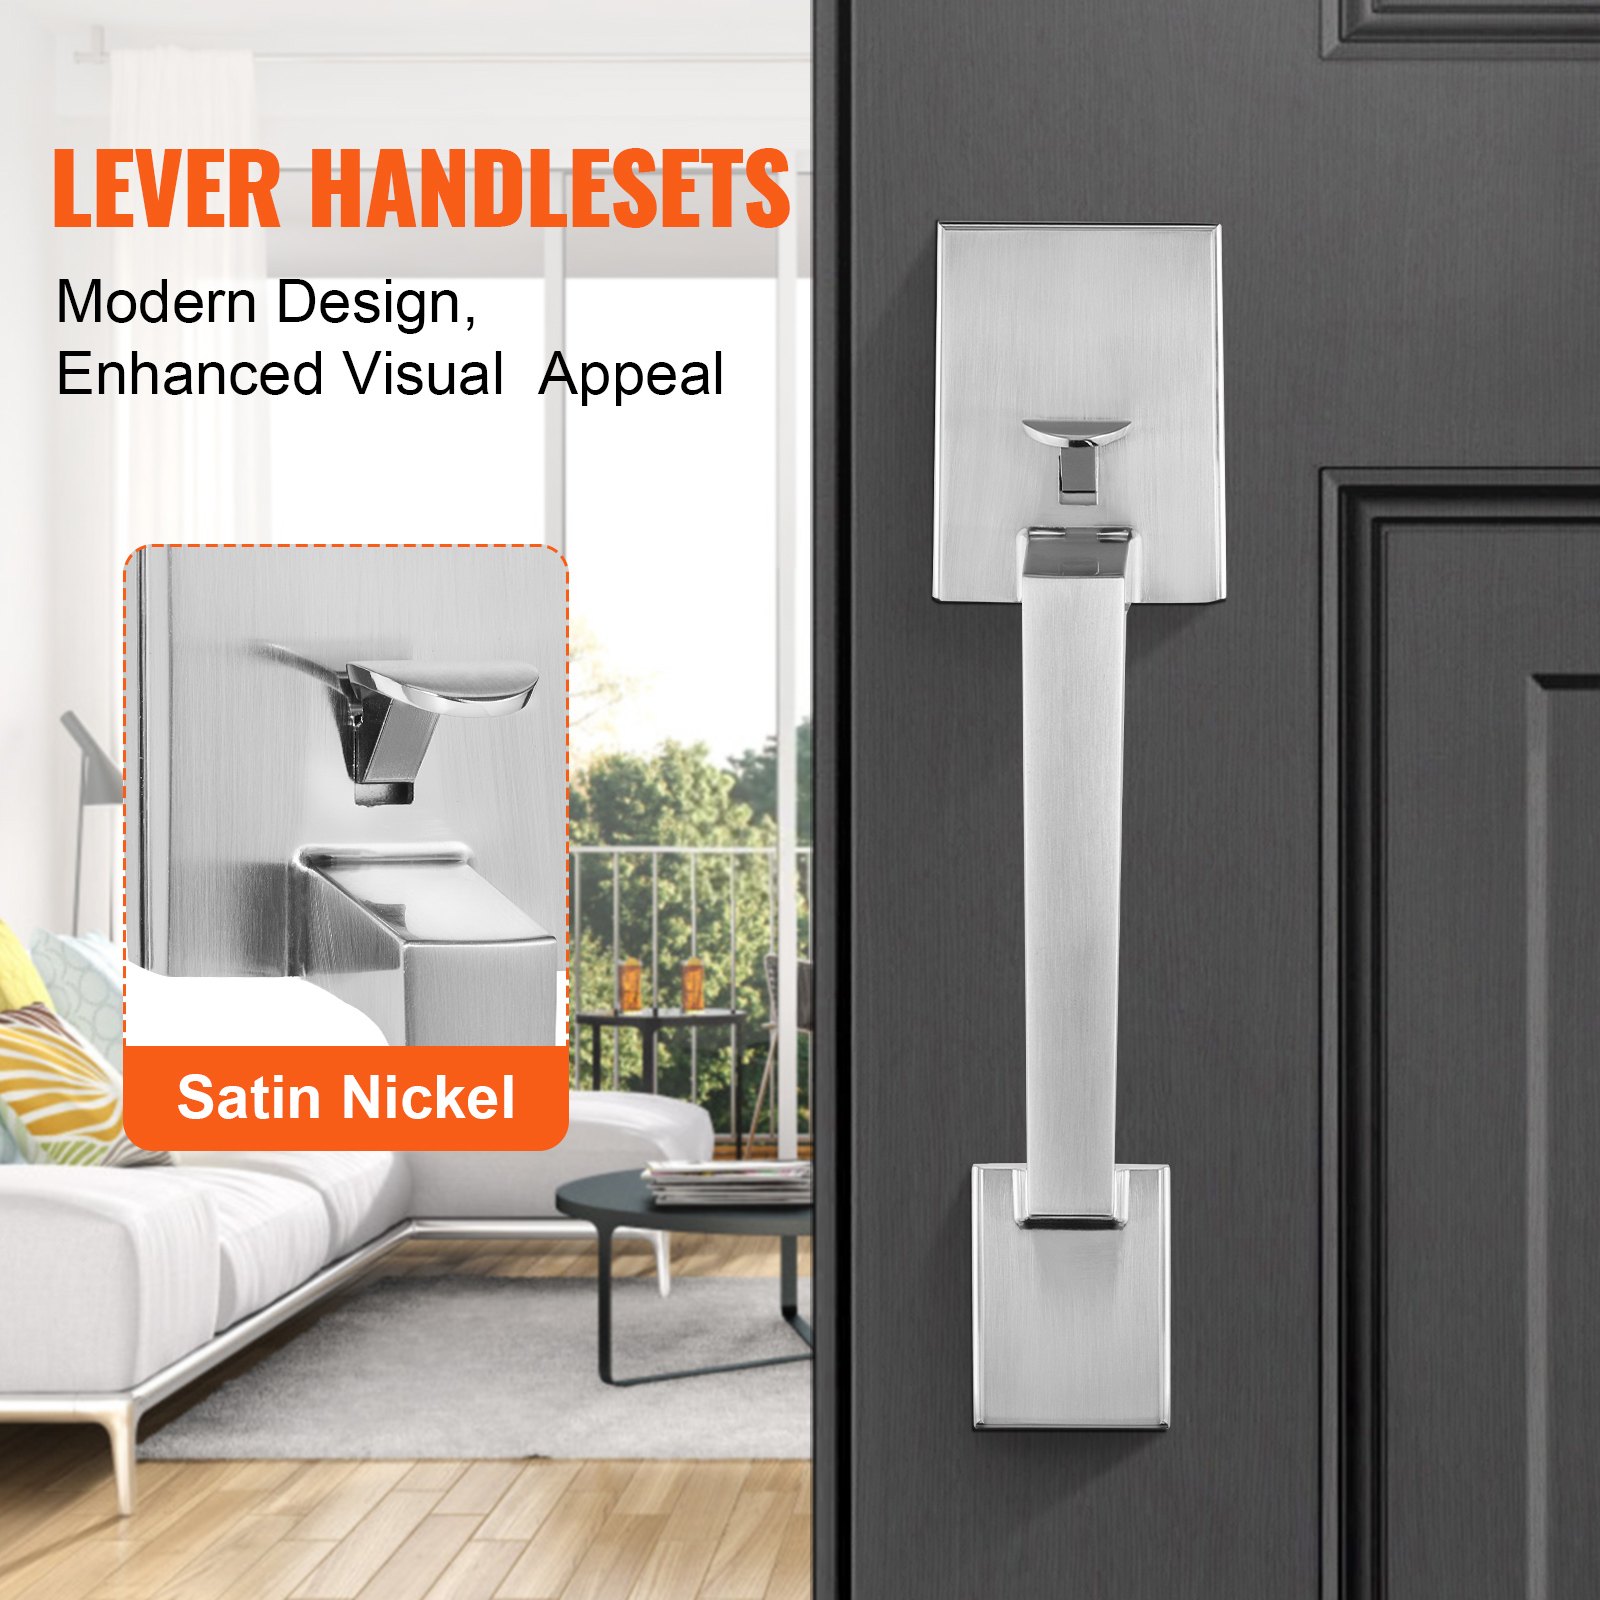
Unlock the full potential of your VEVOR Front Door Handle, Satin Nickel Square Handle Set with Lever Door Handle No Lock, with our comprehensive product manual. Designed for both right—and left-handed entrances, this manual provides detailed instructions for setting up, troubleshooting, and optimizing your entry door handle.
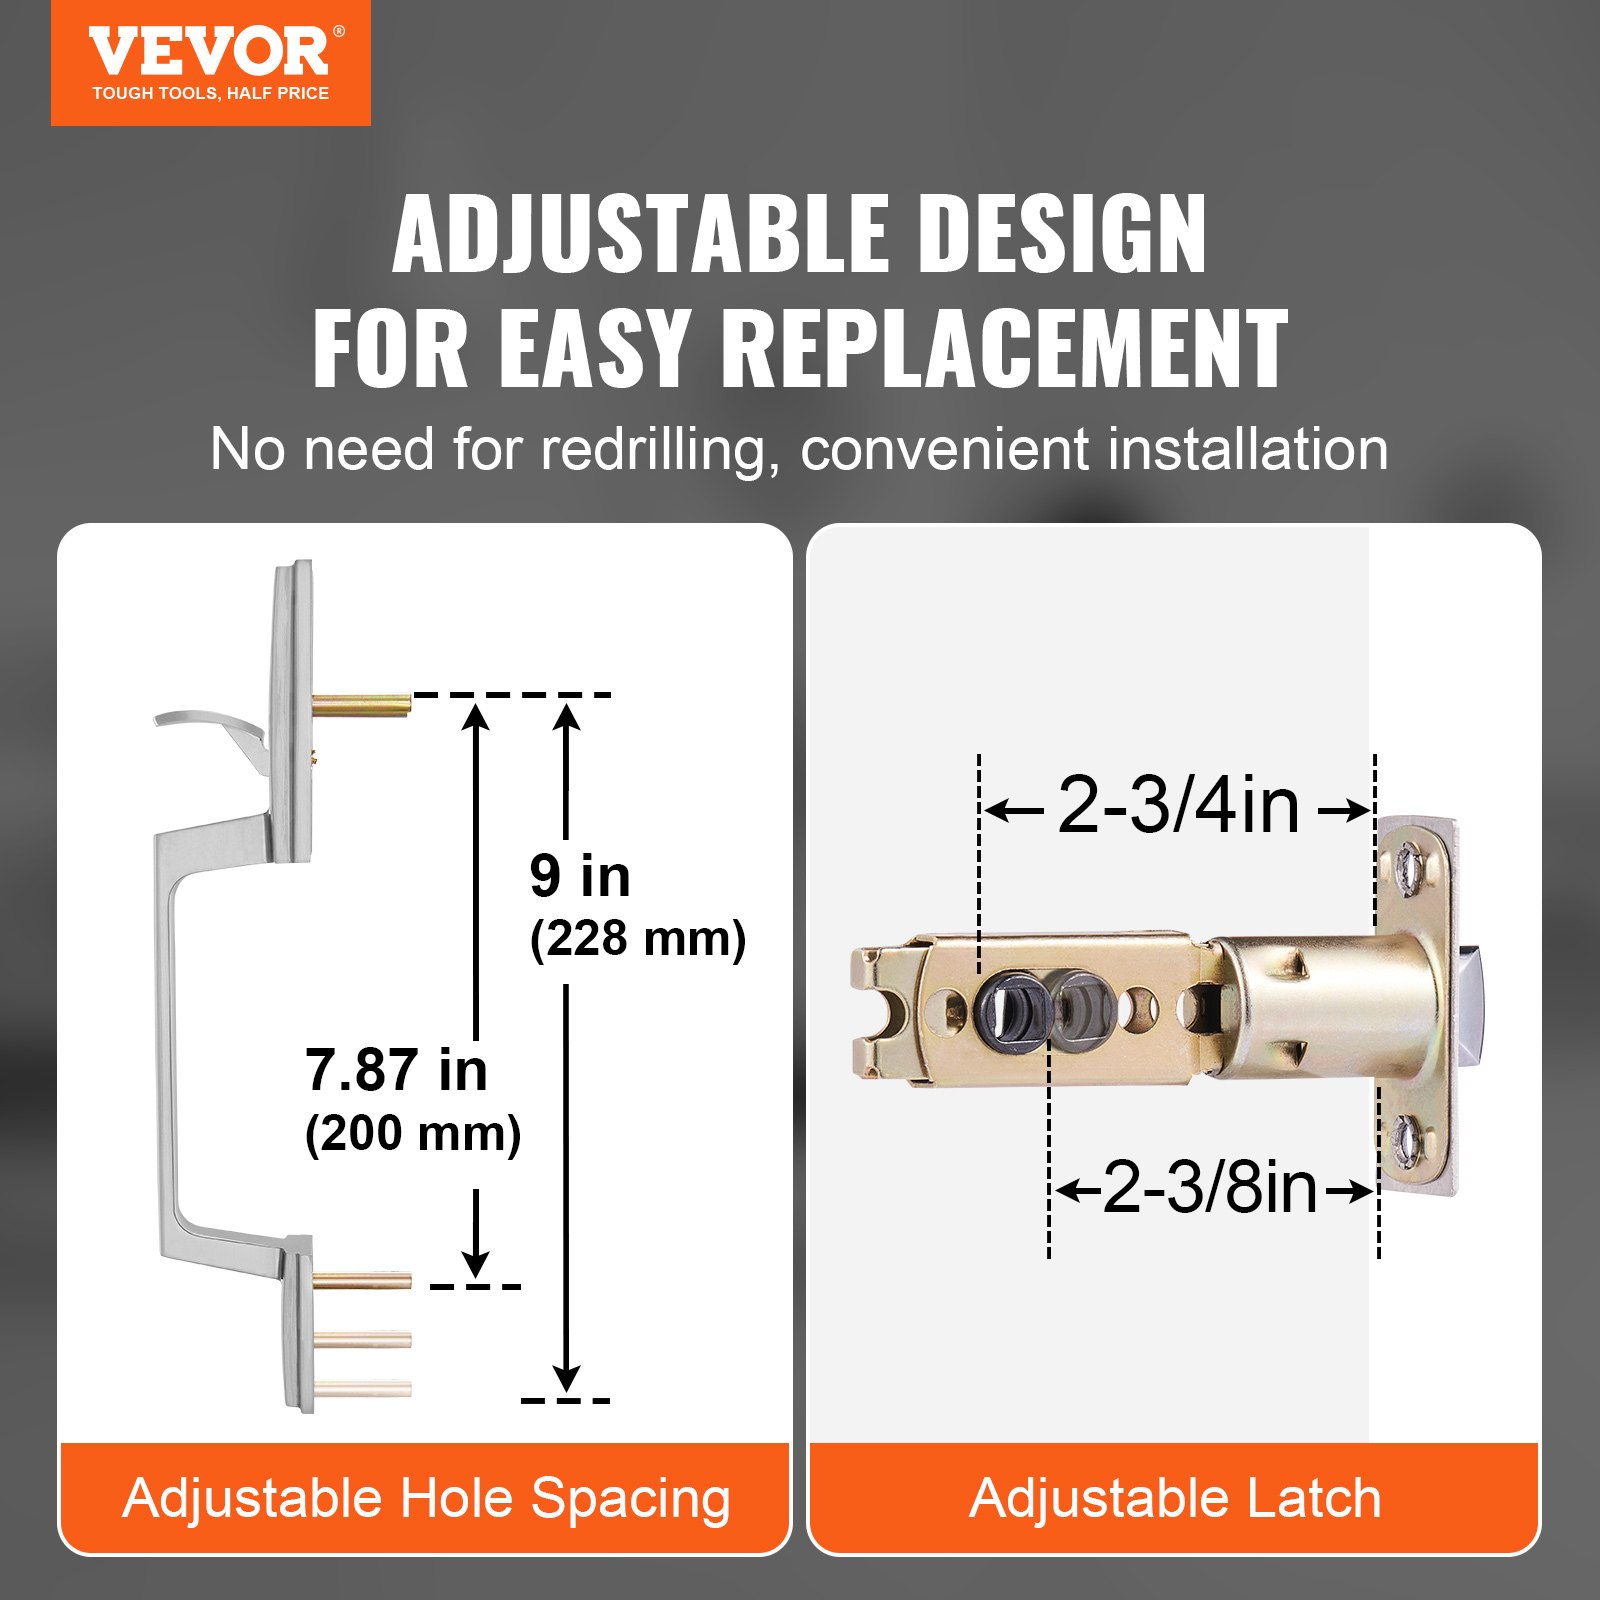
The adjustable hole space feature ensures a perfect fit for any front door, while the sleek satin nickel finish adds a touch of elegance to your home.
Whether you’re a DIY enthusiast or a professional installer, our user-friendly guide makes installation and adjustments a breeze. Download now to ensure a secure and stylish entryway to your home.
VEVOR Front Door Handle and Deadbolt Set User Manual
Models: 20017-SN-SK / 20017-10B-SK, 82007-10B-SK, 20017-SN/20017-10B, H20017-SN/H20017-10B
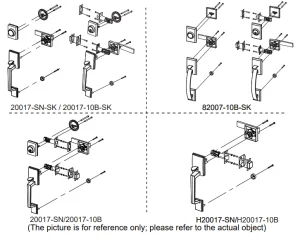
Front Door Handle and Deadbolt Installation Instructions
IMPORTANT
- Use the components from this package. Make no substitutions.
- Consult local building codes for requirements in your area.
- Before starting, read all instructions and lay out all parts as shown.
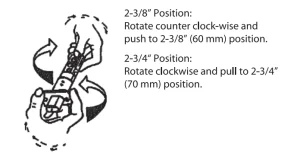
PASSAGE LATCH BACKSET
2 Latches provided: 1 * 2- 3/8’’ (60mm) and 1 * 2 – 3/4” (70 mm)
Select the appropriate latch according to the distance from the door hole to the edge of the door.
Deadbolt Latch Adjustment
(for the lock with a lock cylinder)
DOOR PREP
FOR REPLACEMENT INSTALLATION
Remove all old lock components. Use the template, verify door preparation and make necessary modifications.
FOR NEW INSTALLATION
Follow the instructions on the template.
LATCH INSTALLATION
DEADBOLT IS PLACED IN THE UPPER HOLE; THE LATCH IS PLACED IN THE LOWER HOLE.
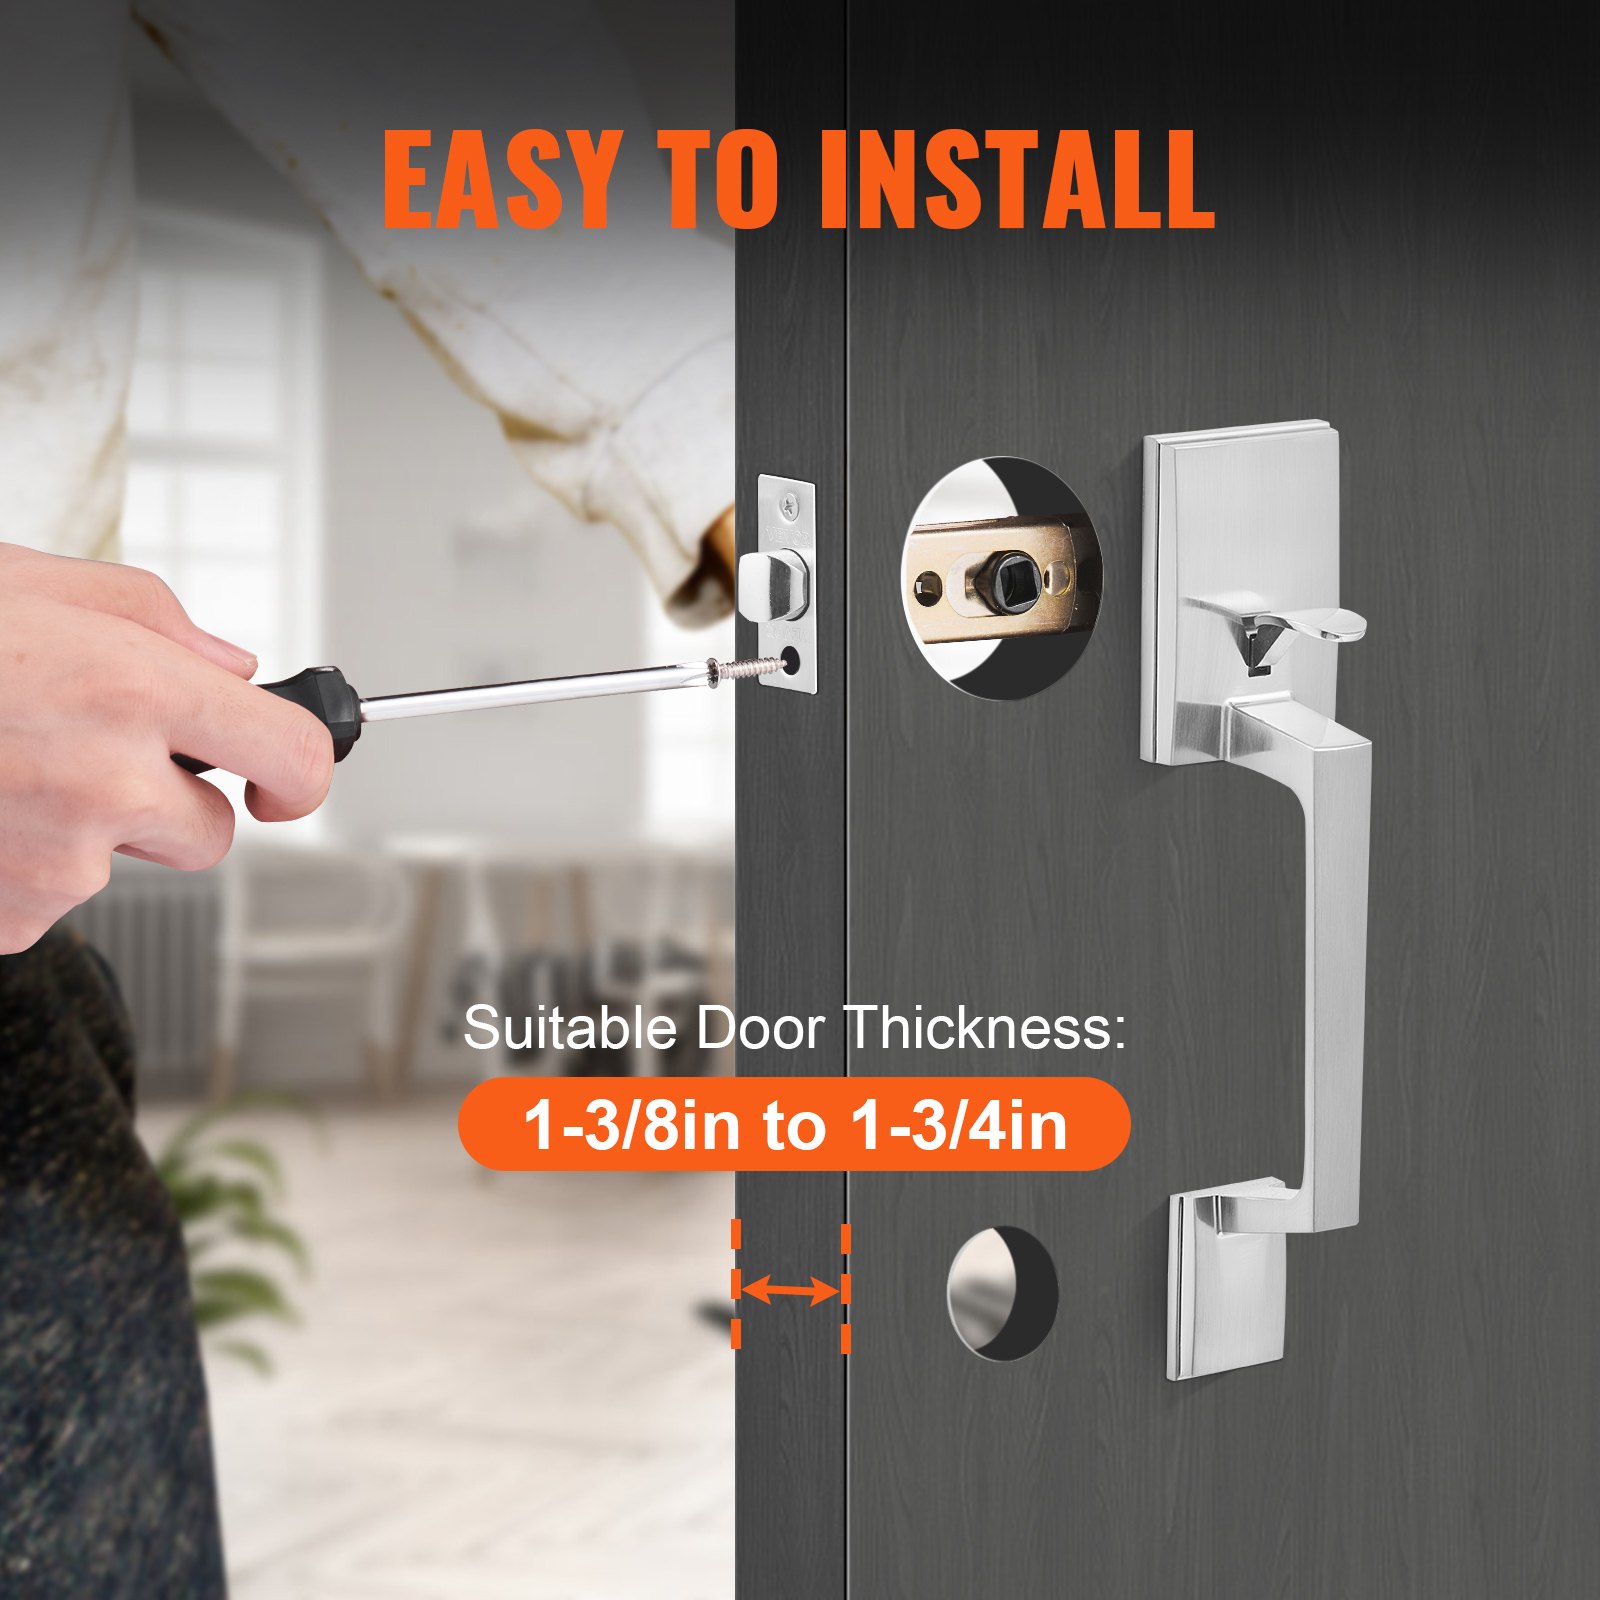
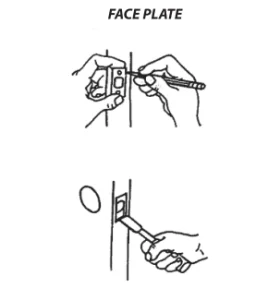
Outline both face plates, keeping the edges parallel to the door’s face, and remove the deadbolt and latch from the door edge.
Chisel the outline of each face plate until it is flush with the door edge, 5/32’’ (4 mm) deep.
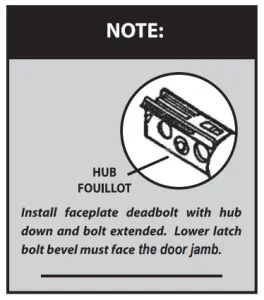
Insert the deadbolt in the upper edge hole. The hub must be down, and the bolt must be extended. Secure with two wood screws.
Insert the latch in the lower hole with the bevel facing the jamb and secure with two wood screws.
TRIM INSTALLATION
UPPER TRIM: (for the lock with a lock cylinder)
Place the outer trim against the outside of the door.
Tail piece(s) must fit through the hub of the deadbolt in a vertical position.
Attach the inner trim with a 25”(64mm) machine and tighten it securely.
NOTE: IF A SCREW IS INCLUDED, VERIFY THE PROPER FUNCTION OF THE LOCK BEFORE INSTALLING THE TAMPER-PROOF SCREW.
LOWER TRIM
Place the handle set against the outside of the door. The spindle should be inserted through the hub of the latch. Depending on the width of your door, attach the inner knob to the handle set posts with either the 1″(25 mm) or 1.5″(39 mm) trim screws.
Attach the bottom of the exterior handle to the door with a wood screw or captive screw for a metal door at the same backset as a latch.
STRIKE INSTALLATION
UPPER STRIKE
- Smear coloring on the bolt’s dimple. Retract the bolt and close the door. Extend the bolt, leaving a mark on the door jamb.
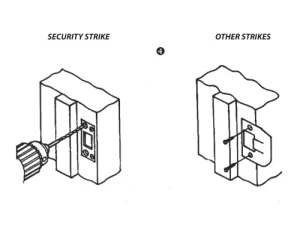
- Drill a 1″(25.4mm) diameter hole, 1-1/4″ (29 mm) deep, in the door frame centered on the mark made from ‘1’.
- Center strike over hole & trace around strike. Chisel out the door frame until the strike is flush.
- FOR SECURITY STRIKE: Position the strike with large holes toward the door stop. Pre-drill large holes 3″ (76 mm) deep. Attach wood screws in the smaller holes.
LOWER STRIKE
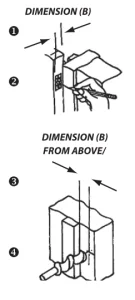
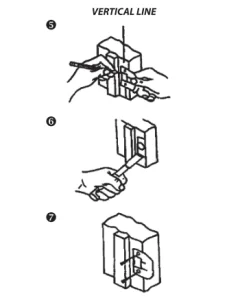
- Partially close the door. Mark a horizontal line on the door frame at the height of the center of the latch bolt.
- Measure from the door face (jamb side) to the center of a latch.
- Mark a vertical line on the frame at dimension from ‘2’.
- Where the lines meet, bore a 1’’ (25.4 mm) diameter hole 5/8’’ (16 mm) deep.
- Center strike screw holes on the vertical center line and outline strike.
- Chisel out the wood so the strike is flush with the frame.
- Install with two wood screws.
Recommended For Your Project
VEVOR Front Door Handle, Satin Nickel Manual

Reviews
There are no reviews yet.