
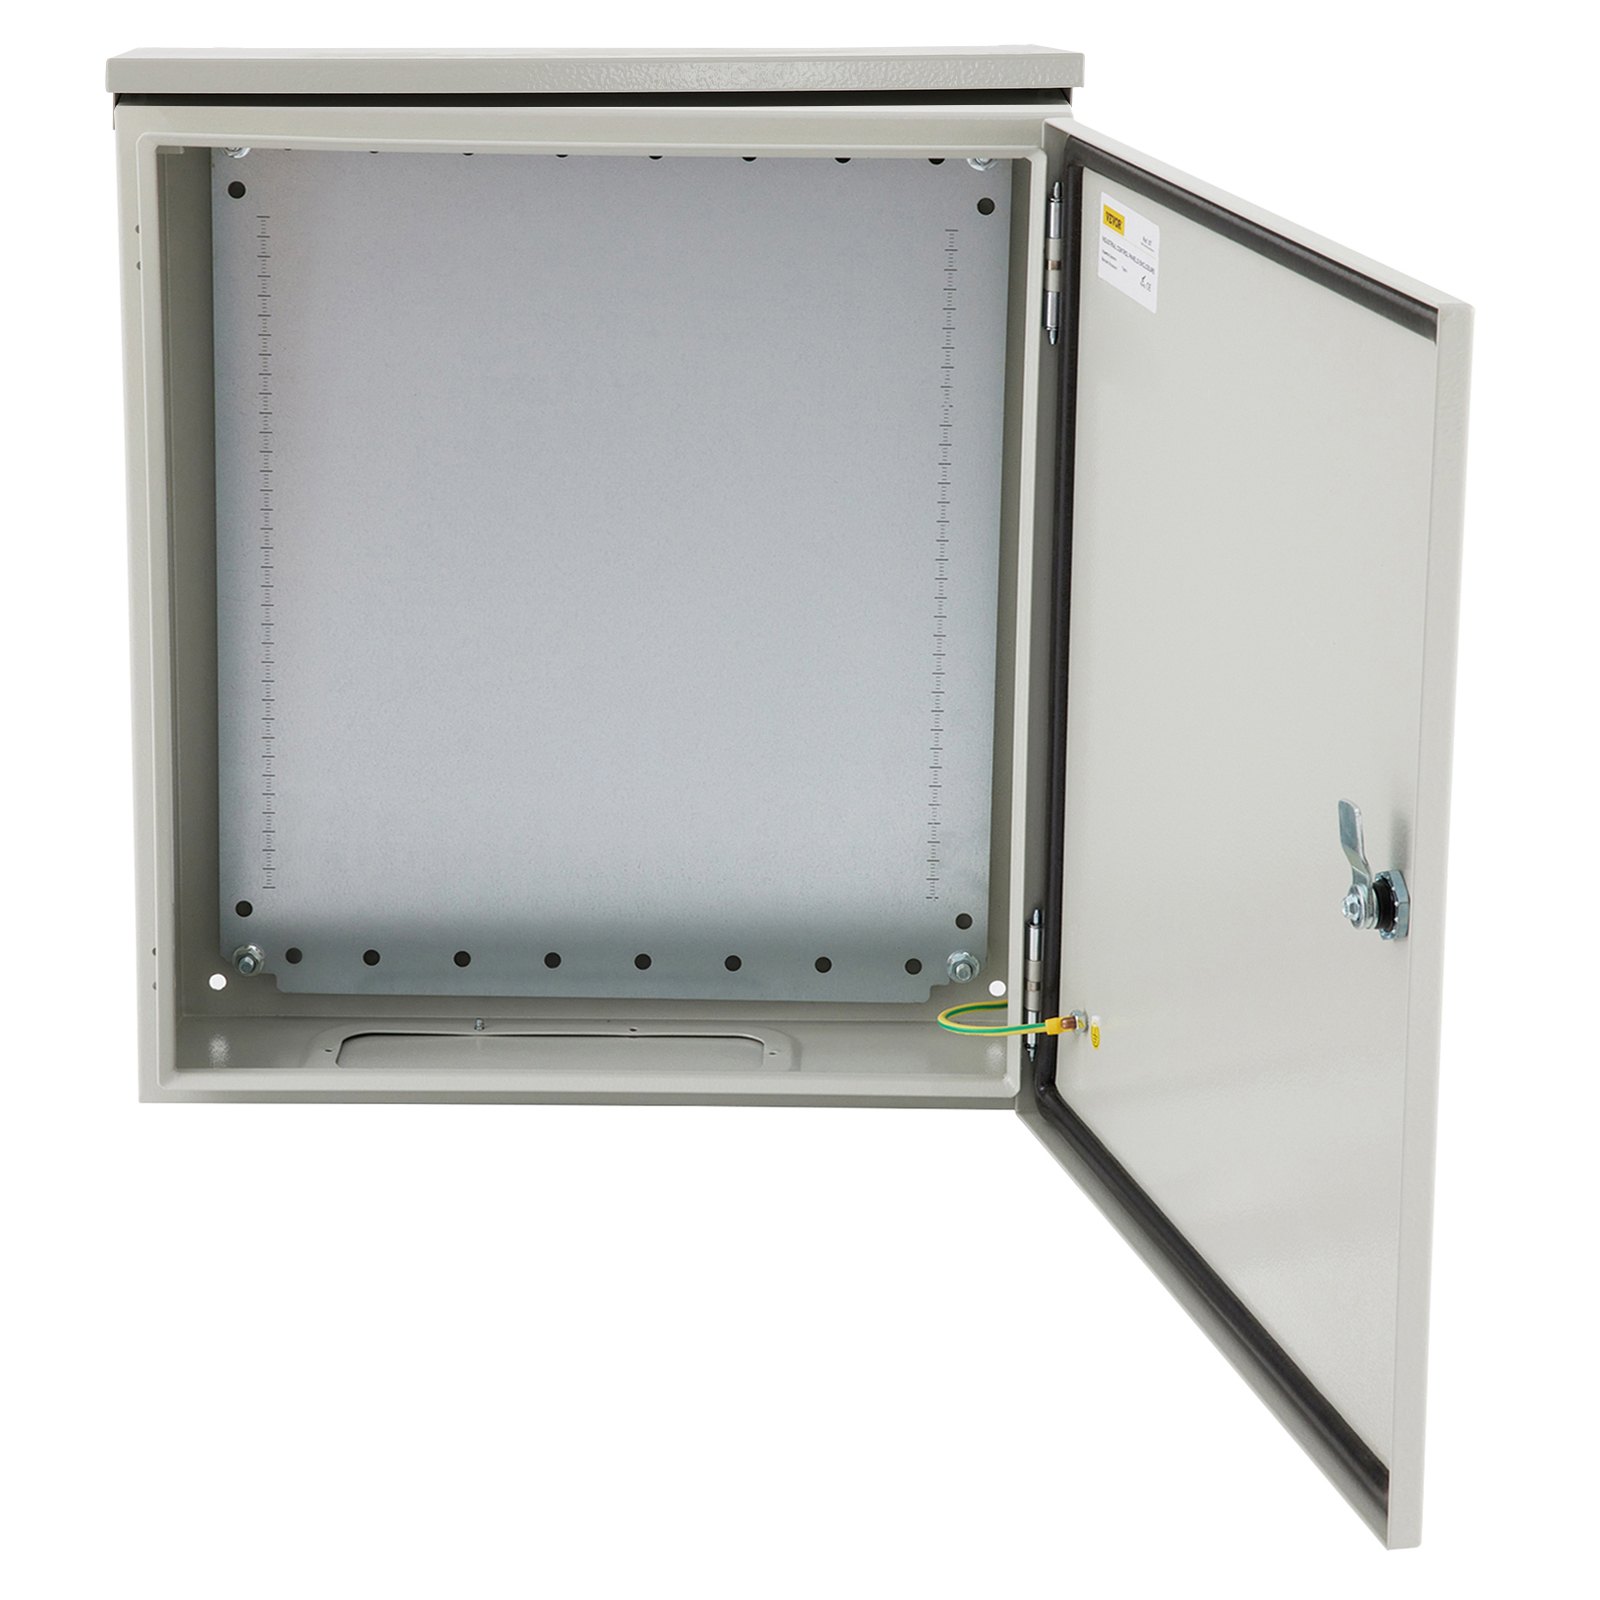
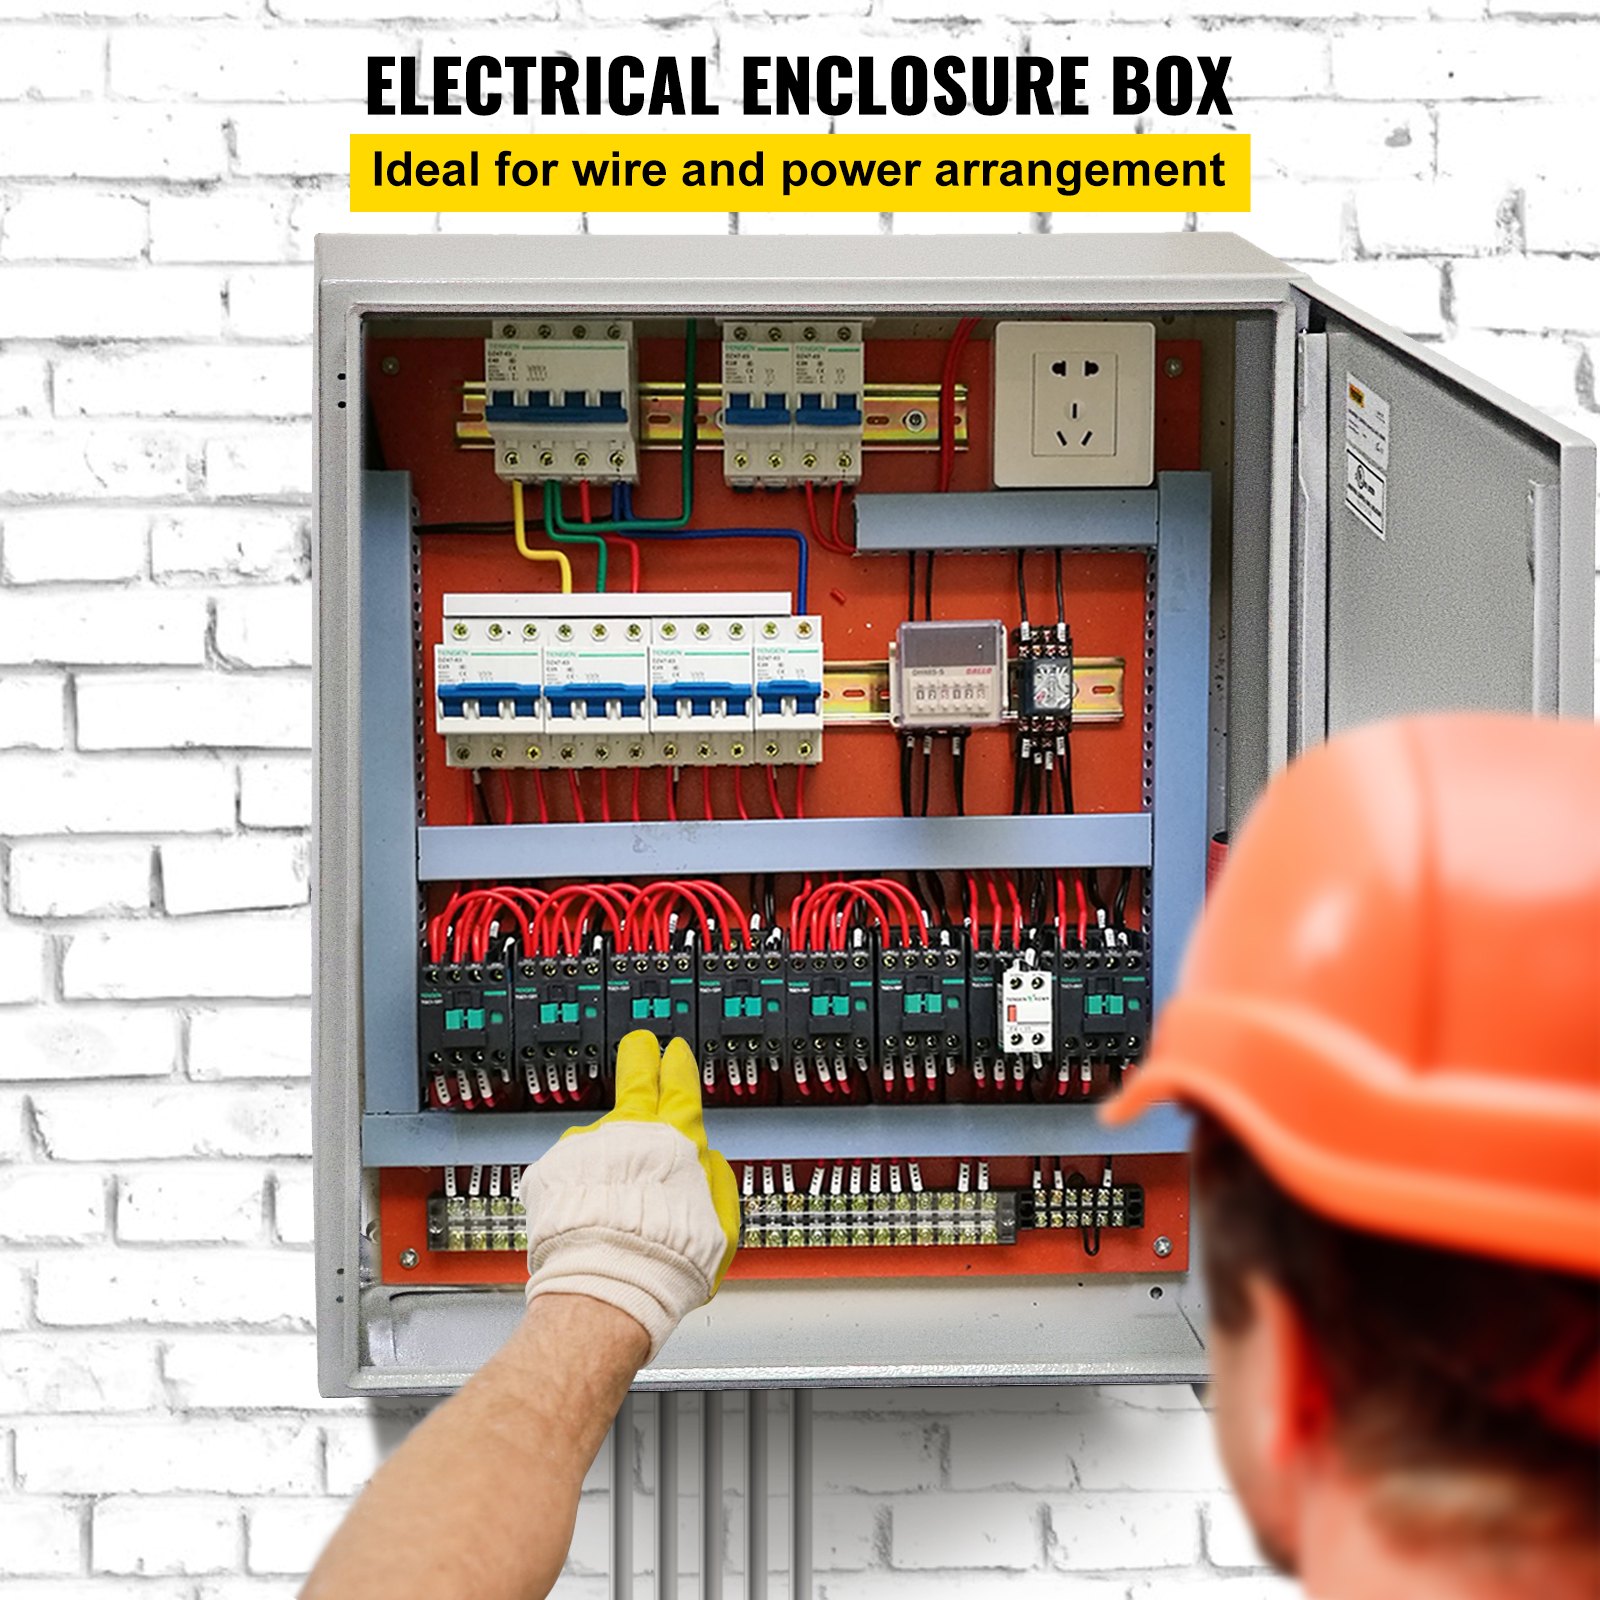

Unlock the full potential of your VEVOR Electrical Enclosure, 20x16x8in, with our comprehensive product manual download. Designed to be user-friendly and highly detailed, this manual is your ultimate guide to setting up, troubleshooting, and optimizing your UL Standards NEMA 4 Outdoor Enclosure.
Crafted from cold-rolled carbon steel, this IP65 waterproof and dustproof hinged junction box is perfect for outdoor and indoor use, ensuring maximum protection against environmental elements. The manual covers every aspect of the enclosure, including installation instructions, maintenance tips, and advanced troubleshooting techniques.
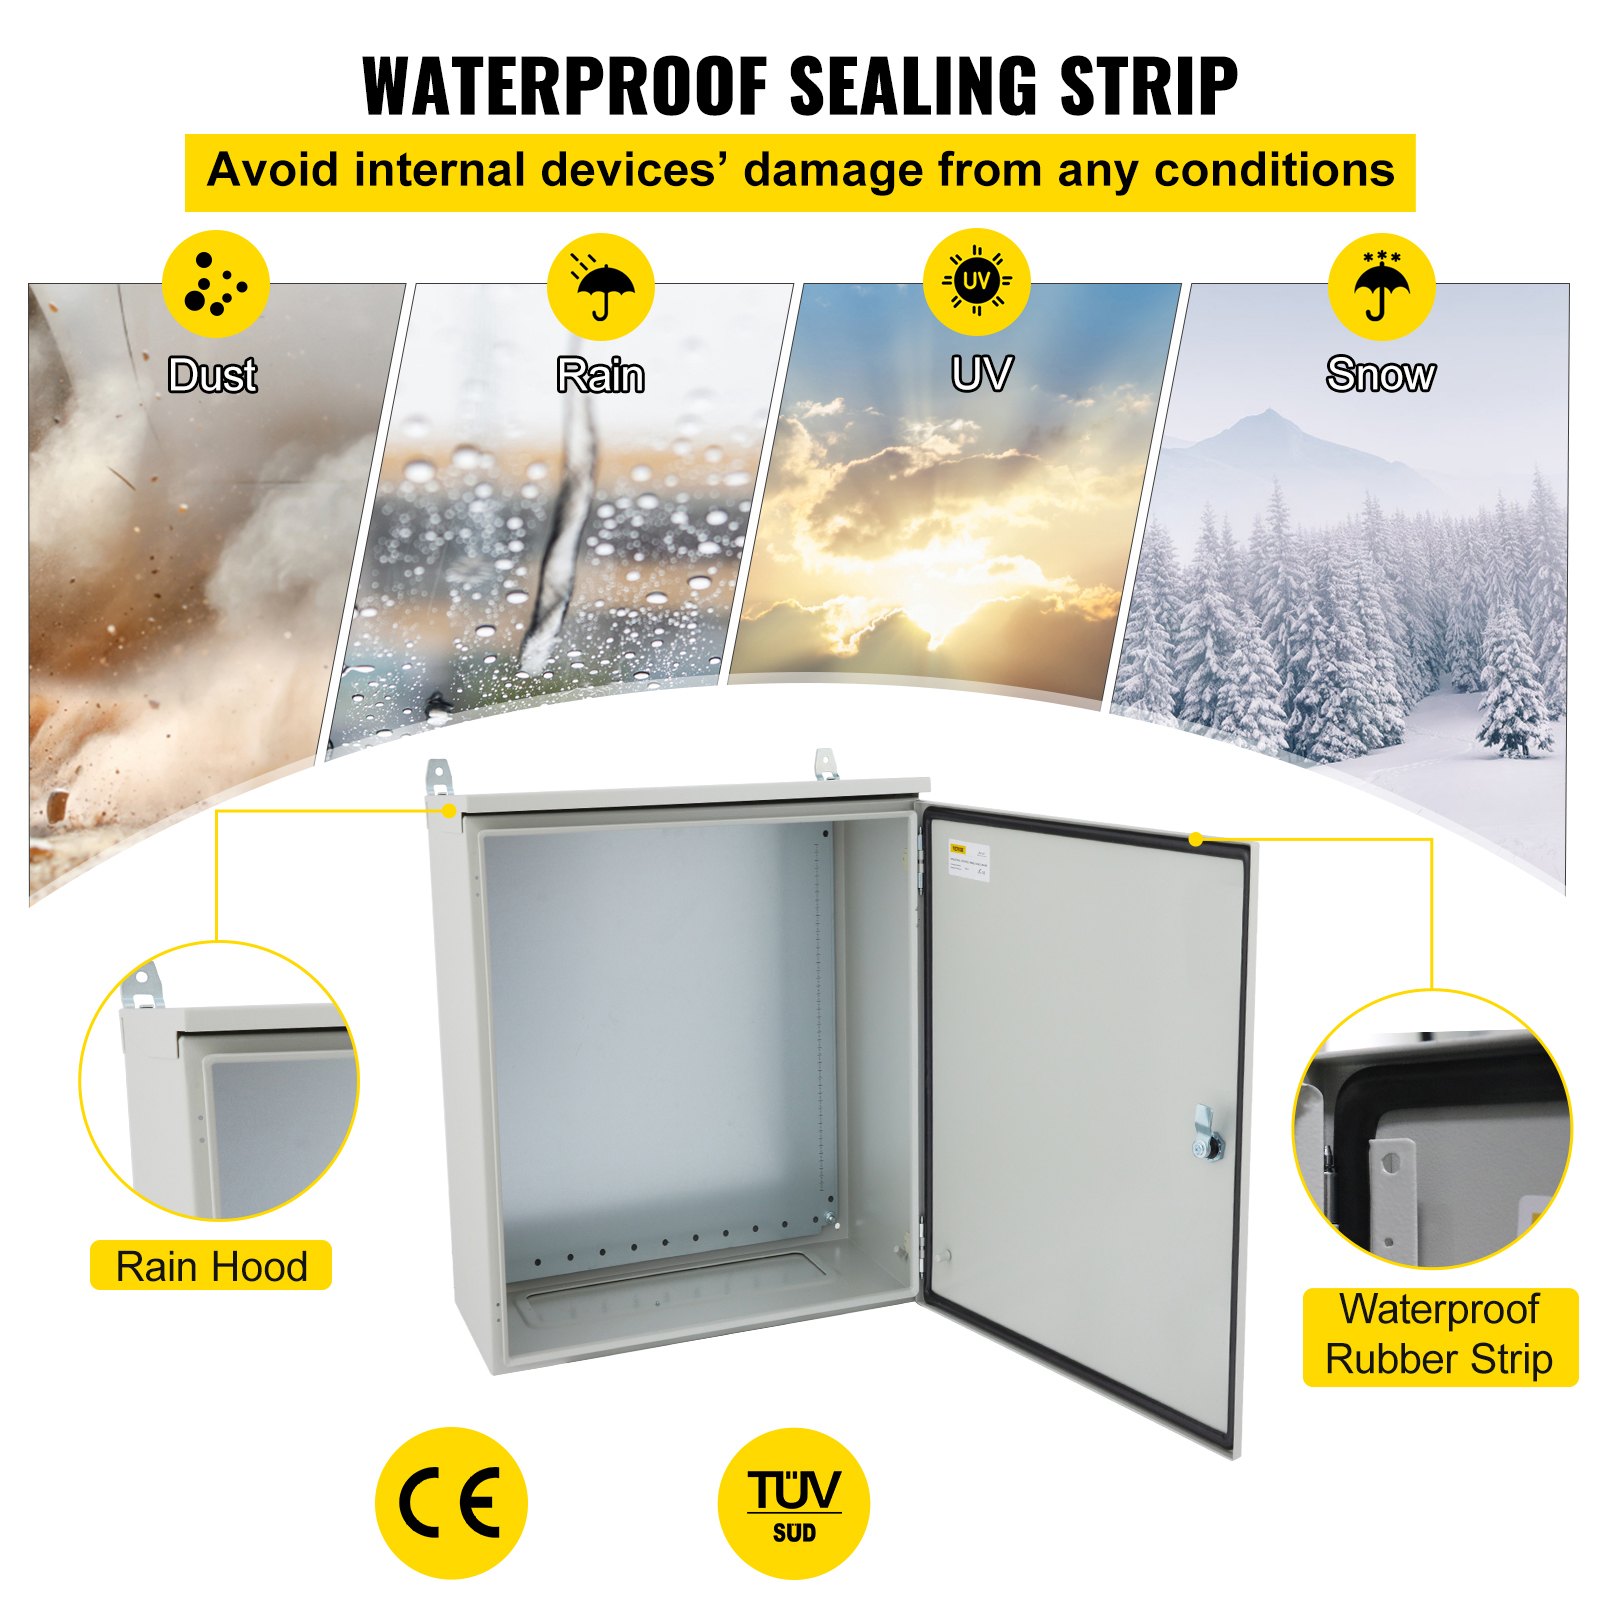
Whether you are a seasoned professional or a DIY enthusiast, our step-by-step guide ensures you can maximize the use of your VEVOR Electrical Enclosure. Download now to ensure your enclosure is installed correctly, maintained efficiently, and operating at its peak performance, with the added benefit of a rain hood for extra protection.
Electrical Enclosure Product Description
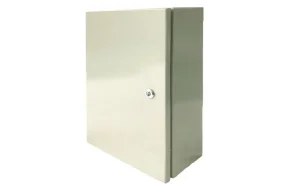
Material: Cold Rolled Steel
MATTERS NEEDING ATTENTION
Warning
The enclosure/Cabinet is only coated but NOT insulated. Only a qualified electrician can deal with the inside circuits and electrical parts. Warning Labels or other signs could be posted according to relevant laws or codes if necessary.
DO NOT permit children to play with this item.
The Electrical Enclosure enclosure could be waterproof ONLY if all the holes have been sealed by a soft gasket or plug. For the holes cut by the customer, please use an IP66 Grade Gasket or equivalent parts to keep them waterproof.
This item MUST BE GROUNDED. Please refer to the “Body installation-Assembly the earth wire”.
Tips
Any damage to the finish coating could lead to rust, and tiny surface damage can be repaired by re-painting. However, it is not recommended when painting large-scale damage. The working temperature should be lower than 80°C; otherwise, it could damage the painting surface and cause sealing failure.
ELECTRICAL ENCLOSURE FEATURES
- PU foaming sealing strip ensures a protection grade of IP66 to the enclosure body.
- Bosses of various types and sizes allow easy installation of inlet/outlet lines.
- A galvanized mounting plate can also be used for wiring outside the enclosure.
- Multiple protection grooves are designed at the enclosure opening, which can not only reinforce the structure but also prevent dirt or water from entering when the door is opened.
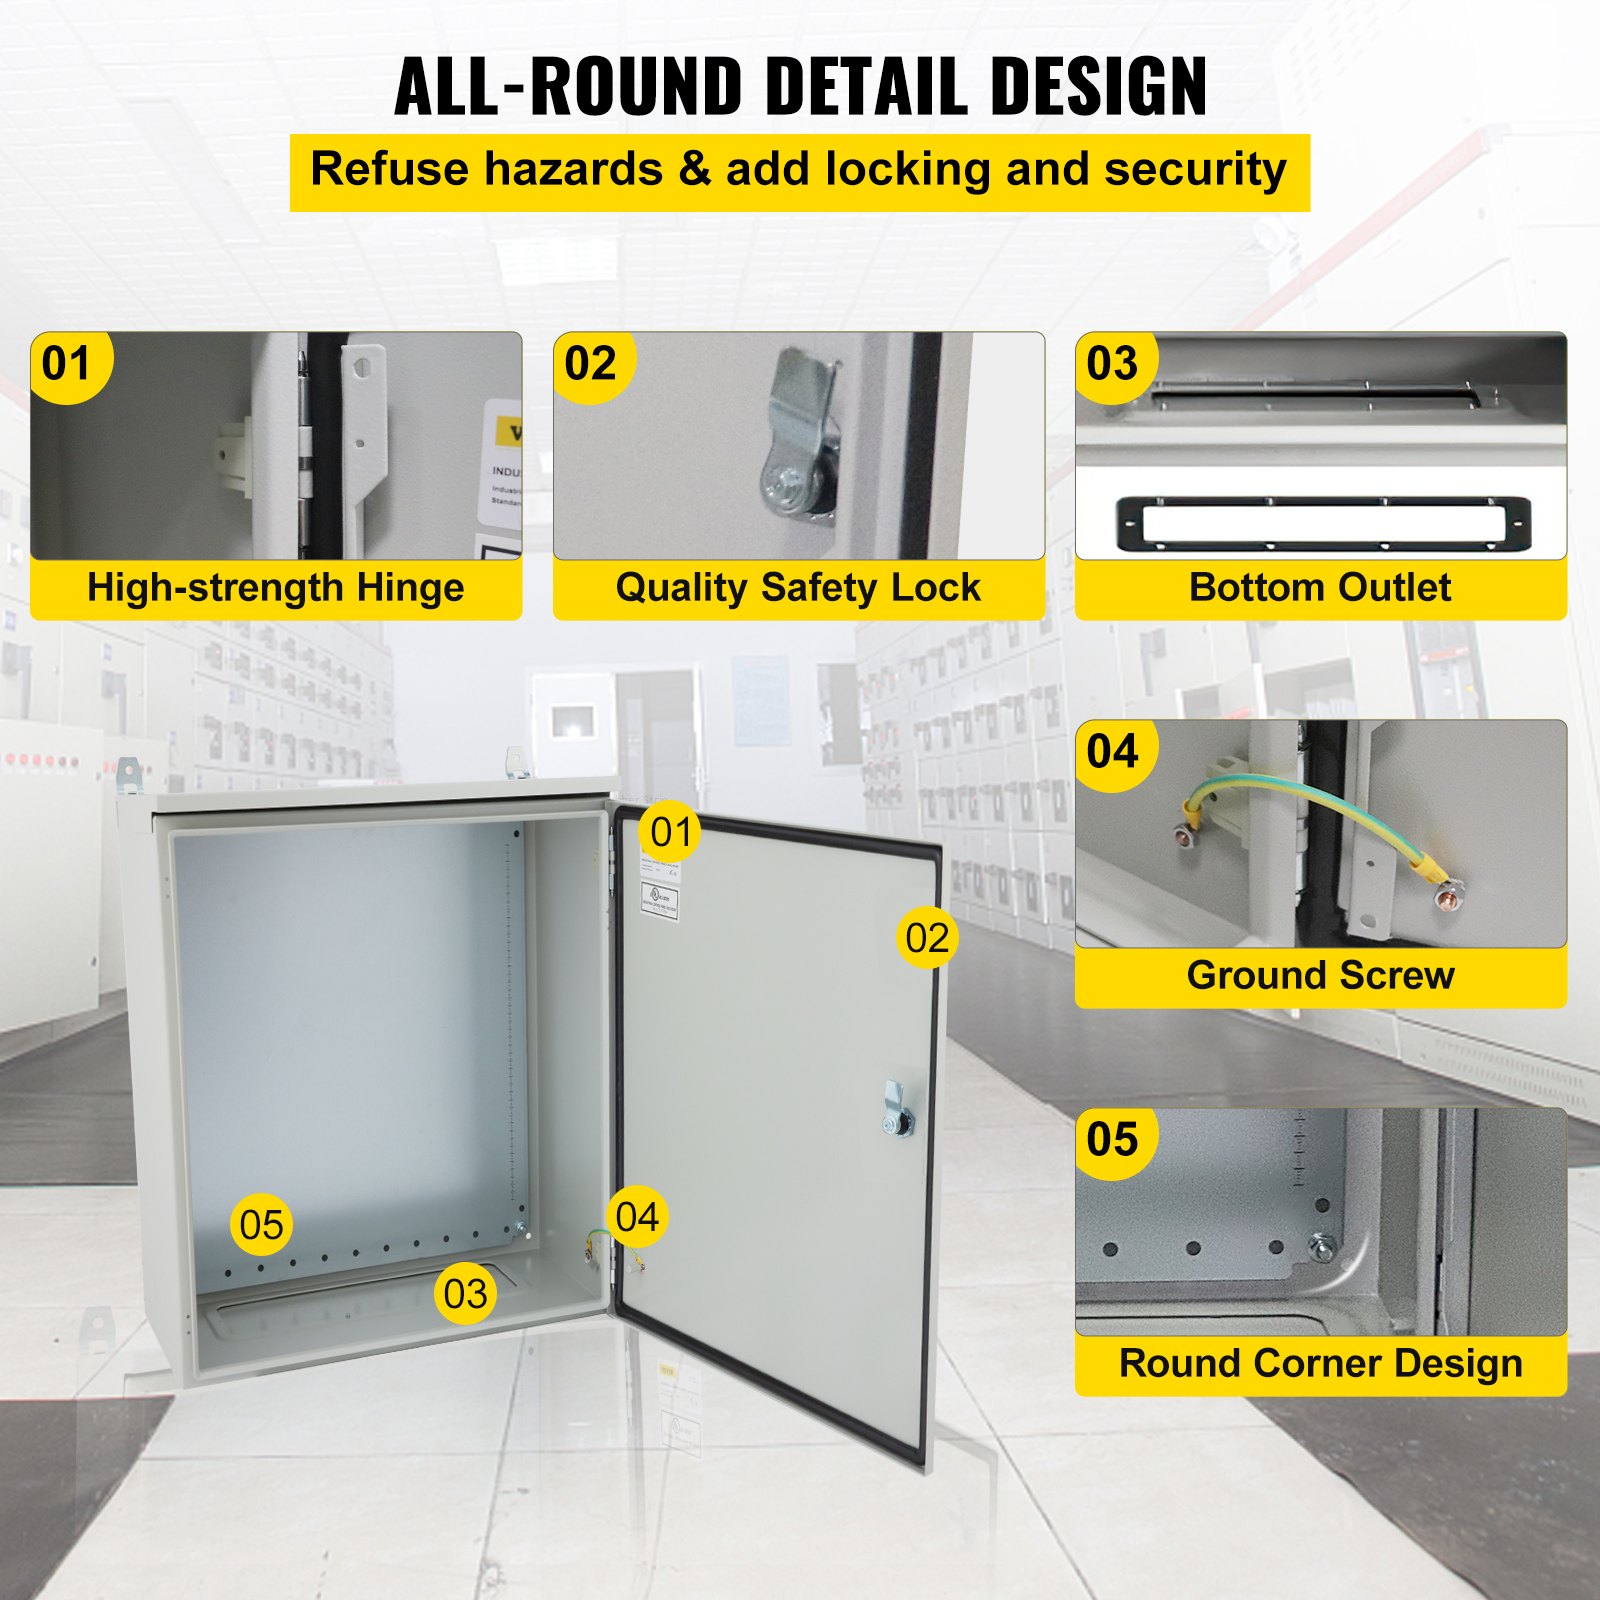
- Professional lock system with double-teeth cylinder allows easy locking/unlocking.
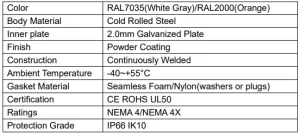
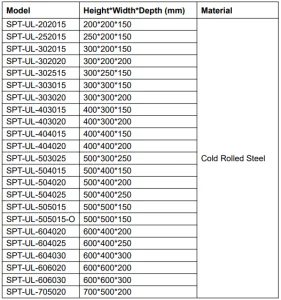
SPECIFICATION DATA
INSTALLATION STEPS
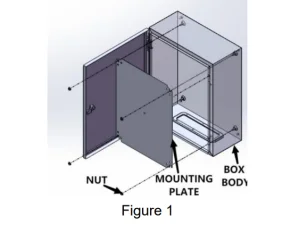
Mounting Plate Installation
Adopts 4pcs M8 hex head flange nut assembly mounting plate with enclosure body.
See Figure 1. Notice: already assembled on the enclosure body when ex-factory.
Bottom Sealing Plate Installation
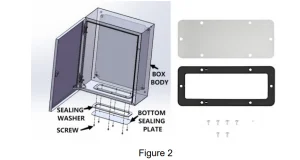
Adopts M5*10mm cross self-tapping screws assembly sealing washer, bottom sealing plate with enclosure body.
See Figure 2. According to your usage requirement, mount it or not.
Rain Cap and Wall Mounting Brackets Installation
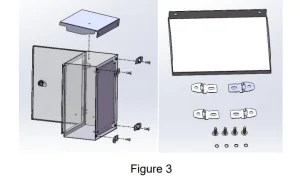
First, align the rain cap hole with the enclosure backside holes. Adopt 4pcs M8*16 mm hex head bolts, M8 O-ring, M8 nuts, fix the rain cap and 4pcs wall mounting brackets on the enclosure, then fix the enclosure on the wall via the 4pcs wall mounting brackets. See Figure 3.
Grounding Wire Installation
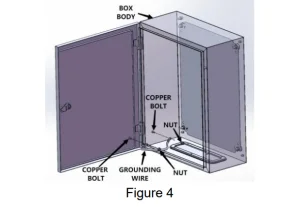
Adopts 2pcs M6 hex head flange nut assembly, grounding wire on M6*12 mm copper bolt of the enclosure door and the enclosure body. See Figure 4.
Notice: already assembled on the enclosure body when ex-factory.
Electric Enclosure Door Installation
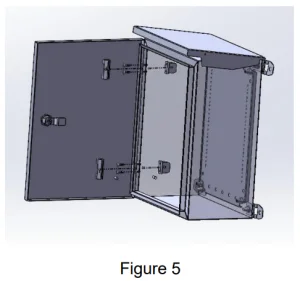
The hinges are secured to the enclosure with M4*16 cross countersunkscrews and hinge plastic parts, and the door is secured with latches on the hinges. Adopts a fixed pin assembly enclosure door on a hinge. See Figure 5.
Notice: The Enclosure door is already assembled on the enclosure body when it is in the factory
Door Lock Installation
Adopts lock nuts to assemble the door’s enclosure lock and lock cover. Adopts a matched key to meet the enclosure door opening and closing. See Figure 6.
Notice: It is already assembled on the enclosure body when it is ex-factory.
Warning: When locking the enclosure door, please turn the lock core 90° from vertical to horizontal and ensure the best protection level.
Recommended For Your Project
VEVOR Electrical Enclosure, 20x16x8in Manual
Reviews
There are no reviews yet.