
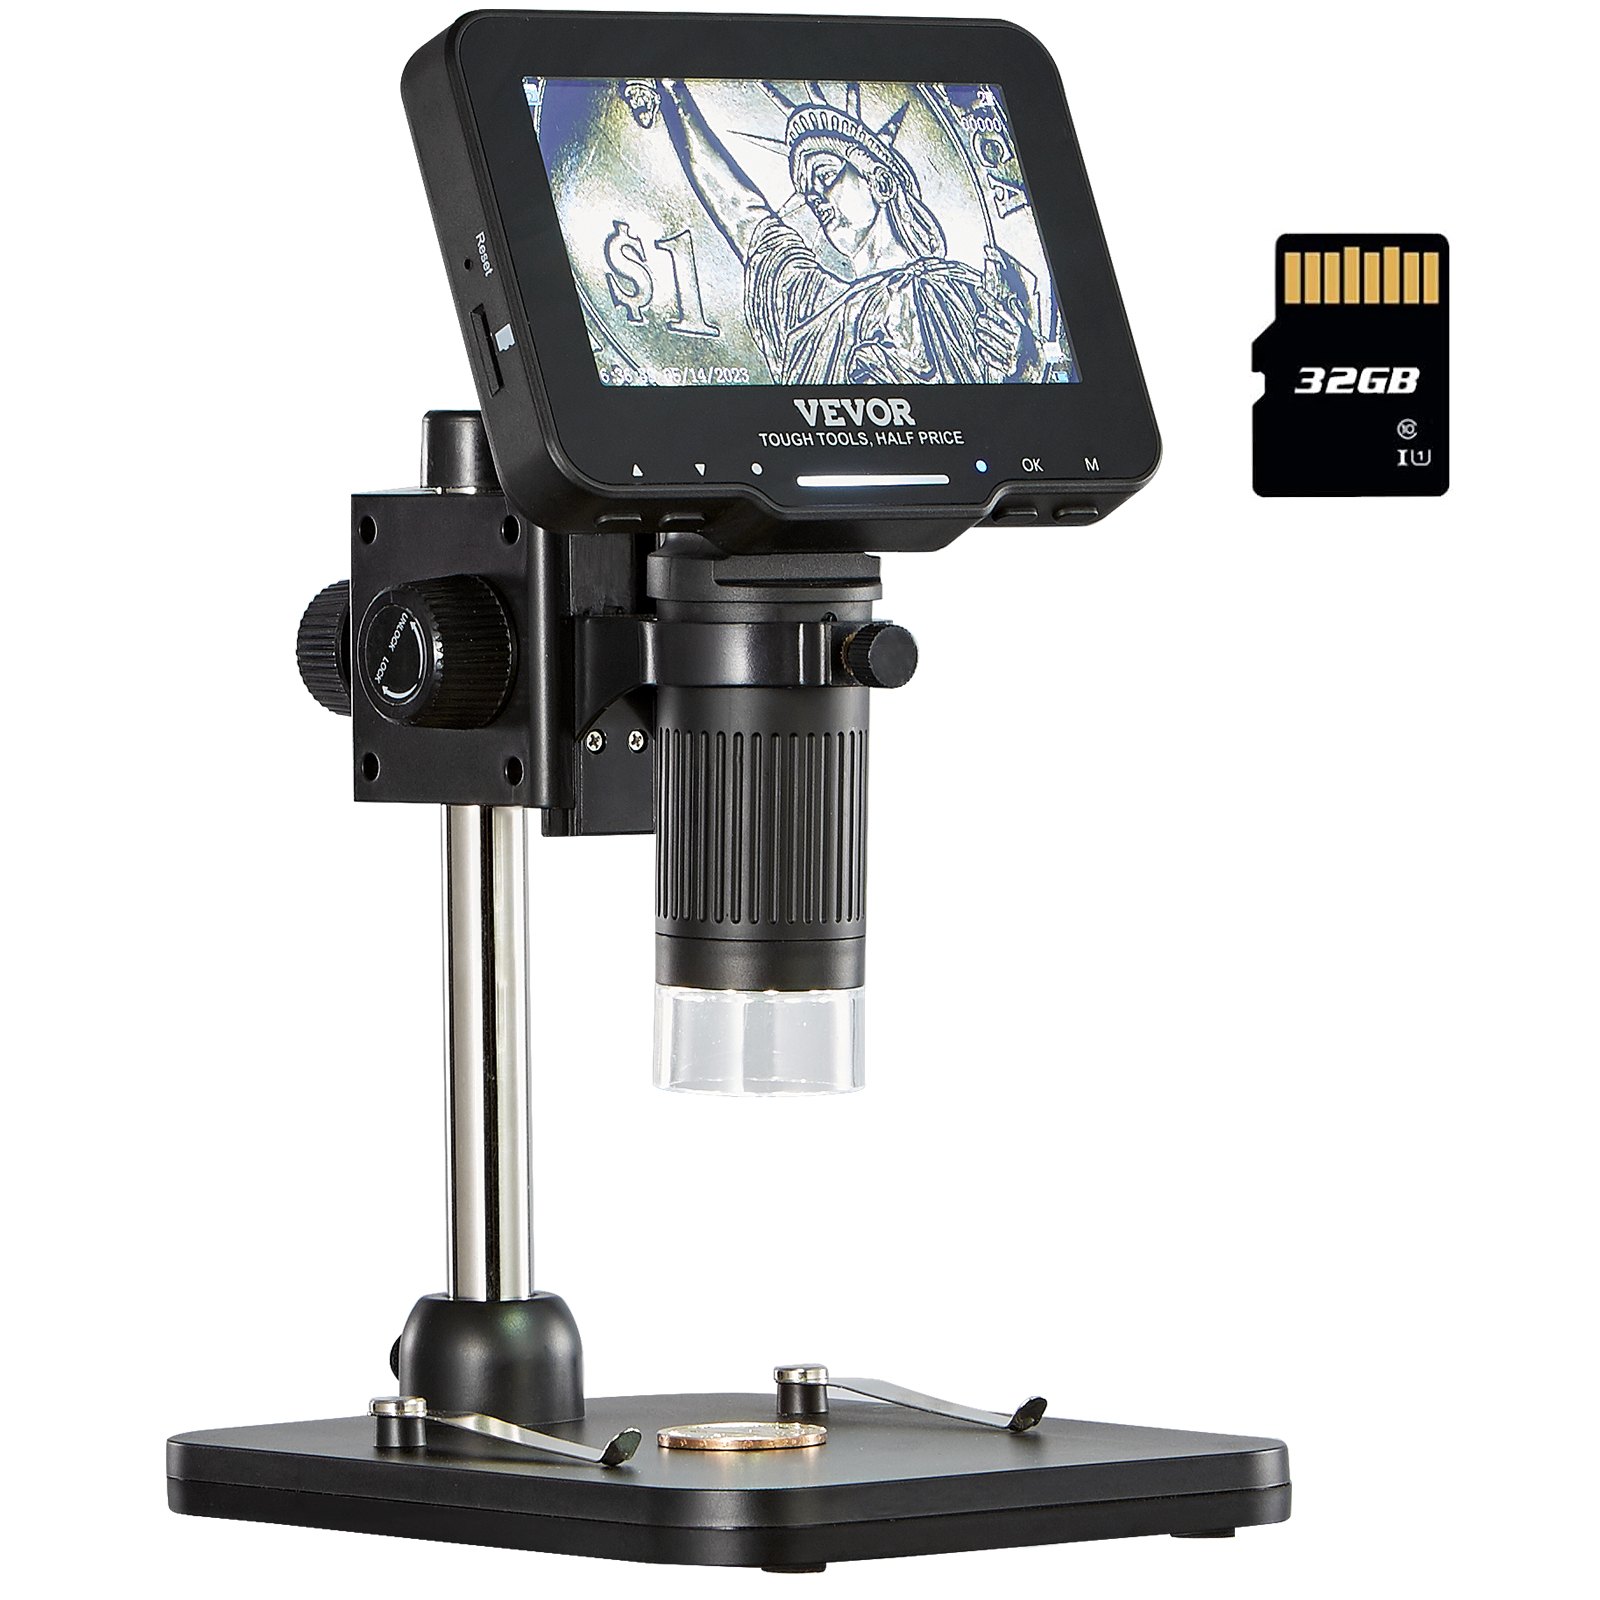
Unlock the full potential of your VEVOR Digital Microscope with our comprehensive product manual. Designed for user ease and packed with detailed instructions, this manual will guide you through every step of setting up, troubleshooting, and optimizing your 4.3” IPS Screen microscope.
With magnification levels ranging from 50X to 1000X and 1080P photo/video capabilities, this electronic microscope is perfect for coin collectors, electronics enthusiasts, and students alike. The manual includes detailed instructions on using the 8 LED lights for optimal viewing and maximizing the 32GB card storage for your images and videos.
Whether you’re using it with Windows or Mac OS, our manual ensures a seamless experience, helping you fully leverage this versatile microscope’s features.
DIGITAL MICROSCOPE
Model: LP043
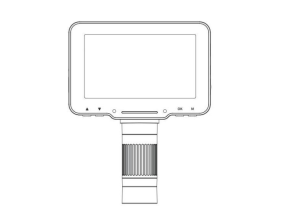
Read Me First
- Thank you for purchasing the LP043 digital microscope.
- Please read this user manual carefully and keep it for future reference.
- Pay attention to protect the lens part.
- The microscope can be used by hand or inserted as a desktop, with attention to avoid damage to the components.
- When placing items, place them directly below the center of the lens as much as possible. Avoid not seeing objects clearly and bringing about a bad experience.
Parts Description
Notice: The picture is for reference only. Please refer to the actual object
Functions Introduction
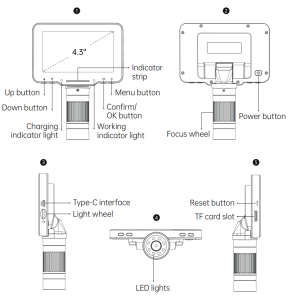
- Up/Down button: When entering the Menu interface, it is the selection key; When entering the Photo and Video mode, it is the zoom in/out key.
- Charging indicator light: The indicator light is red long after charging, green long after full.
- Indicator strip: Used to indicate the switch status of the LED light.
- Working indicator light: After powering on, the indicator is long bright blue. After powering off, the indicator is off.
- Confirm/OK button: When Photo mode, short press to take pictures and store automatically; When in Video mode, short press to start/end recording; When viewing video files in Playback mode, short press to play video; When entering the Menu interface, short press to confirm the selection.
- Menu button: Long press this key to enter the Menu interface, and then short press to exit the Menu or return to the previous level; Short press this key to switch between three modes of Photo/ Video/ Playback.
- Power button: Long press for 3 seconds to turn the microscope on/off.
- Focus wheel: Rotate this wheel to focus on the observation object, slowly adjust until the picture is clear.
- Type-C interface: This interface supports charging and data transfer.
- Light wheel: Turn the wheel to adjust the LED light brightness.
- LED lights: When the observation environment is not well-lit, it can provide light.
- Reset button: When the microscope is abnormal, poke this hole with a fine pointed object to force the power off.
- TF card slot: Support maximum 32 GB memory card (Note: please use C10 high-speed card)
Interface Introduction
Note: Before using the microscope, please insert the TF card into the microscope to ensure better storage of Photo/ Video files.
Photo mode
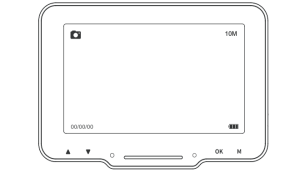
When the icon in the upper left corner of the microscope is in Photo mode; When the microscope is on, short-press the Menu button; it can switch to Photo mode.
Video mode
When the icon on the upper left corner of the microscope is in Video mode, when the microscope is on, short-press the Menu button on the microscope, it can switch to Video mode.
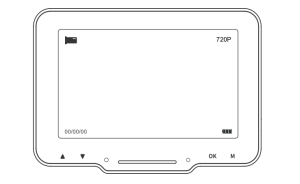
Playback Mode
When the icon in the upper left corner of the microscope is in Playback mode, in the power on state, Short press the Menu button on the microscope, it can switch to Playback mode.
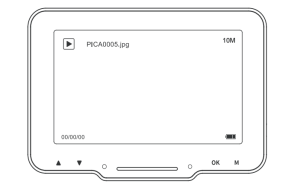
- As shown in the figure, enter the Playback mode to view pictures and video files, and view the images selected by pressing the OK key.
- View the video by pressing the OK key for play/pause
- View the current picture/video file, press the Up/Down selection key to turn the page, or short-press the Playback key again.
- You can return to the previous level to re-select the file you need to view.
Menu Interface
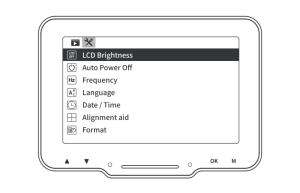
Long-press the Menu button on the microscope to enter the Menu interface, in the Photo/Video mode, to enter the Menu interface, as shown in the figure below:
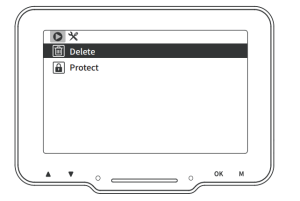
Enter the Menu when viewing a file in Playback mode, as shown below (You can delete/protect the current file.)
Digital Microscope Function introduction
- Photo Resolution: 10M, 7M, 5M, 3M, 2M, 1 M.
- Video Resolution: 720P.
- Record Audio: If you select “On”, the video is recorded with sound. Select “Off” to mute the video recording.
- Burst Shooting: With this option enabled, you can take up to five photos in a row.
- Image Quality: Quality, Standard, and Economy.
- Sharpness: Strong, Standard, Soft.
- ISO: Auto, 100, 200.
- Exposure Compensation: -2.0 to +2.0, 13 exposure values to choose from.
- Date Tag: Select On, the date and time mark will be displayed in the lower right corner of the photo / video file; Select Off, the photo/video file will not display the date and time mark.
- Automatic Shut-down: After selecting auto shutdown time, the microscope will shut down automatically when no one is operating; if no auto shutdown is selected, please select “Off”.
- Screen Protection: Select a suitable time to make the device turn off the screen automatically when no one is operating it.
- Language Settings: Set language. ( English, Simplified Chinese, Traditional Chinese, Russian, Japanese, Korean, French, Spanish, Portuguese, German, Italian )
- Date/Time: You can set the date/time parameter of the microscope display.
- Line Assist: Select on, in the photo/video mode, the microscope screen will have “十” auxiliary line display; no “十” auxiliary line, select “Off”.
- Light Source Frequency: Set the mains frequency.
- Formatting: This operation will delete all data in the TF card. ( Note: It will not be recovered after deletion, please operate carefully )
- Default setting: Restore factory settings.
- Version: Check the current firmware version.
- Delete/Protect: When viewing a single picture or video in Playback mode, short press the Menu key, you can choose to delete or protect the files in TF, delete ( you can choose to delete current/delete all ), protect ( you can choose to lock current/unlock current/lock all/unlock all ). (Note: File protection is only when operating delete in the menu interface; the locked files will not be deleted. When formatting and connecting to the computer memory mode, the locked files can also be deleted, so please operate with caution.)
Work with PC
Software Download
Note: Please choose the appropriate version according to your computer system
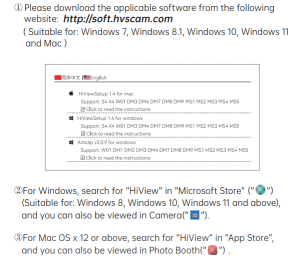
Digital Microscope Operating Steps
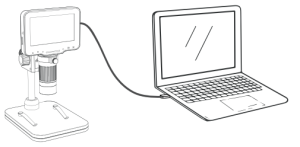
Step 1. Connect the microscope to the computer via a Type-C cable.
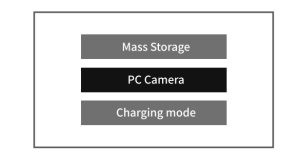
Step 2. Long-press the microscope power button to turn on, and the computer side of the successful connection screen pop-up window: Mass Storage / PC Camera / Charging Mode, please select the “PC Camera mode.
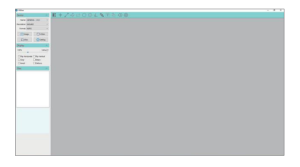
Step 3. Run Hiview; you can watch the image. At this time, the photo/video files will be automatically saved on the computer disk. ( Note: When connecting to a computer to watch pictures, please make sure you are using a cable with a data transfer function)
USB Function Introduction
When the device is connected to the computer through a Type-C cable, the device can be used in Mass Storage/PC Camera/Charging mode.
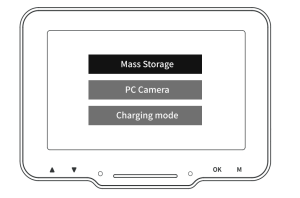
Function Introduction
- Mass Storage: Enter the microscope memory from the computer side, you can view and process the current picture and video files on the TF card. Currently, the microscope only has the Power button and Touch slider available.
- PC Camera: After selecting this mode, you can get a larger image magnification through the computer camera software; at this time, the microscope only has the Power button and Touch slider available.
- Charging Mode: When the microscope is low on power, you can use the microscope while charging. Use a Type-C data cable to connect the microscope and the computer. The microscope is turned on, select Charging Mode, and you can enter the charging state. ( Note: you can also use daily cell phone charger, a computer, or a rechargeable battery to charge the microscope )
Note: You can use your daily phone charger, computer, or power bank to charge the microscope.
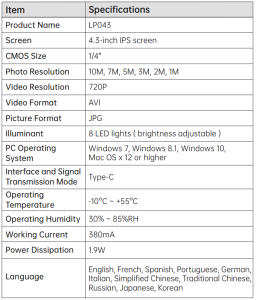
Digital Microscope Specifications
Digital Microscope FAQs
Q: Could you let me how to charge it?
A: A USB cable comes with the package. You can plug it in any standard phone charger adapter or connect it to your laptop or PC, and the charging time is about 3 hours.
Q: Can you connect the microscope to a cell phone?
A: No,this microscope is not compatible with cell phone.
Q: Can I see plant cells by this microscope?
A: Sorry, this is a digital microscope, not an optical microscope. You can’t see the cells.
Q: Do I have to download software on my computer to see the images?
A: Not necessary, if your laptop is Windows 10 or above, you can use the computer’s default camera. You can use your computer’s default Photo Booth if you’re on a Mac.
Recommended For Your Project
VEVOR Digital Microscope, 4.3” IPS Screen, 50X-1000,X Magnification Manual

Reviews
There are no reviews yet.