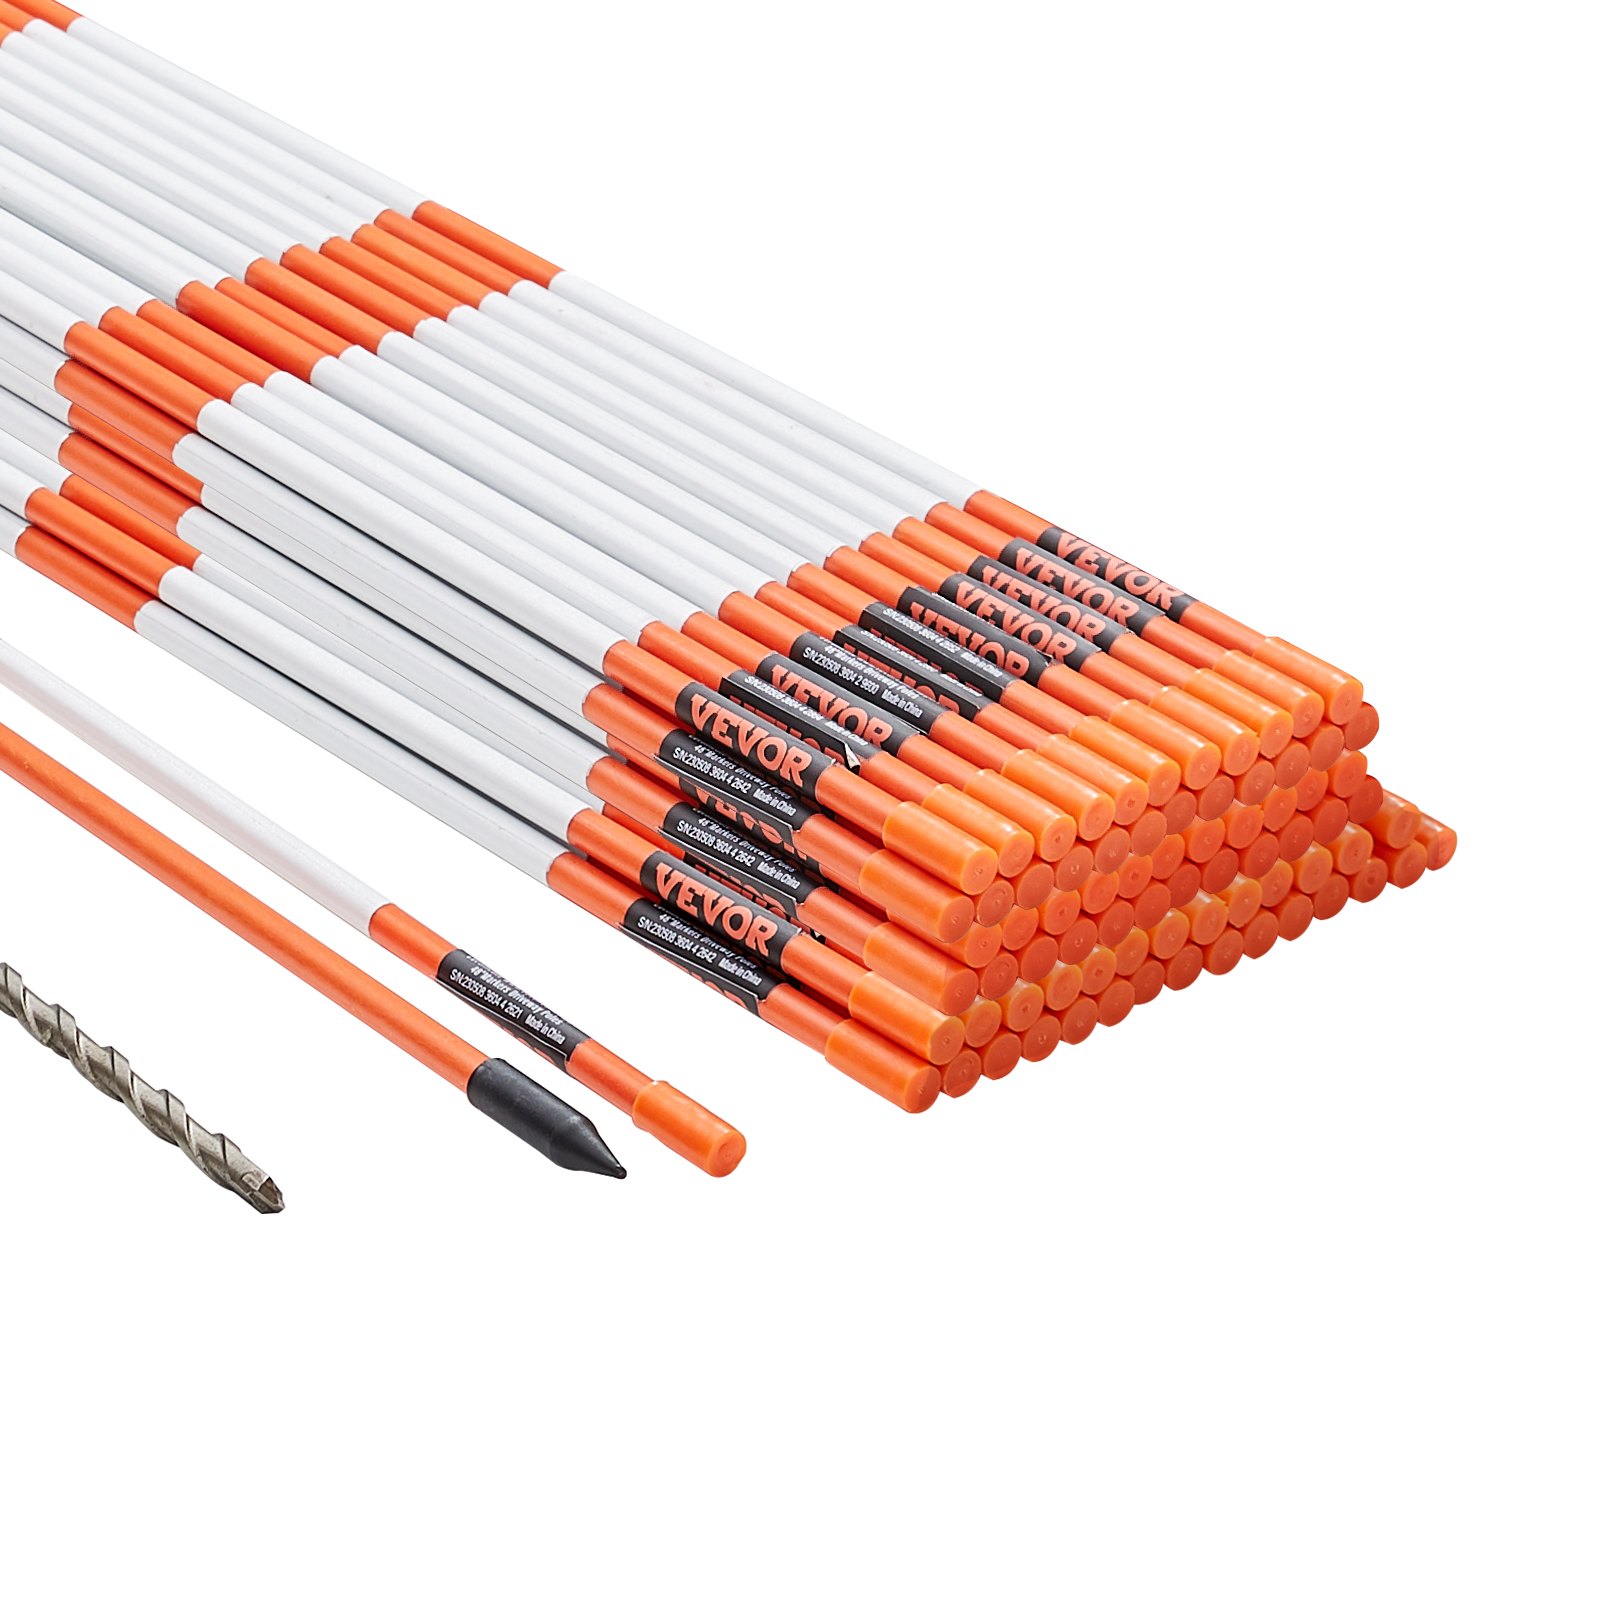


Unlock the full potential of your VEVOR Driveway Markers with our comprehensive product manual download. Our detailed guide is designed to ensure you get the most out of your 100 PCS 48-inch, 0.4-inch diameter, orange fiberglass poles with reflective tape, complete with a 12″ steel drill bit and protection gloves.
Whether you’re setting up markers for parking lots or enhancing visibility on walkways, our manual provides step-by-step instructions for easy installation and troubleshooting. Each section is crafted to help you optimize your setup, ensuring maximum durability and effectiveness.
Don’t miss out on this essential resource to enhance safety and visibility with your VEVOR snow stakes. Download now to get started quickly and efficiently.
Model: HX101/HX102/HX103
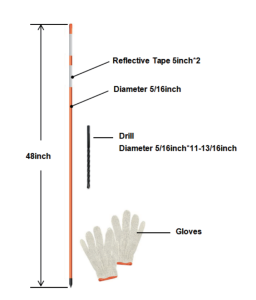
Parts List
Driveway Markers Installation
-
Drill a Hole
-
Use the included 12″ steel installation bit attached to a power drill.
-
Drill a vertical hole 8–10 inches deep into the ground or snow where you want to place the marker.
-
-
Clear the Hole
-
Remove loose soil or snow from the hole to allow the pole a snug, vertical fit.
-
-
Insert the Driveway Marker
-
Gently insert the fiberglass pole into the drilled hole. Push it down until it firmly sits upright.
-
If necessary, lightly tamp the soil around the base to stabilize the marker.
-
-
Ensure Visibility
-
Adjust the pole to ensure the reflective tape faces oncoming traffic or the direction where visibility is needed most.
-
-
Repeat for Additional Markers
-
Continue drilling and installing poles at desired intervals (typically every 4–6 feet for snow lines or boundaries)
-

Driveway Markers Installation Precautions
To ensure a safe and effective installation process, please follow these safety guidelines:
-
Wear Protective Gear
-
Always wear the included gloves and safety goggles to protect your hands from fiberglass splinters and your eyes from dust or debris during drilling.
-
-
Handle Fiberglass Poles Carefully
-
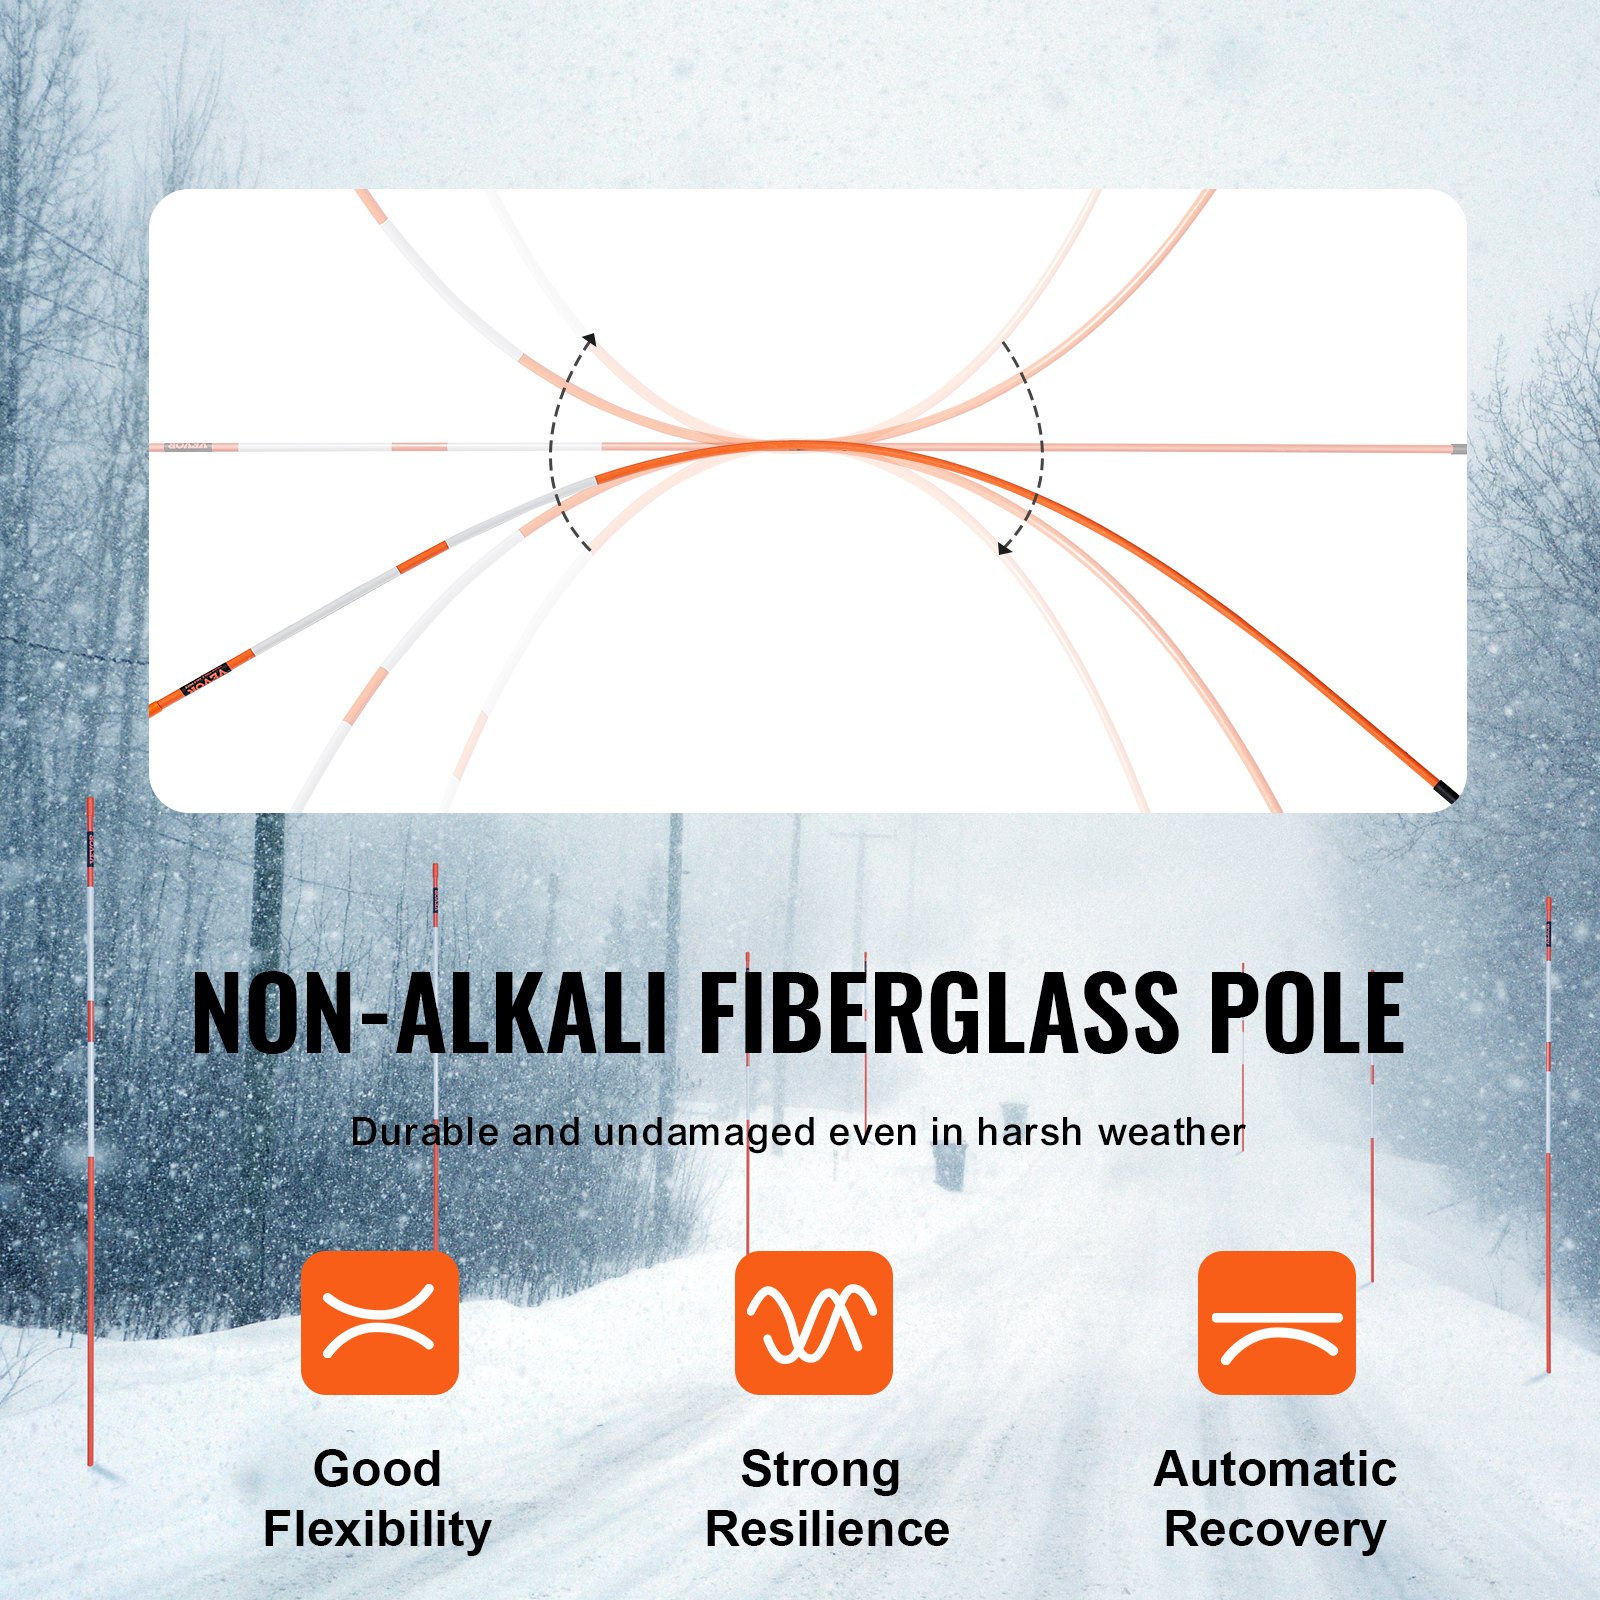
Avoid skin contact with damaged or splintered poles, as fiberglass can cause irritation or minor cuts. Inspect poles before use.
-
-
Use the Drill Bit with Caution
-
The 12″ steel drill bit is sharp. Please keep it away from children and never attempt to install it while the drill is powered on or connected to electricity.
-
-
Ensure Stable Ground Before Drilling
-
Only install markers on firm, stable ground to avoid slippage or injury. Avoid using power tools on icy, loose, or uneven surfaces.
-
-
Keep Markers Visible During Setup
-
When working near roads, ensure you and your tools are visible to traffic. Wear a reflective vest if installing near driveways or public pathways.
-
Recommended For Your Project
VEVOR Driveway Markers, 100 PCS 48 inch, 0.4 inch Diameter Manual


Reviews
There are no reviews yet.