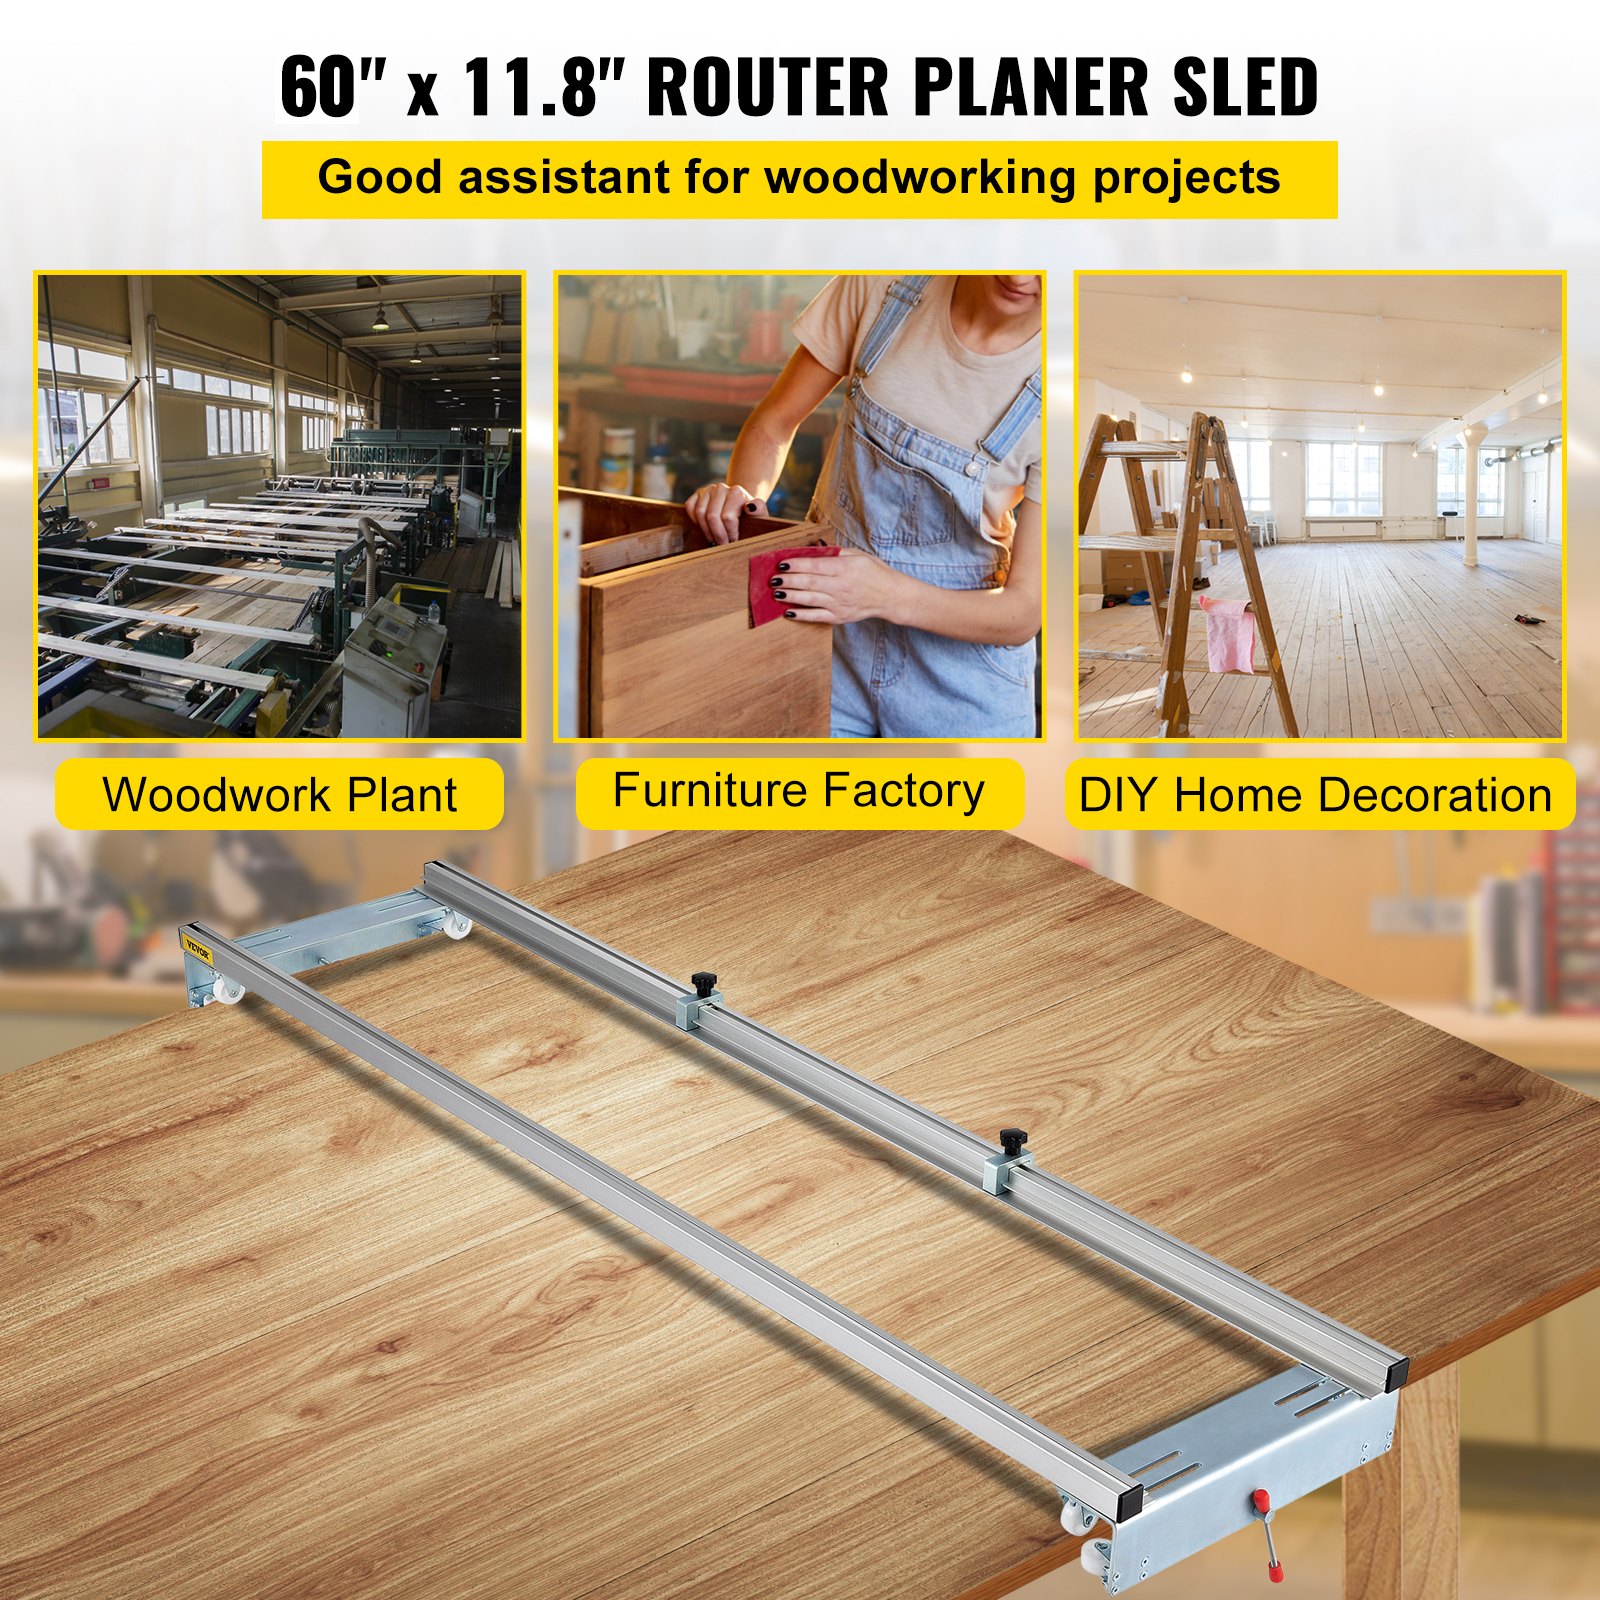
Unlock the full potential of your woodworking projects with the comprehensive VEVOR Router Sled manual. Designed specifically for the VEVOR Router Sled, featuring a 60-inch/152.4-cm width, this manual serves as your ultimate guide for setup, troubleshooting, and optimization. Whether you’re a beginner or an experienced woodworker, this detailed guide provides step-by-step instructions, clear diagrams, and useful tips to help you master the slab guide jig for woodworking tasks.
Our manual covers everything from initial assembly to advanced adjustments, ensuring you can easily harness the sled’s locking function and portability. Learn how to achieve precise trimming and planing for wood flattening, making your home DIY projects more efficient and professional.
Download our manual today to enhance your woodworking experience, minimize errors, and maximize the performance of your VEVOR Router Sled.
VEVOR Router Sled Manual
Router Sled Installation Steps
Installation Guide
-
Unbox and inspect
-
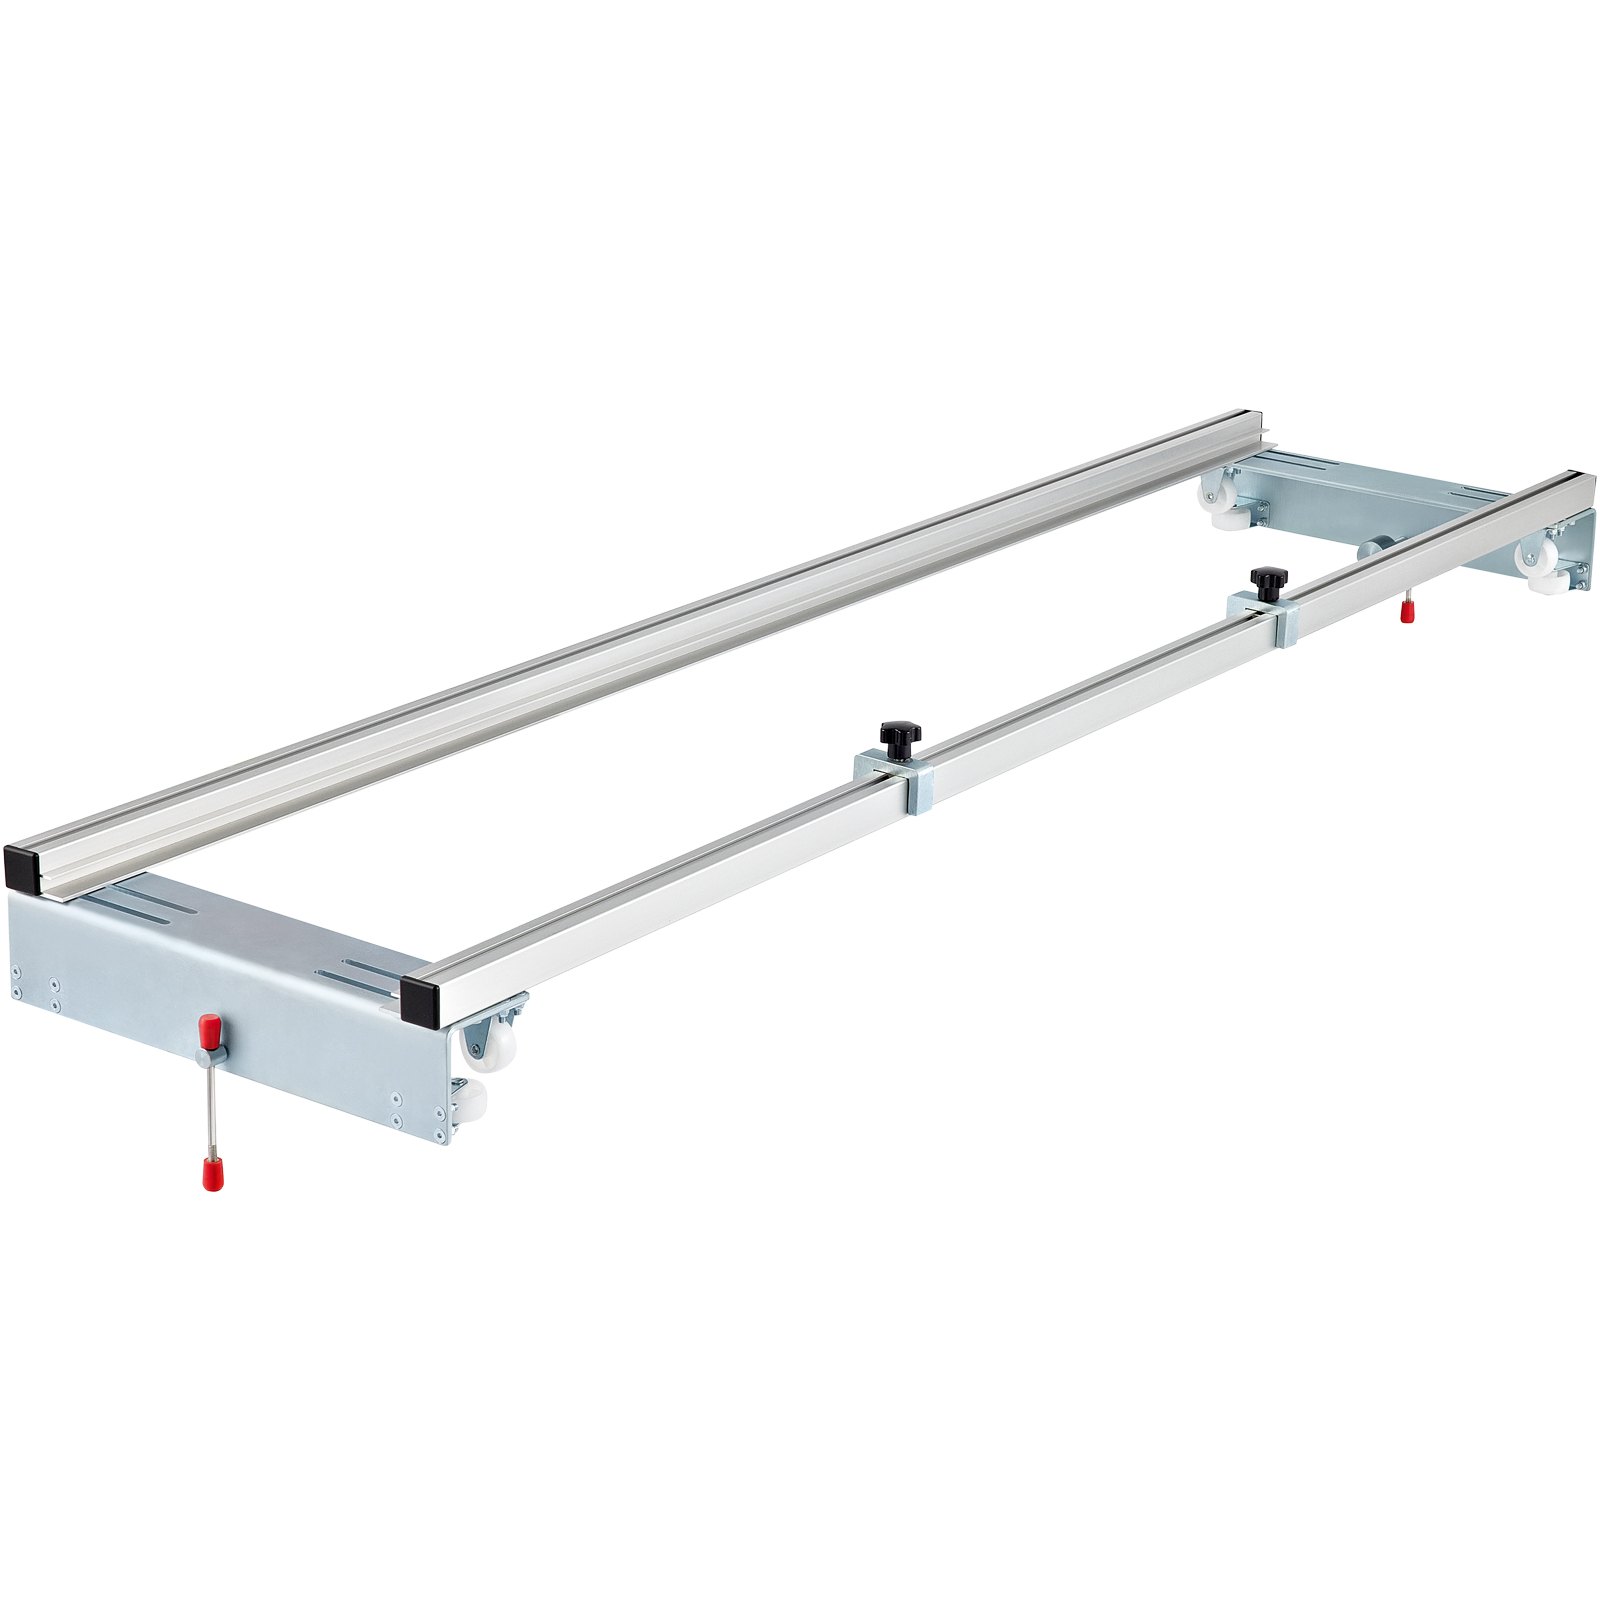
Ensure all components are present: two aluminum rails, iron supports, roller wheels, XY locking handle, and flip‑plate mechanism.
-
-
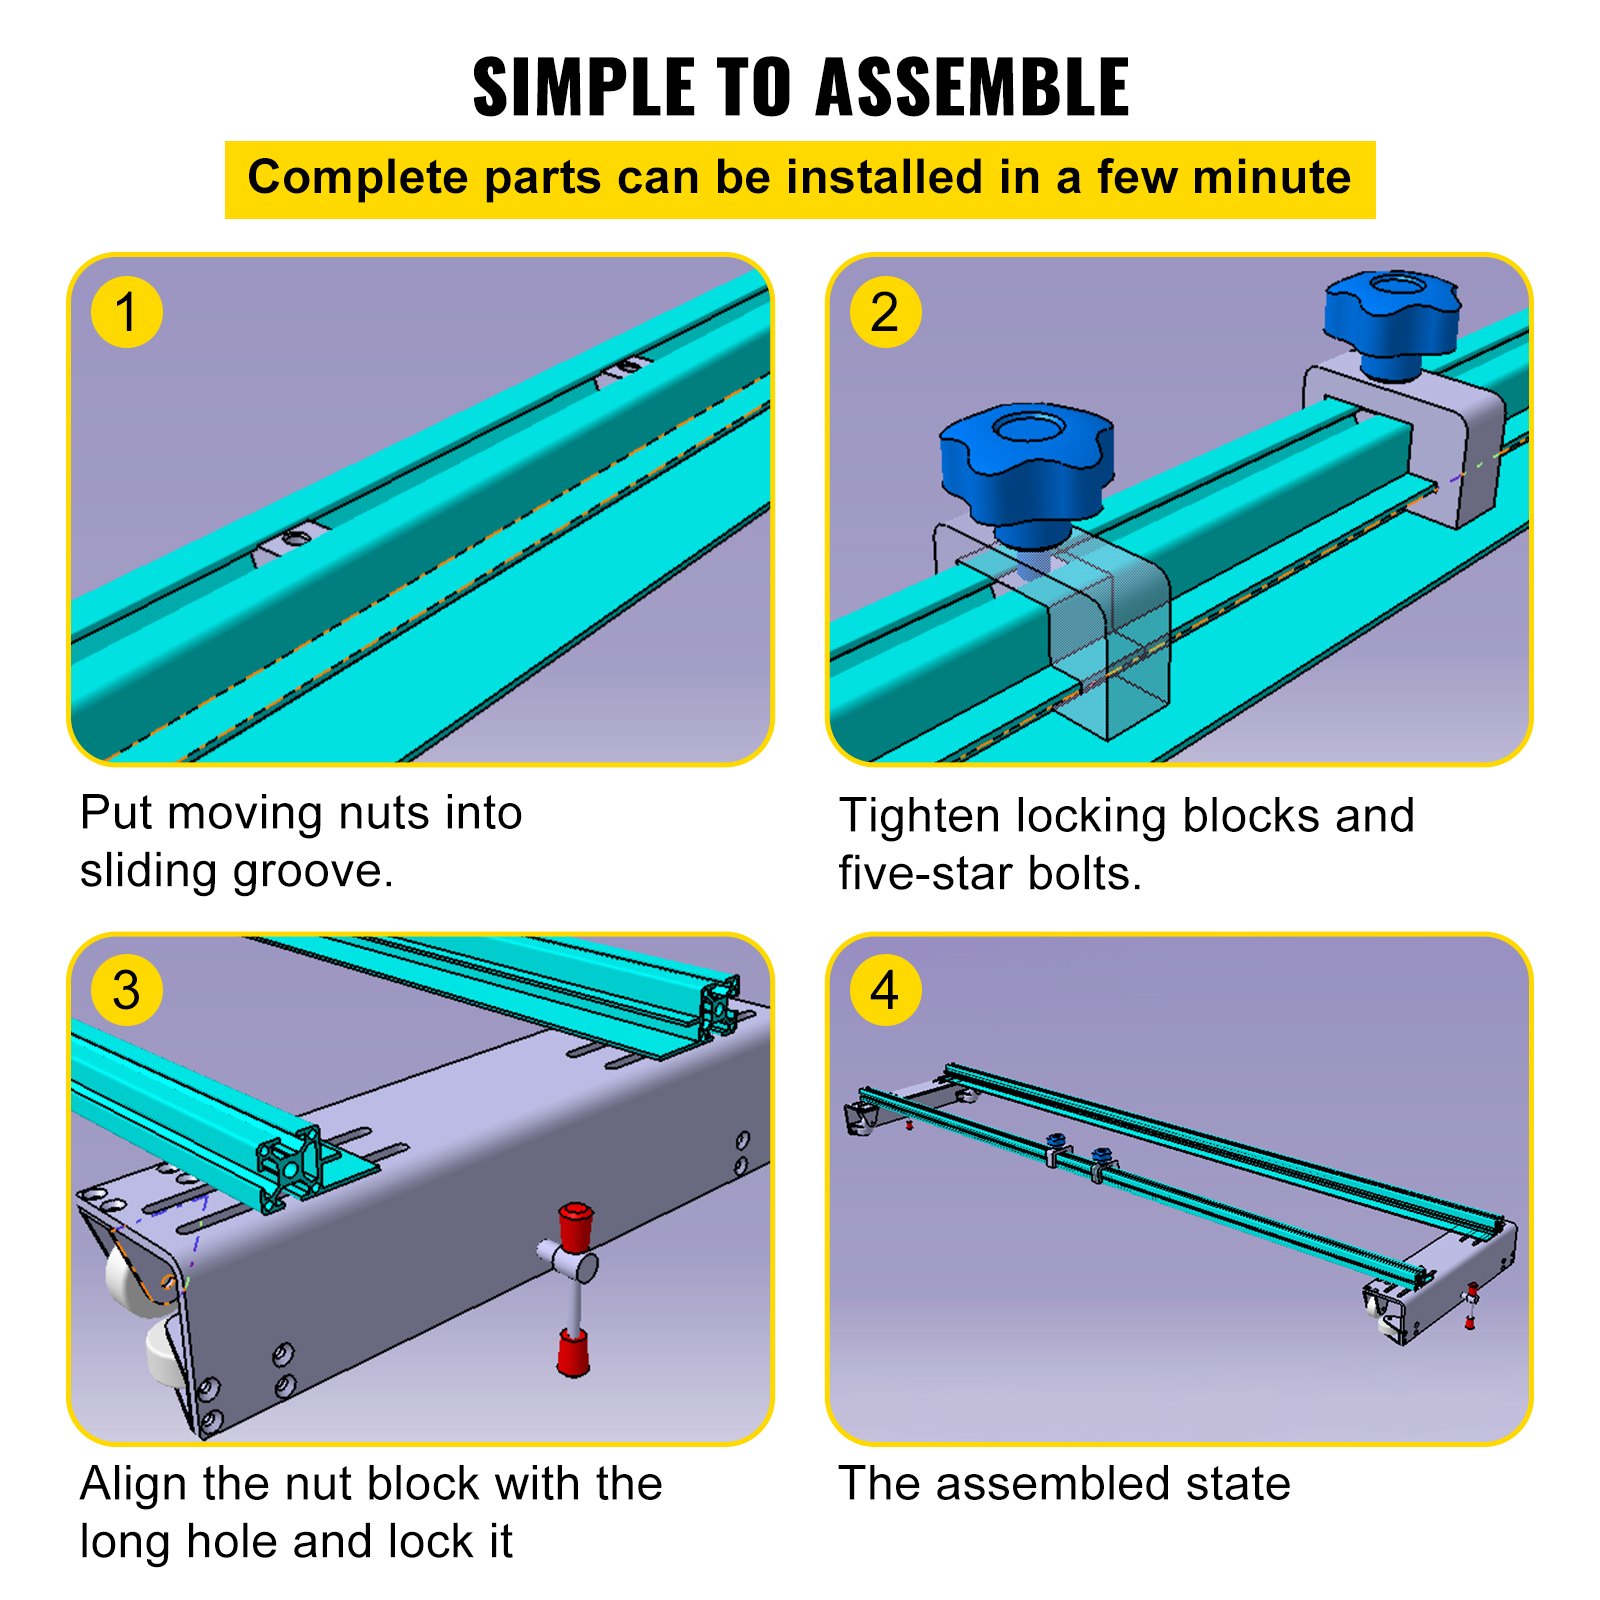
Assemble the rails
-
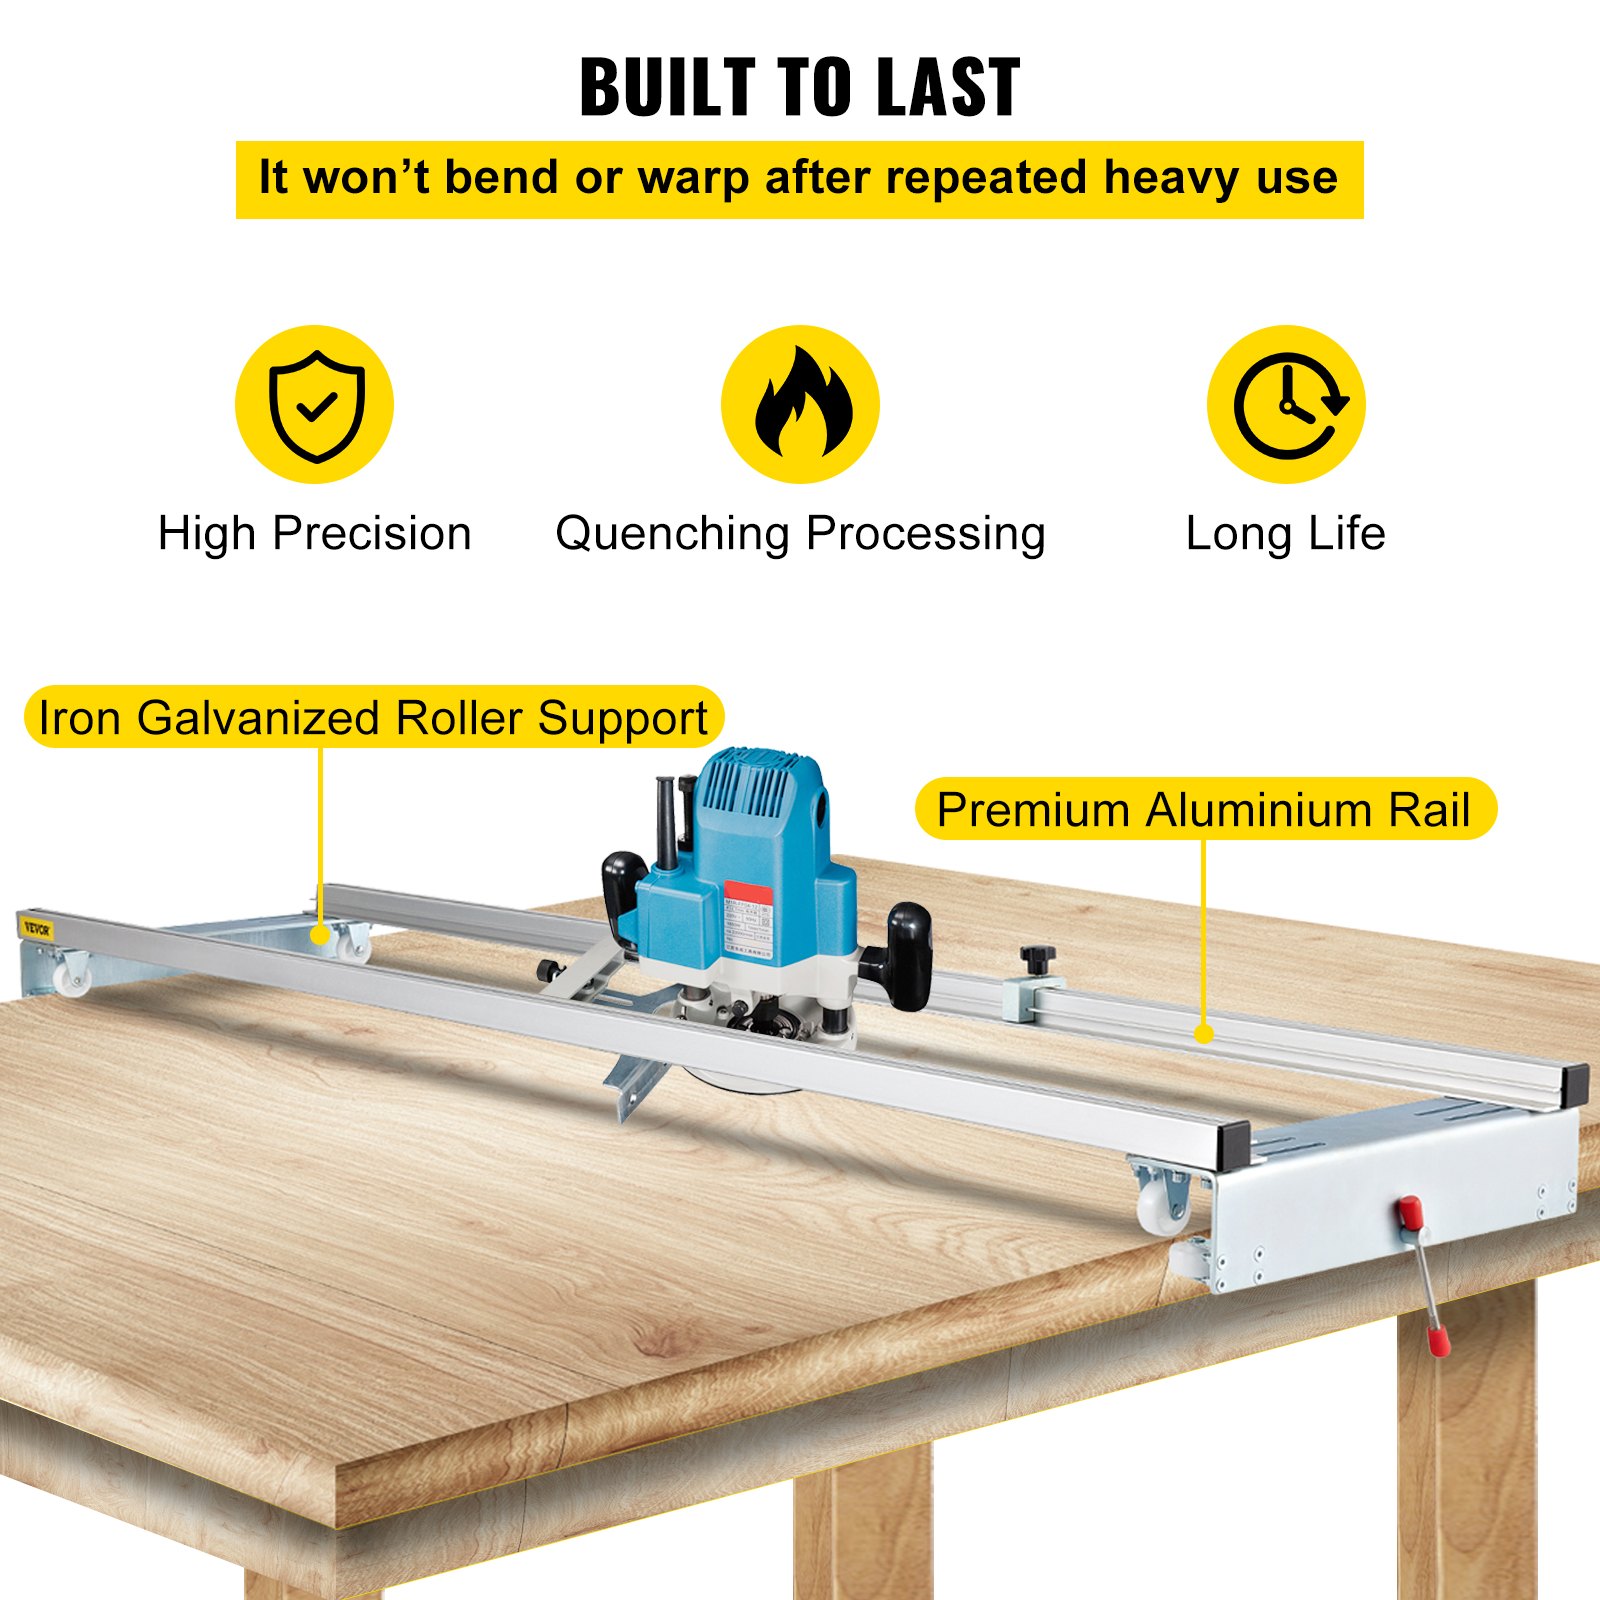
Connect the aluminum rails (60″ total length) and secure them to the iron supports using the provided hardware. Rails should sit level, supported by roller wheels (they keep the sled floating over the slab)
-
-
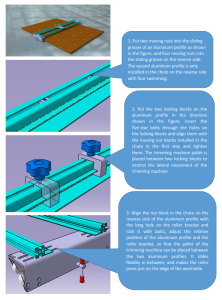
Install the flip‑plate attachment.
-
This reversible plate adds the flip/travel functionality to the sled. Align and tighten it correctly to allow XY flipping/movement.
-
-
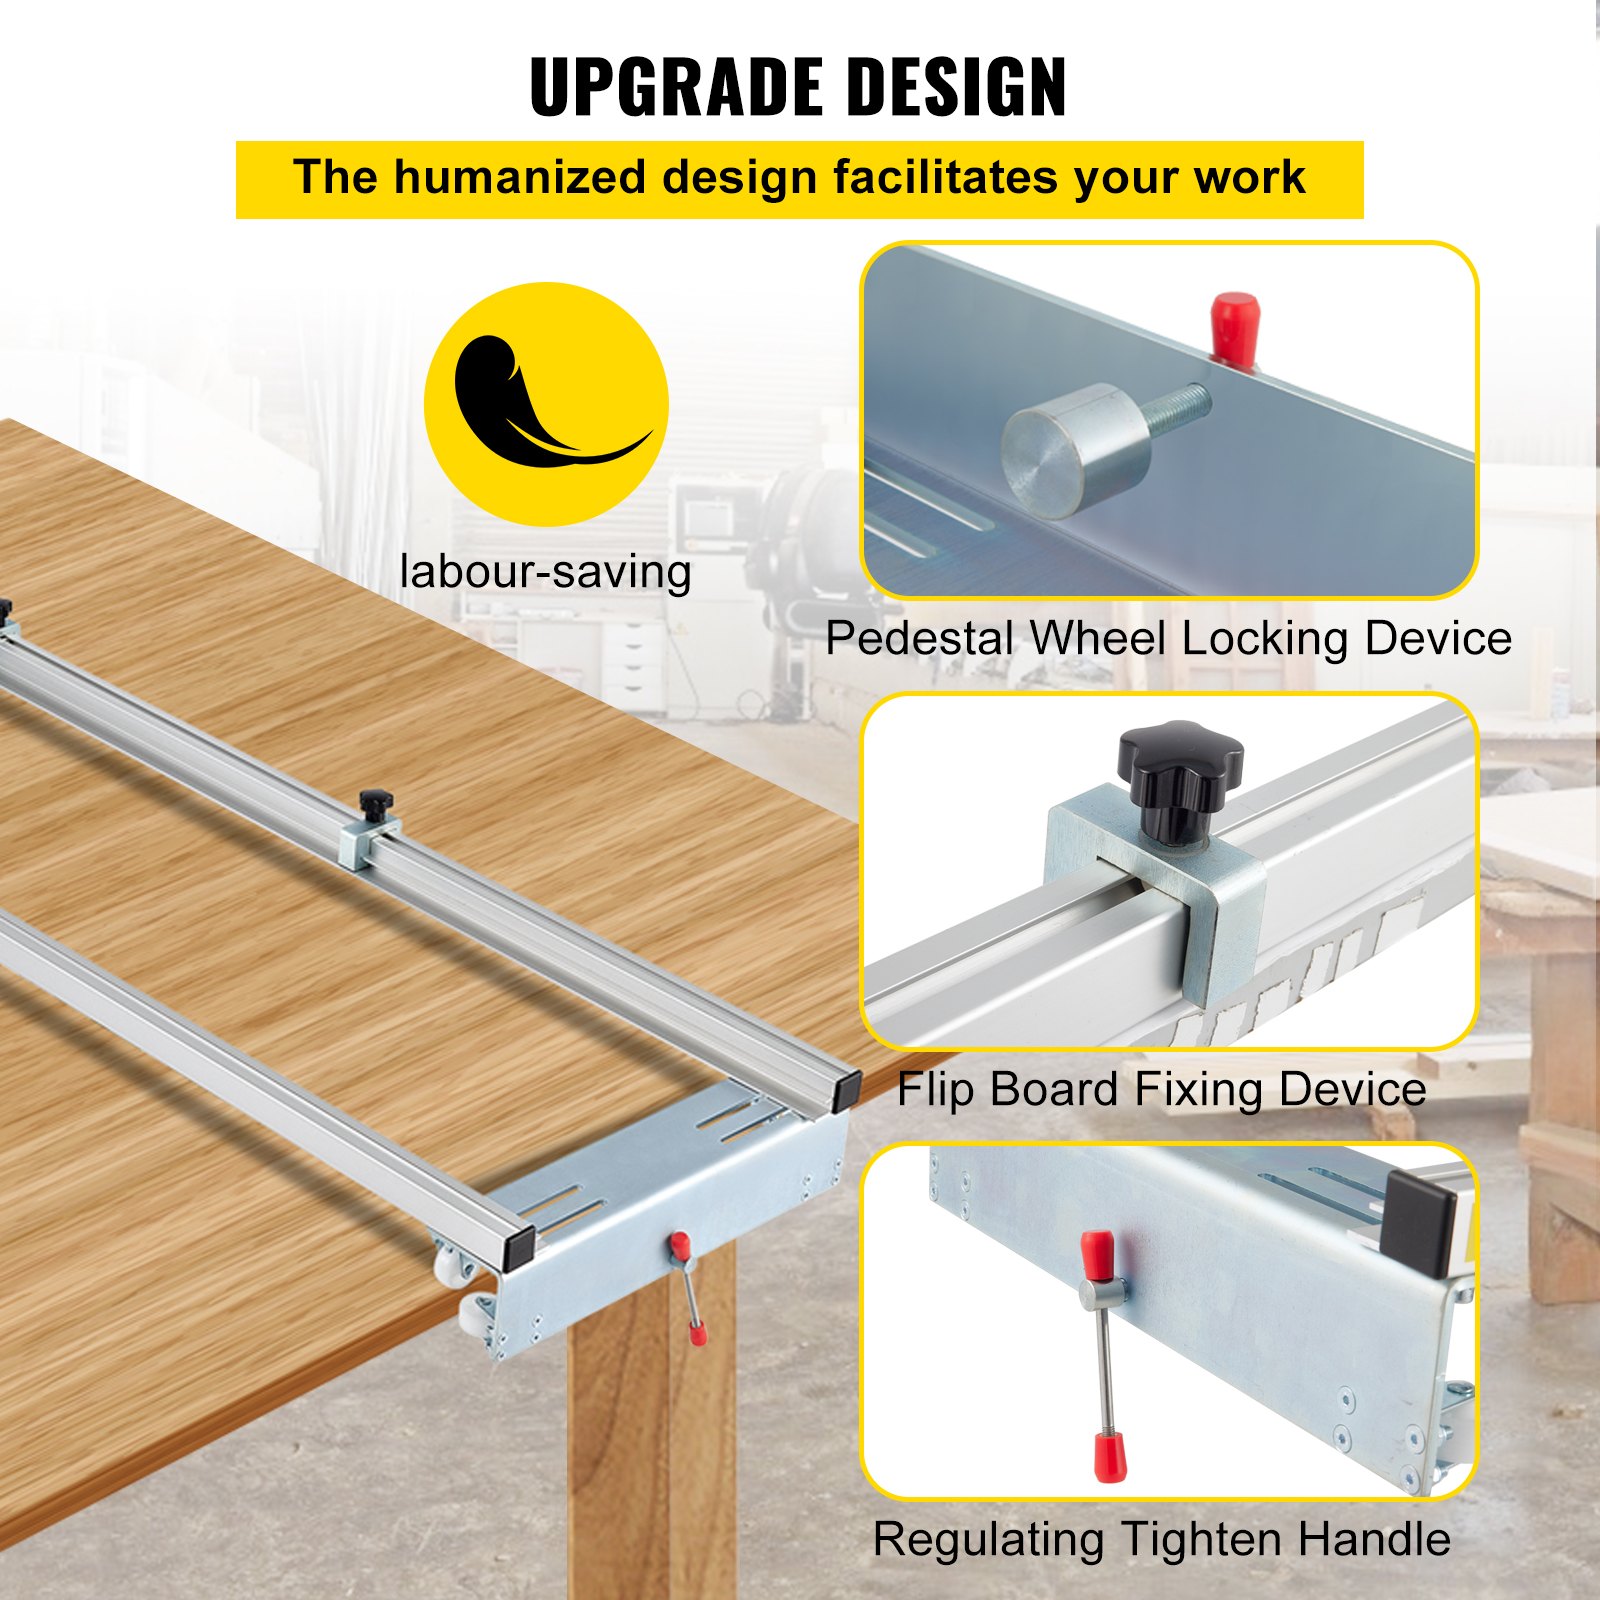
Locking handle and wheel support
-
Attach the eight locking wheels along the width of the fence. The central locking handle secures the sled in the forward/back position and stabilizes it during routing.
-
-
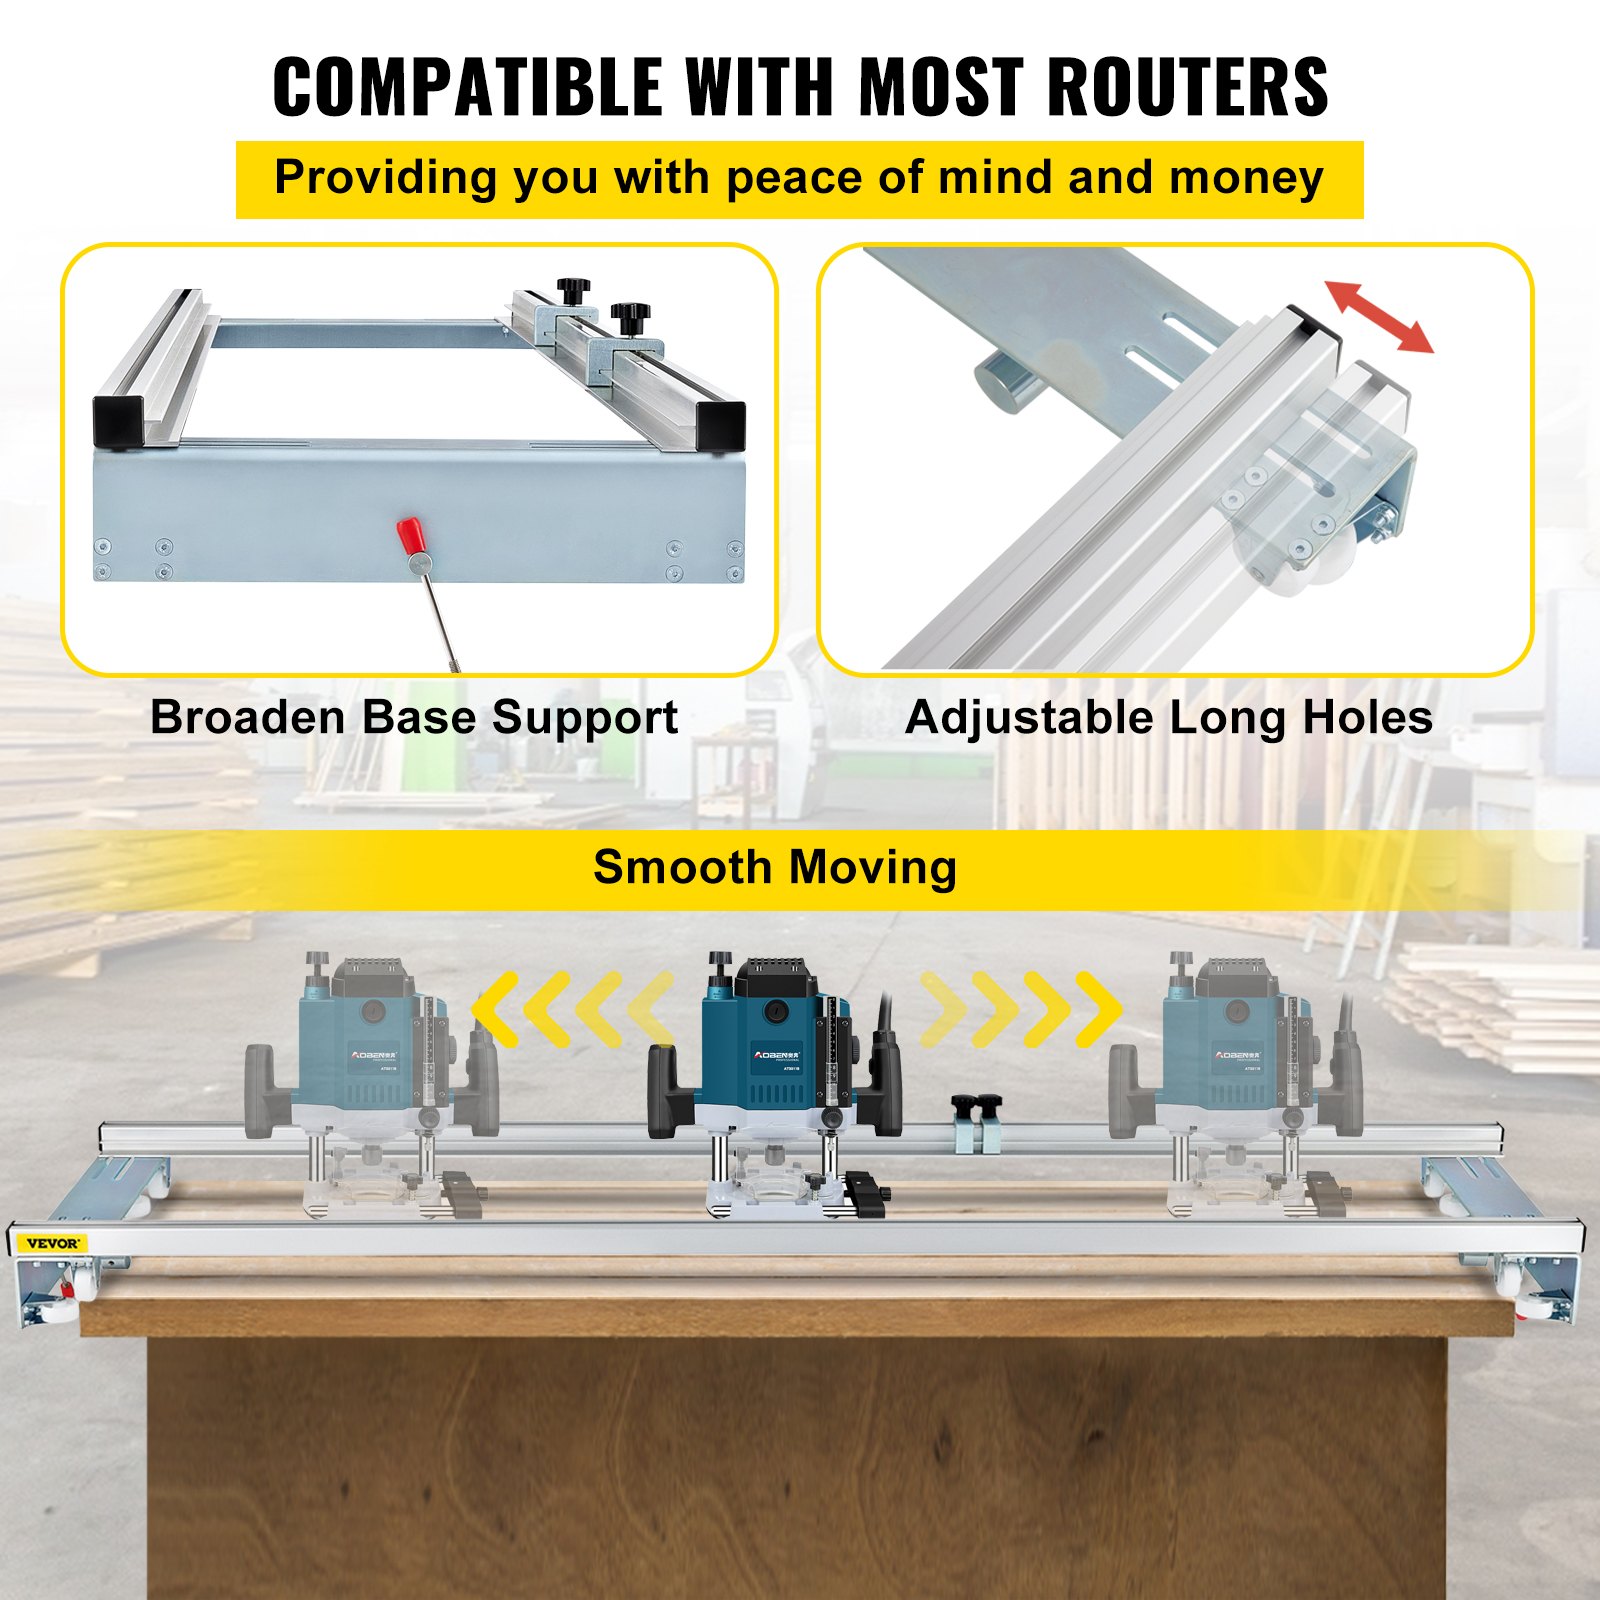
Mount your router
-
Use a fixed‑base router plate. Adjust the sled’s nut blocks and slots to align with your router model—almost any standard fixed-base router can be fitted.
-
-
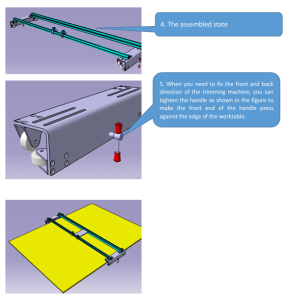
Adjust sled position
-
Ensure the sled rolls freely, parallel to your workpiece. Tighten roller-pressure so the sled edge contacts the bench but does not bind or drift.
-
Usage Precautions
-
Grain direction matters: Users warn that planing across the wood grain leads to uneven cuts—always route with the grain direction.
-
Secure your workpiece: Clamp the slab to a stable surface to prevent shifting or vibration during routing.
-
Router compatibility: A fixed-base router is required (one is not included in the kit)
-
Check for completeness: A past customer noted missing tightening parts—verify you have all fasteners before starting.
-
Dust control: There is no built-in dust extraction. If wood chips are a concern, consider using a vacuum setup or an aftermarket plate.
-
Avoid sled tipping: When flipping or moving, keep even pressure to prevent the sled from yawing or tipping off due to its 30 lb weight.
-
Wear personal protection: Always use:
-
Eye protection (safety glasses or face shield)
-
Ear protection (routers are noisy)
-
Respiratory mask (especially without dust extraction)
-
Recommended For Your Project
VEVOR Router Sled, 60 inches / 152.4cm Width Manual
Reviews
There are no reviews yet.