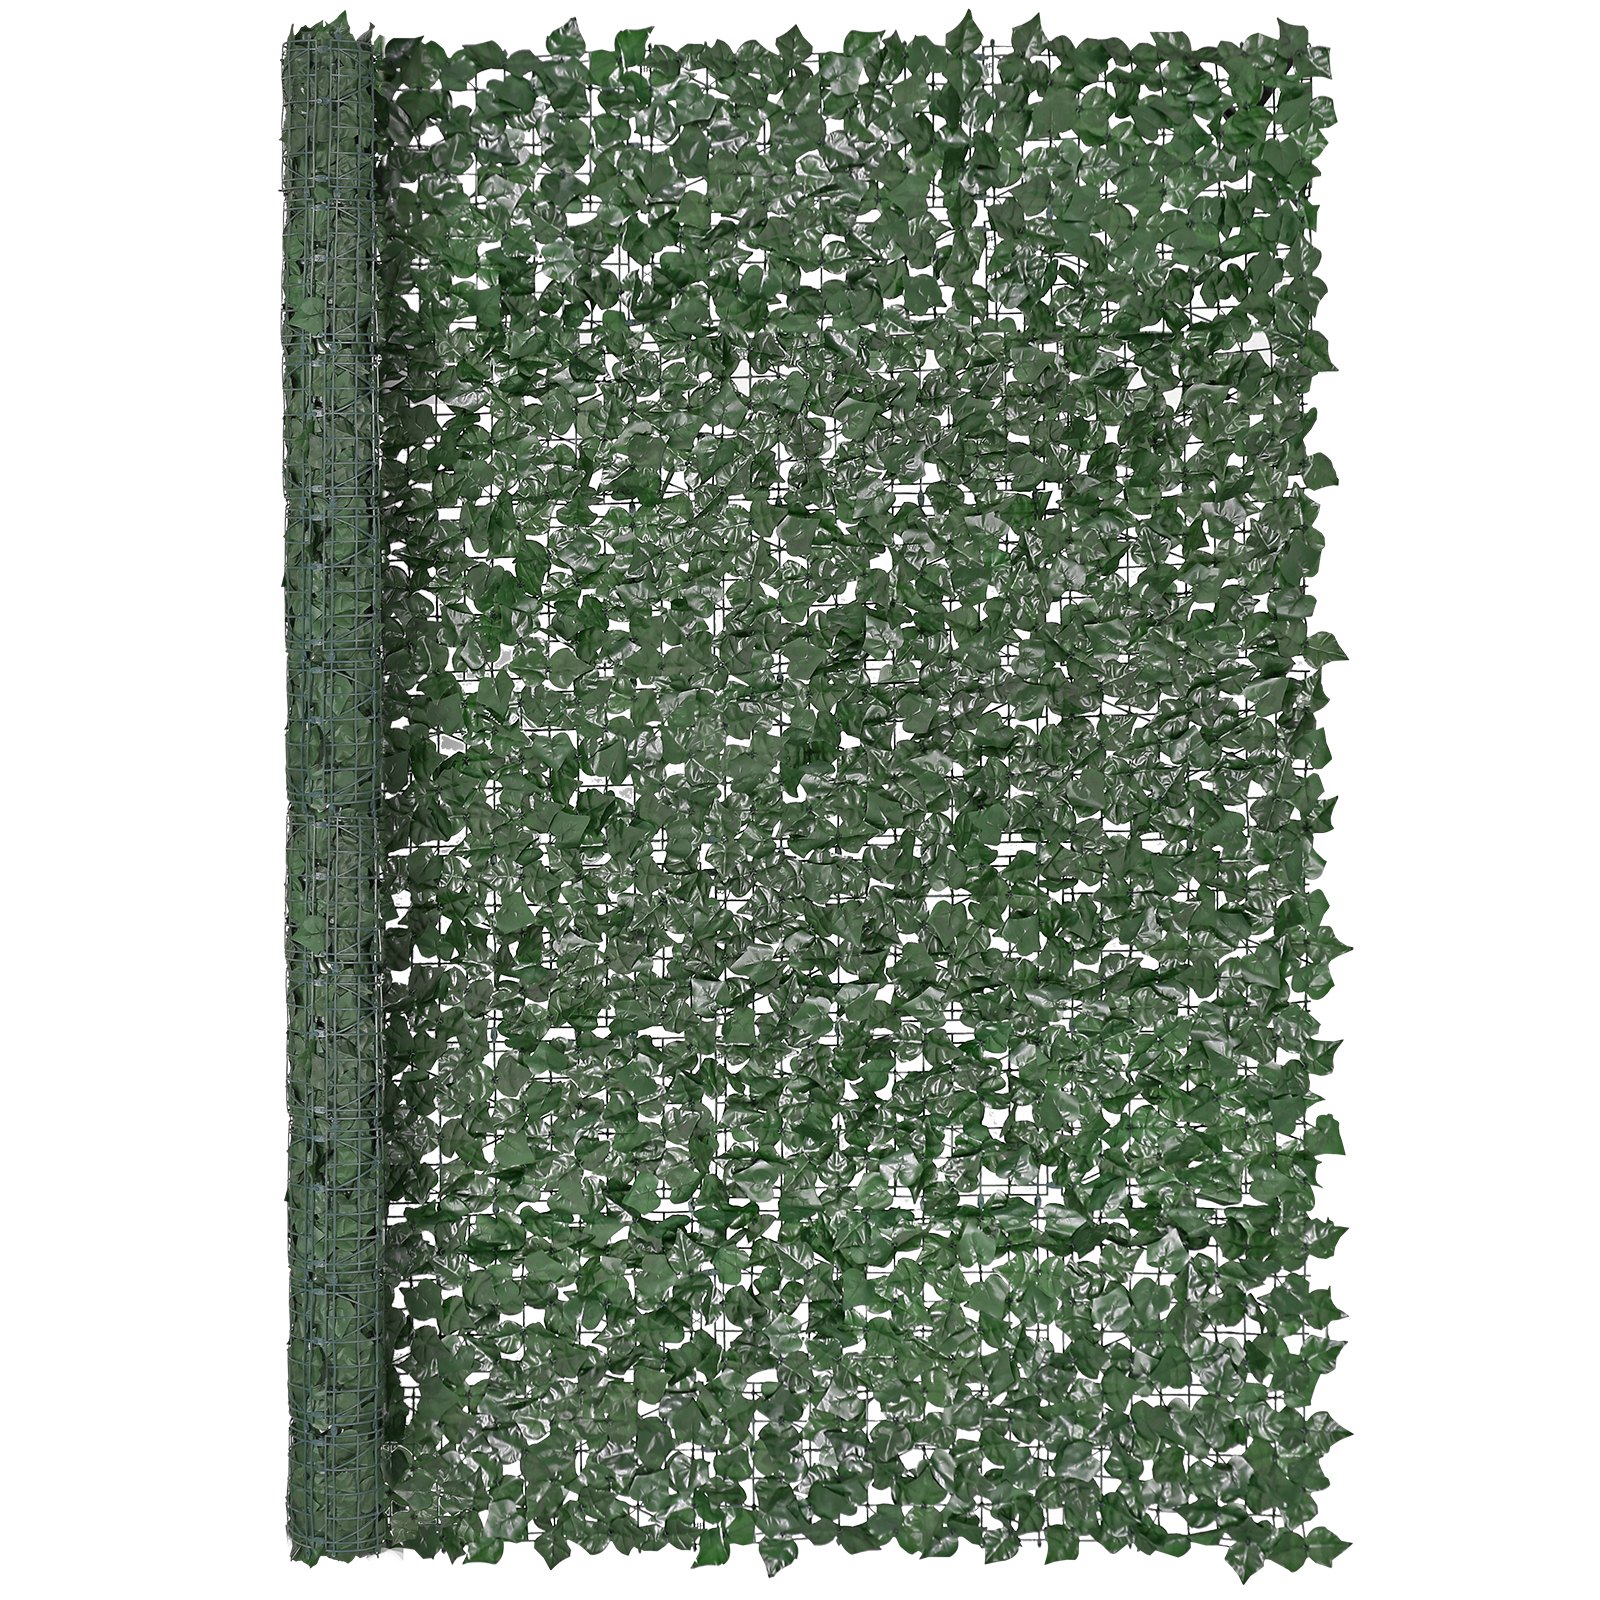
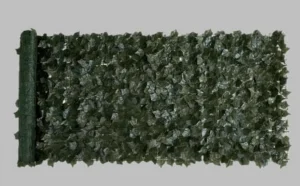
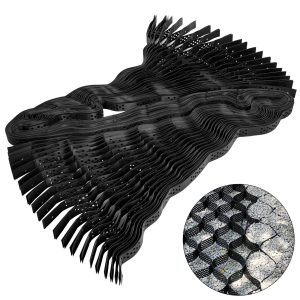
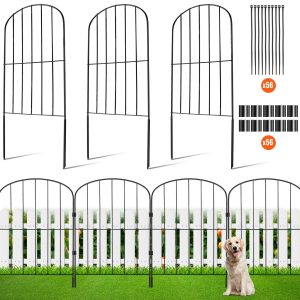
Discover the ultimate guide to maximizing the use of your VEVOR Ivy Privacy Fence with our comprehensive product manual. The 96 x 72 in Artificial Green Wall Screen enhances outdoor spaces, from gardens and yards to balconies and patios.
Our manual provides step-by-step instructions for setup, optimization, and troubleshooting, ensuring you get the most out of your Greenery Ivy Fence. This faux hedges vine leaf decoration with strengthened joints promises durability and aesthetic appeal.
Download now to unlock all the potential of your VEVOR Ivy Privacy Fence and transform your outdoor areas into lush, green sanctuaries. This user-friendly guide is packed with detailed illustrations and tips, making it easy for beginners to follow. Don’t miss out on this valuable resource to enhance your outdoor decor.
ARTIFICIAL IVY PRIVACY FENCE USER MANUAL
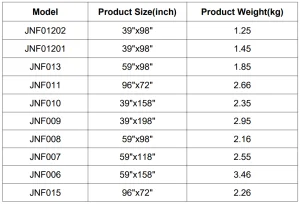
MODEL: JNF01201/ JNF01202/ JNF010/ JNF009/ JNF008/ JNF007/ JNF013/ JNF006/ JNF011/ JNF015
Catalogue
- Technical Parameters
- Safety Precautions
- Instructions for Use
1. Technical Parameters
2. Ivy Privacy Fence Safety Precautions
WARNING:
Read this material before using this product. Failure to do so can result in serious injury.
SAVE THIS MANUAL
Assembly Precautions
- Assemble only according to these instructions. Improper assembly can create hazards.
- Wear ANSI-approved safety goggles and heavy-duty work gloves during assembly.
- Keep the assembly area clean and well-lit.
- Keep bystanders out of the area during assembly.
- Do not assemble when tired or under the influence of alcohol, drugs, or medication.
- Product capabilities apply to correctly and completely assembled products only.
Use Precautions
- Do not sit or stand on this item.
- This product is not a toy. Therefore, do not allow children to play with the item.
- Use as intended only.
3. Instructions for Ivy Privacy Fence Use
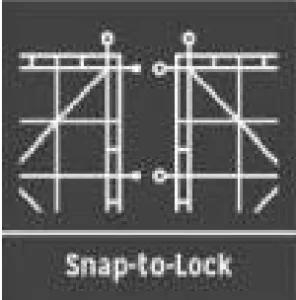
Assembly(No tools required)
1. Observe the direction of the foliage
- Boxwood & Fem: Multi-directional
- Ivy &Lavender. Follow the direction of the foliage.
2. Connect panels using the easy snap-to-lock system.
3. For simple and quick installation, strip two panels wide by the desired height.
Chain Link, Wire Mesh & Wrought Iron
Tools: Green zip ties(Not Included)
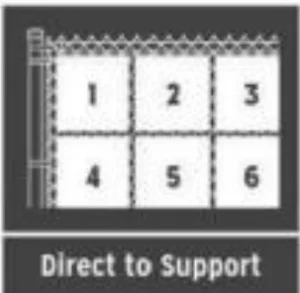
1. Fasten the first panel or connected set of panels directly to the support.
2. Repeat progressing laterally (clip panel sections together before fastening to the support for a perfect fit.)
Drywall and Wood
Tools: 1/2in.*1/2in. Crown 20 Gouge Staples & Stapler (Not Included)
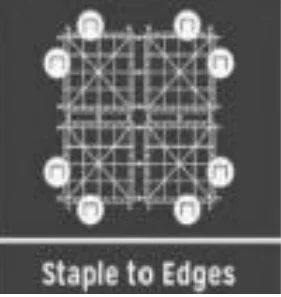
- Fasten the first panel or connected panels directly to the top of the wall or service. Use additional staples on the top panel in each column.
- Place 2 Staples on the edges of each panel, making your way down to the bottom panel.
- Repeat progressing laterally (clip panel sections together before fastening to the support for a perfect ft).
Concrete, Brick, or Block
Tools: 3/ 16 in.*13/4 in. Washer Head Concrete Screw Anchors, Drill Bit & Drill (Not Included)
- Hold a single panel at the top of the wall or surface. Then, using your drill and drill bit, drill one hole in the top left & suitable square holes found on the backing grid of the panel. Drill each hole approximately 1/4 inch deeper than the anchor screw being used.
- Screw a washer head concrete anchor in each hole, securing the panel to the surface.
- Repeat processing downward til a single column is complete, ensuring the panels are securely fastened as you progress.
- Repeat steps 1-3 until your installation is complete.

Recommended For Your Project
VEVOR Ivy Privacy Fence, 96 x 72 in Artificial Green Wall Screen Manual
Reviews
There are no reviews yet.