Er du klar til at begynde dit haveprojekt? Måske spekulerer du på, hvordan du installerer en svejset trådhegn og om du kan gøre det selv. Gæt engang! Der er ikke noget kompliceret ved det, og du behøver ikke engang at være ekspert.
Indholdsfortegnelse
Værktøj og materialer, der er nødvendige for at installere et svejset trådhegn
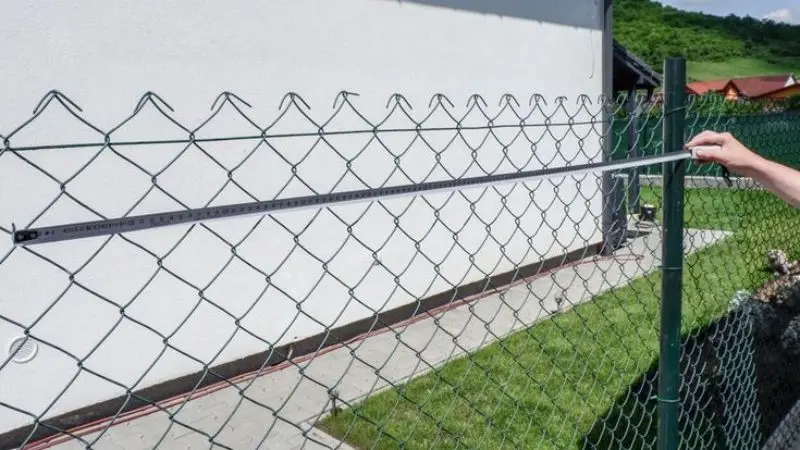
Hvordan installerer man et svejset trådhegn? For at installere et svejset trådhegn skal du først samle alle de nødvendige værktøjer og materialer. Det vil helt sikkert hjælpe dig med at komme i gang med dit projekt.
Væsentlige værktøjer
Hvad du skal bruge for at installere en svejset trådhegn er slet ikke noget avanceret udstyr. Alle disse værktøjer kan nemt findes i din nærmeste isenkræmmer. Her er en liste over ting, du skal bruge:
-
- Målebånd – For at måle din hegnslinje og stolpeafstanden.
-
- Graver eller bor til stolpehul – Dette vil hjælpe dig med at grave huller til dine hegnspæle.
-
- Niveau – Du vil gerne have, at dine stolper står lige, så et vaterpas er et must.
-
- Hammer eller hammer – Du skal bruge dette til at slå hæfteklammer eller søm i.
-
- Bidetang – Disse hjælper dig med at trimme den svejsede tråd til den rigtige længde.
-
- Hegnsbåre eller kom-med – Dette værktøj hjælper dig med at stramme ledningen.
-
- Arbejdshandsker – Beskyt dine hænder, mens du arbejder.
Nødvendige materialer
Anbefalet til dit projekt
| Materiale | Formål |
| Svejset trådhegn | Hoveddelen af dit hegn |
| Hegnspæle (træ/metal) | Støtte til dit hegn |
| Betonblanding | Fastgør stolper i jorden (valgfrit) |
| Hæfteklammer, klemmer eller bånd | Fastgør ledning til stolper |
| Port (valgfrit) | For nem adgang gennem dit hegn |
Sikkerhedsudstyr at bære
Hvordan installerer man et svejset trådhegn omkring en have? Sikkerhed kommer først. Du vil beskytte dig selv, når du arbejder udendørs. Sørg for at du har:
-
- Robuste arbejdshandsker – Beskyt dine hænder mod skarpe tråde.
-
- Sikkerhedsbriller – Beskyt dine øjne mod flyvende genstande.
-
- Lange ærmer og bukser – Beskyt din hud mod ridser.
-
- Robuste støvler – Giv dine fødder støtte og beskyttelse.
Sådan forbereder du dig, før du installerer et svejset trådhegn
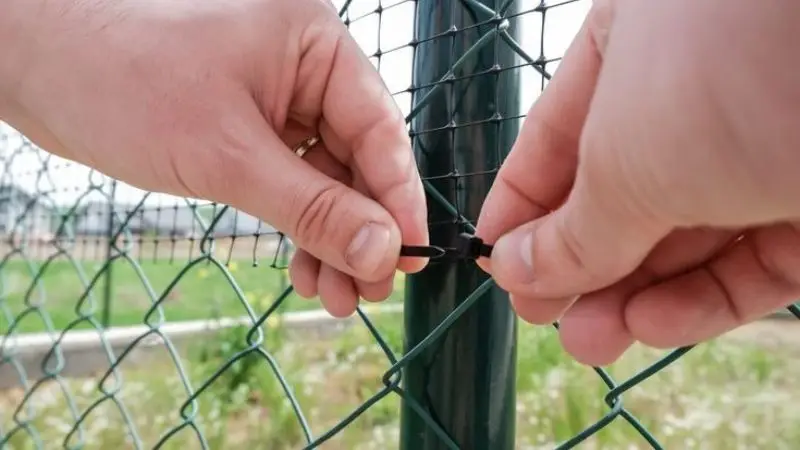
Det er lige så vigtigt at blive klar som selve byggeriet. Hvis du vil have, at dit hegn skal se godt ud og holde længe, skal du starte med et godt forberedelsesarbejde. Sådan kan du forberede dig på succes.
Mål og marker hegnet
Hvordan monterer man et svejset trådhegn på træpæle? Først skal du finde dit målebånd og nogle pæle eller spraymaling. Gå langs det område, hvor du vil have dit hegn. Mål længden fra start til slut. Placer en pæl i hvert hjørne og i enderne. Brug snor eller markeringsmaling til at forbinde pælene. Denne linje viser dig præcis, hvor dit hegn skal være.
Tjek ejendomsgrænser
Du ønsker ikke at bygge dit hegn på din nabos grund. Tjek dine ejendomsgrænser, før du begynder at grave. Se på din grundopgørelse, eller spørg din lokale kommune om hjælp. Hvis du er i tvivl, så tal med din nabo. Det er bedre at spørge nu end at flytte et hegn senere.
Ryd installationsområdet
Nu er det tid til at rydde stien. Fjern sten, grene og eventuelle planter, der måtte være i vejen. Slå græsset kort, så du kan se jorden. Hvis du finder store rødder eller affald, så grav det ud. Et rent område gør det meget nemmere at installere stolper og rulle tråden ud. Du har brug for en trin-for-trin gør-det-selv-installation af et svejset trådhegn.
Sådan installeres et svejset trådhegn Trin for Trin
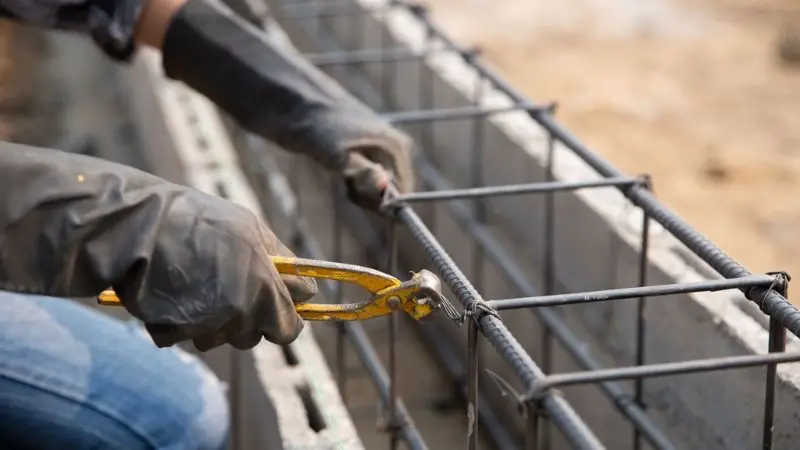
Trin 1: Installer hegnspælene
Hvordan installerer man et svejset trådhegn med T-stolper? Start med at placere dine hegnspæle langs den markerede linje. Brug dit målebånd til at placere dem jævnt fordelt. Grav huller med en stolpehulsgraver. Lav hvert hul dybt nok, så pælene står fast. Sæt stolpen ned, tjek med dit vaterpas, og fyld hullet med jord eller beton. Tryk ned for at pakke jorden tæt. Gentag for hver stolpe.
Trin 2: Fastgør hjørne- og endestolperne
Hjørne- og endestolper har brug for ekstra støtte. Fastgør afstivere eller tilføj mere beton til disse stolper. Sørg for, at de ikke flytter sig. Disse stolper holder mest på spændingen, når du strækker tråden. Du ønsker, at de skal være stærke.
Trin 3: Rul det svejsede trådhegn ud
Få din rulle svejset trådhegn Materiale. Start udrulningen fra den ene endepæl. Hold materialet lige og uden viklet materiale under processen. Du kan bede din partner om hjælp, som vil være ansvarlig for at holde rullen, mens du går. Det er den anbefalede måde at opsætte et svejset trådhegn på.
Trin 4: Stræk hegnet korrekt
Udstrækningen udføres ved hjælp af en hegnstrækker eller en come-along-mekanisme. Du kan begynde at strække fra den ene endepæl til den anden for at sikre, at hegnsmaterialet ikke hænger. Det er vigtigt at strække tråden for at bevare dit hegns styrke og pænhed.
Trin 5: Fastgør hegnet til stolperne
Find dine hæfteklammer, klemmer eller bånd, og begynd at fastgøre dem til hver hegnspæl, startende fra hjørne- og endepælene langs hegnetslinjen. Hegnet skal forblive strakt, mens du fastgør materialet.
Trin 6: Fastgør bunden af hegnet
Skub bunden af trådhegnet tæt på jorden. Brug ekstra hæfteklammer eller bånd for at forhindre det i at løfte sig. Dette forhindrer dyr i at snige sig ind under.
Trin 7: Inspicer og foretag endelige justeringer
Gå langs hegnet. Kig efter løse pletter eller huller. Spænd eventuelle områder, der har brug for det. Kontroller, at alle stolper står lige. Sørg for, at tråden er fastgjort. Nu ved du, hvordan man installerer et svejset trådhegn fra start til slut.
Almindelige fejl, der skal undgås, når du installerer et svejset trådhegn
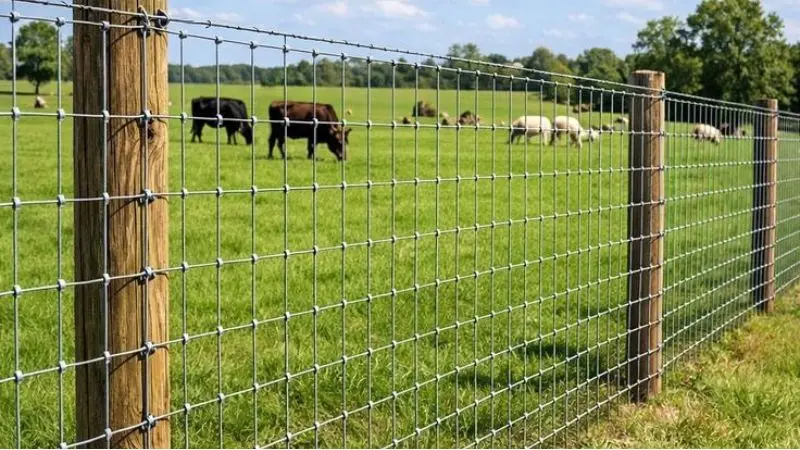
Selv hvis du følger alle trin, kan du støde på et par almindelige fejl. At vide, hvad du skal være opmærksom på, kan spare dig tid og frustration. Her er nogle ting, du bør undgå, når du lærer at installere en svejset trådhegn.
Placering af stolper for langt fra hinanden
Du tror måske, at du kan spare penge ved at bruge færre stolper. Dette fører ofte til et svagt hegn. Hvis du placerer stolperne for langt fra hinanden, vil tråden hænge ned og miste styrke. Prøv at holde stolperne omkring 6 til 8 meter fra hinanden. Dette hjælper dit hegn med at forblive robust og holde længere.
Ikke nok til at strække hegnet
Et løst hegn fungerer ikke som det skal. Hvis du ikke strækker tråden stramt, vil den hænge ned og se rodet ud. Dyr kan endda komme til at trænge igennem. Brug en hegnstrækker eller en "come-along" til at stramme tråden, før du fastgør den. Tag dig god tid med dette trin. Dette er den bedste måde at installere et svejset trådhegn på.
Brug af forkerte fastgørelseselementer
Ikke alle fastgørelseselementer virker til svejset trådhegnHvis du bruger den forkerte type, kan tråden glide eller blive løs. Brug altid hæfteklammer, klemmer eller bindere lavet til hegn. Disse holder tråden på plads og holder dit hegn sikkert.
Ignorerer ujævnt terræn
Hvordan installerer man et svejset trådhegn på ujævnt terræn? Mange haver har bump eller skråninger. Hvis du ignorerer ujævnt terræn, ender du med huller under dit hegn. Dyr kan snige sig igennem disse mellemrum. Gå langs din hegnets linje og juster tråden, så den følger jorden. Du skal muligvis bøje tråden eller tilføje ekstra fastgørelsesmidler på lave steder.
Konklusion
Nu ved du, hvordan du installerer et svejset trådhegn fra start til slut. Mål din plads, sæt dine stolper, stræk tråden og fastgør alt på plads. Tag dig god tid og tjek hvert trin undervejs. Hvis du følger disse instruktioner, vil du bygge et stærkt hegn. Nyd tilfredsstillelsen ved et veludført stykke arbejde – din have er klar til alt!
Ofte stillede spørgsmål
Hvor dybt skal jeg sætte hegnspæle?
Det anbefales at sætte stolperne ned i jorden med en tredjedel af deres højde. I de fleste tilfælde graver du huller op til 2 cm dybe. Dette vil gøre dine hegnspæle mere stabile.
Er det muligt selv at installere et svejset trådhegn?
Ja, det er det. De fleste mennesker udfører denne opgave selv. Du kan dog have brug for hjælp, især når du strækker ledningen.
Hvilke værktøjer skal jeg bruge til at strække tråden?
En hegnsstrækker eller en Come-Along-anordning ville være det bedste valg. Disse anordninger gør det nemt at stramme ledningen uden yderligere indsats. De kan lejes i enhver isenkræmmer.
Hvad hvis min ejendom har skråninger?
I dette tilfælde skal du lade tråden følge jordoverfladens skråninger. Pres den nederste del af hegnet mod jorden så meget som muligt ved hjælp af ekstra hæfteklammer eller bånd i lave punkter.
Skal jeg bruge beton til hver stolpe?
Beton er kun nødvendig til hjørne- og endepæle. Linjepæle kræver normalt intet andet end pakket jord.